How to make a beautiful spring wreath
- Posted on
- By James
- Posted in custom, design, DIY, do it yourself, flowers, how to, make, silk, spring, wreath, wreaths
- 3
We're known for making beautiful custom wreaths, and today, we're going to share those secrets with you! Learn how to make a DIY wreath, perfect to hang on your door this spring.
Do you want to learn how to make a beautiful wreath for spring?
At The Last Straw, we're known for our custom wreaths and flower arrangements, and we would like to share with you how we make our wreaths. A quick disclaimer - one of the reasons our wreaths look the way they do is because we use high-quality silk flowers in our arrangements. These flowers look and feel real, and your wreaths will only look as good as the flowers you put on them. that being said, we have some great tips for you to get started!
Getting Ready
Before you can get started, you'll need the right tools. Fortunately, wreath-making doesn't require a ton of high-end tools - all you'll need is a pair of wire clippers, some floral wire, and a glue gun (make sure you have plenty of glue, so you don't run out mid-project). Also, you will need the actual components to make the wreath. We use blank hand-wrapped grapevine wreaths, which serves as the base for the wreath, and we use artificial greenery and flowers.By the way, the silk flowers in our shop look and even feel real, and they won't fade or die like real flowers would.
It's also handy to have a trash bin nearby, so you can toss out stems once you've cut them. Without a trash can, things can get messy and cluttered FAST.
A quick word about safety -- be careful while operating the hot glue gun. Anyone who's felt the sting of a hot glue gun knows how painful it can be, so watch your fingers.
Once you have everything you'll need, it's time to get started!
1. Cover the grapevine wreath with greenery
Just like in life, building a solid foundation is usually the most important step - that's true for building a house, writing a story, or having a great relationship, and it's true for making wreaths too. This is when you'll decide how big the wreath is, and what greenery you'll use for it.
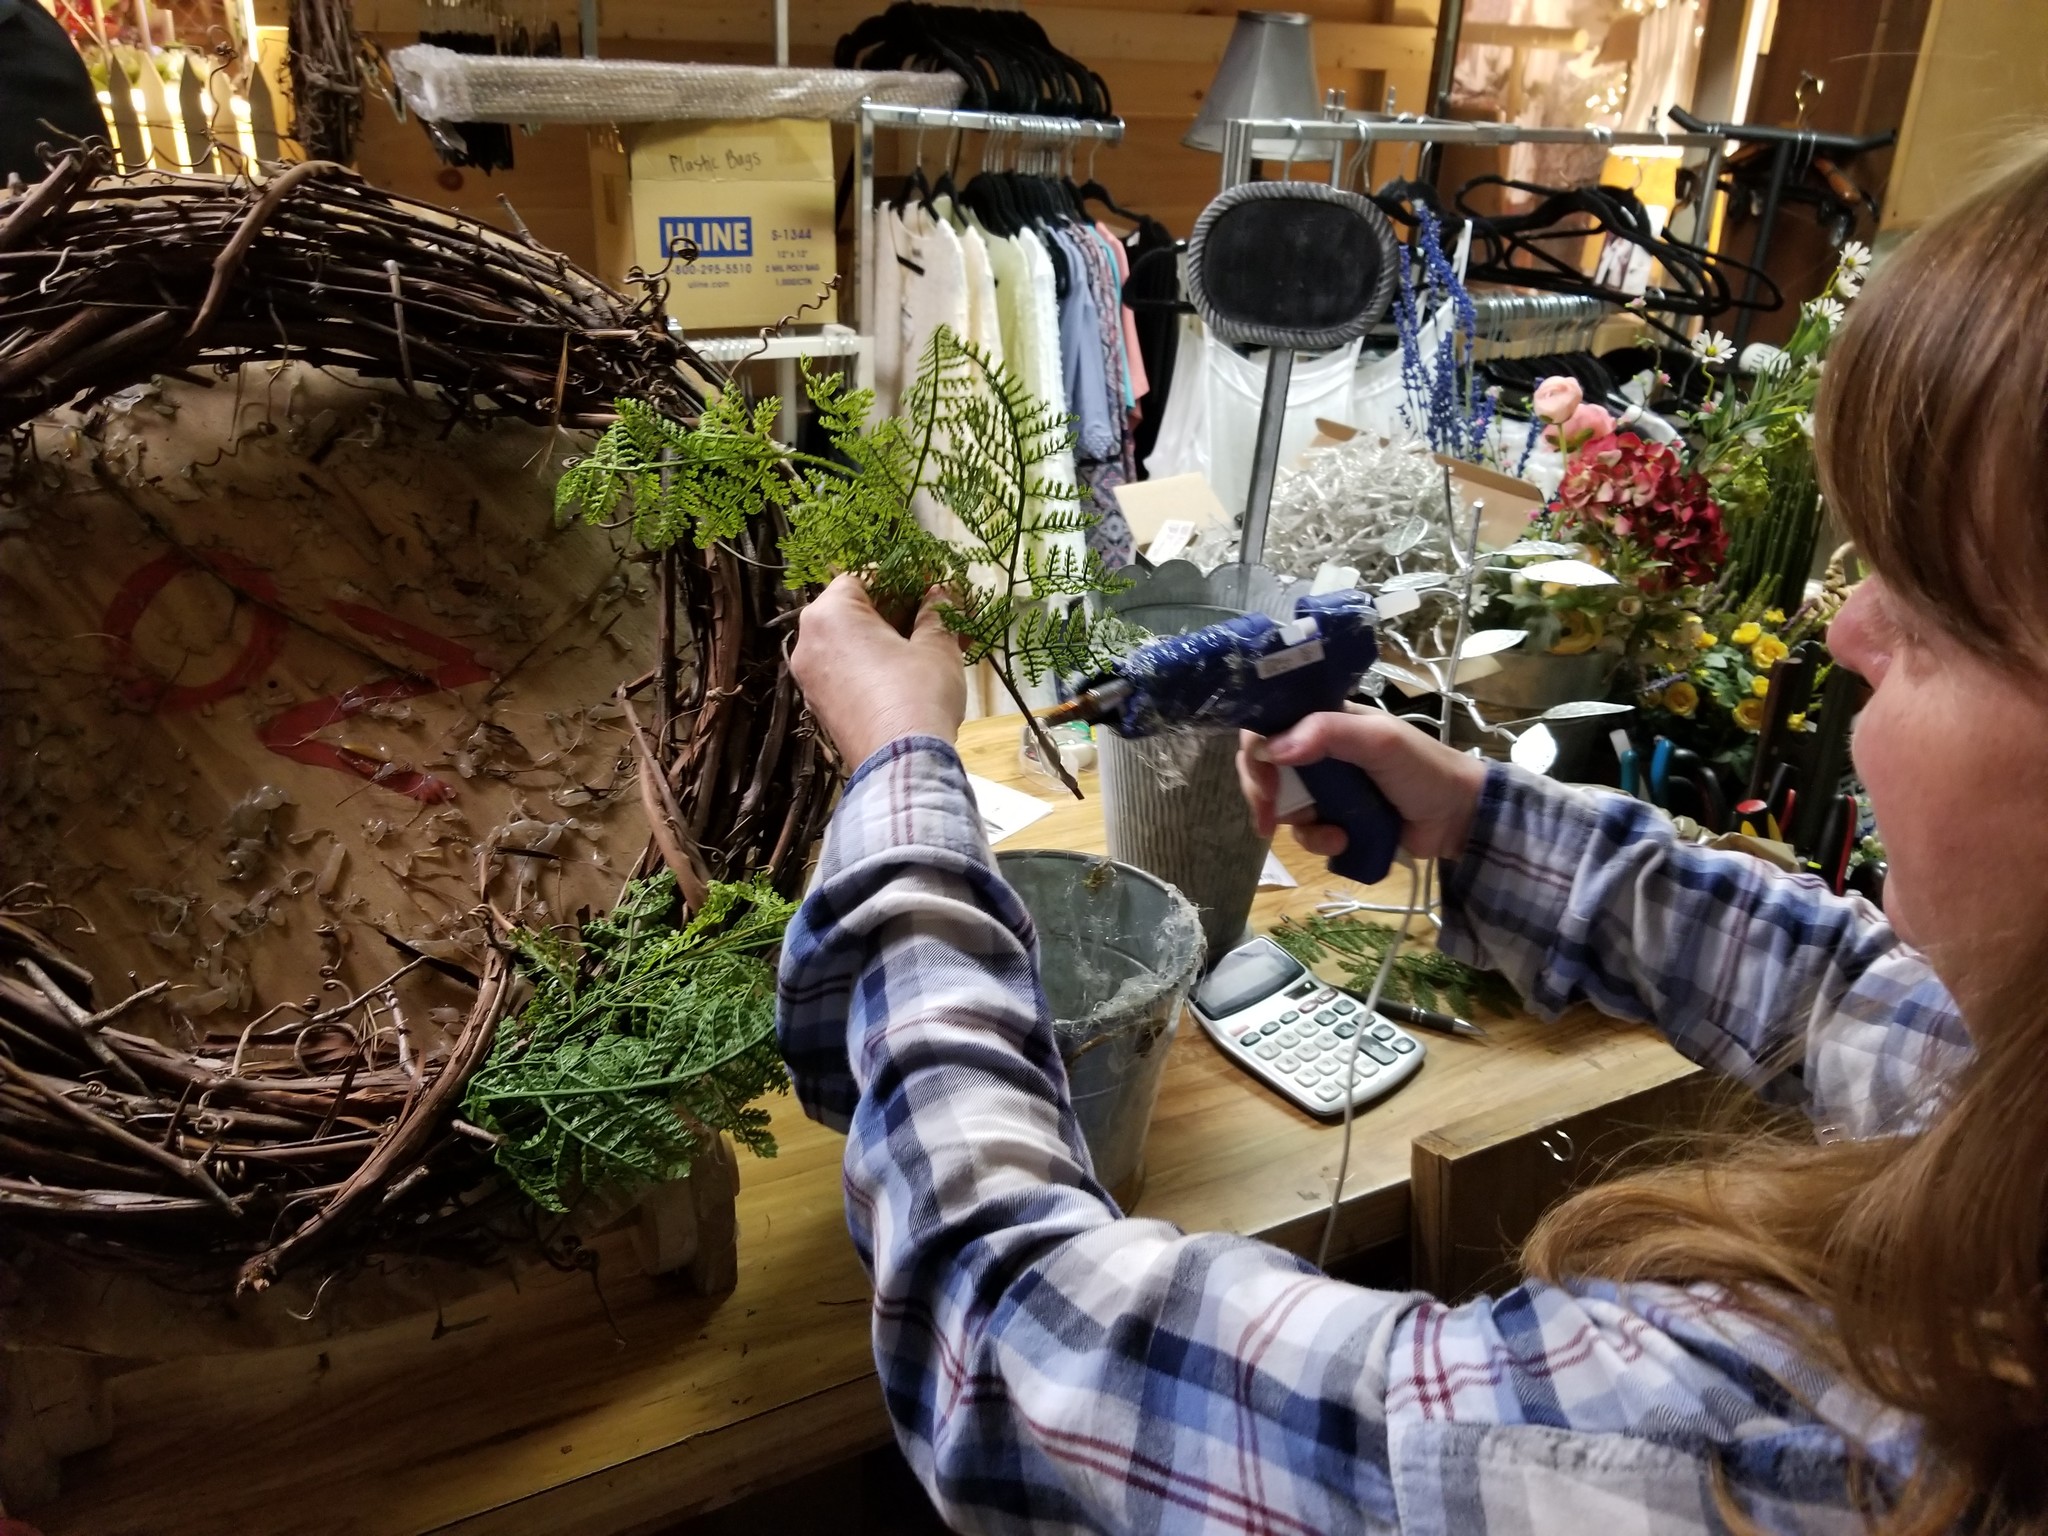
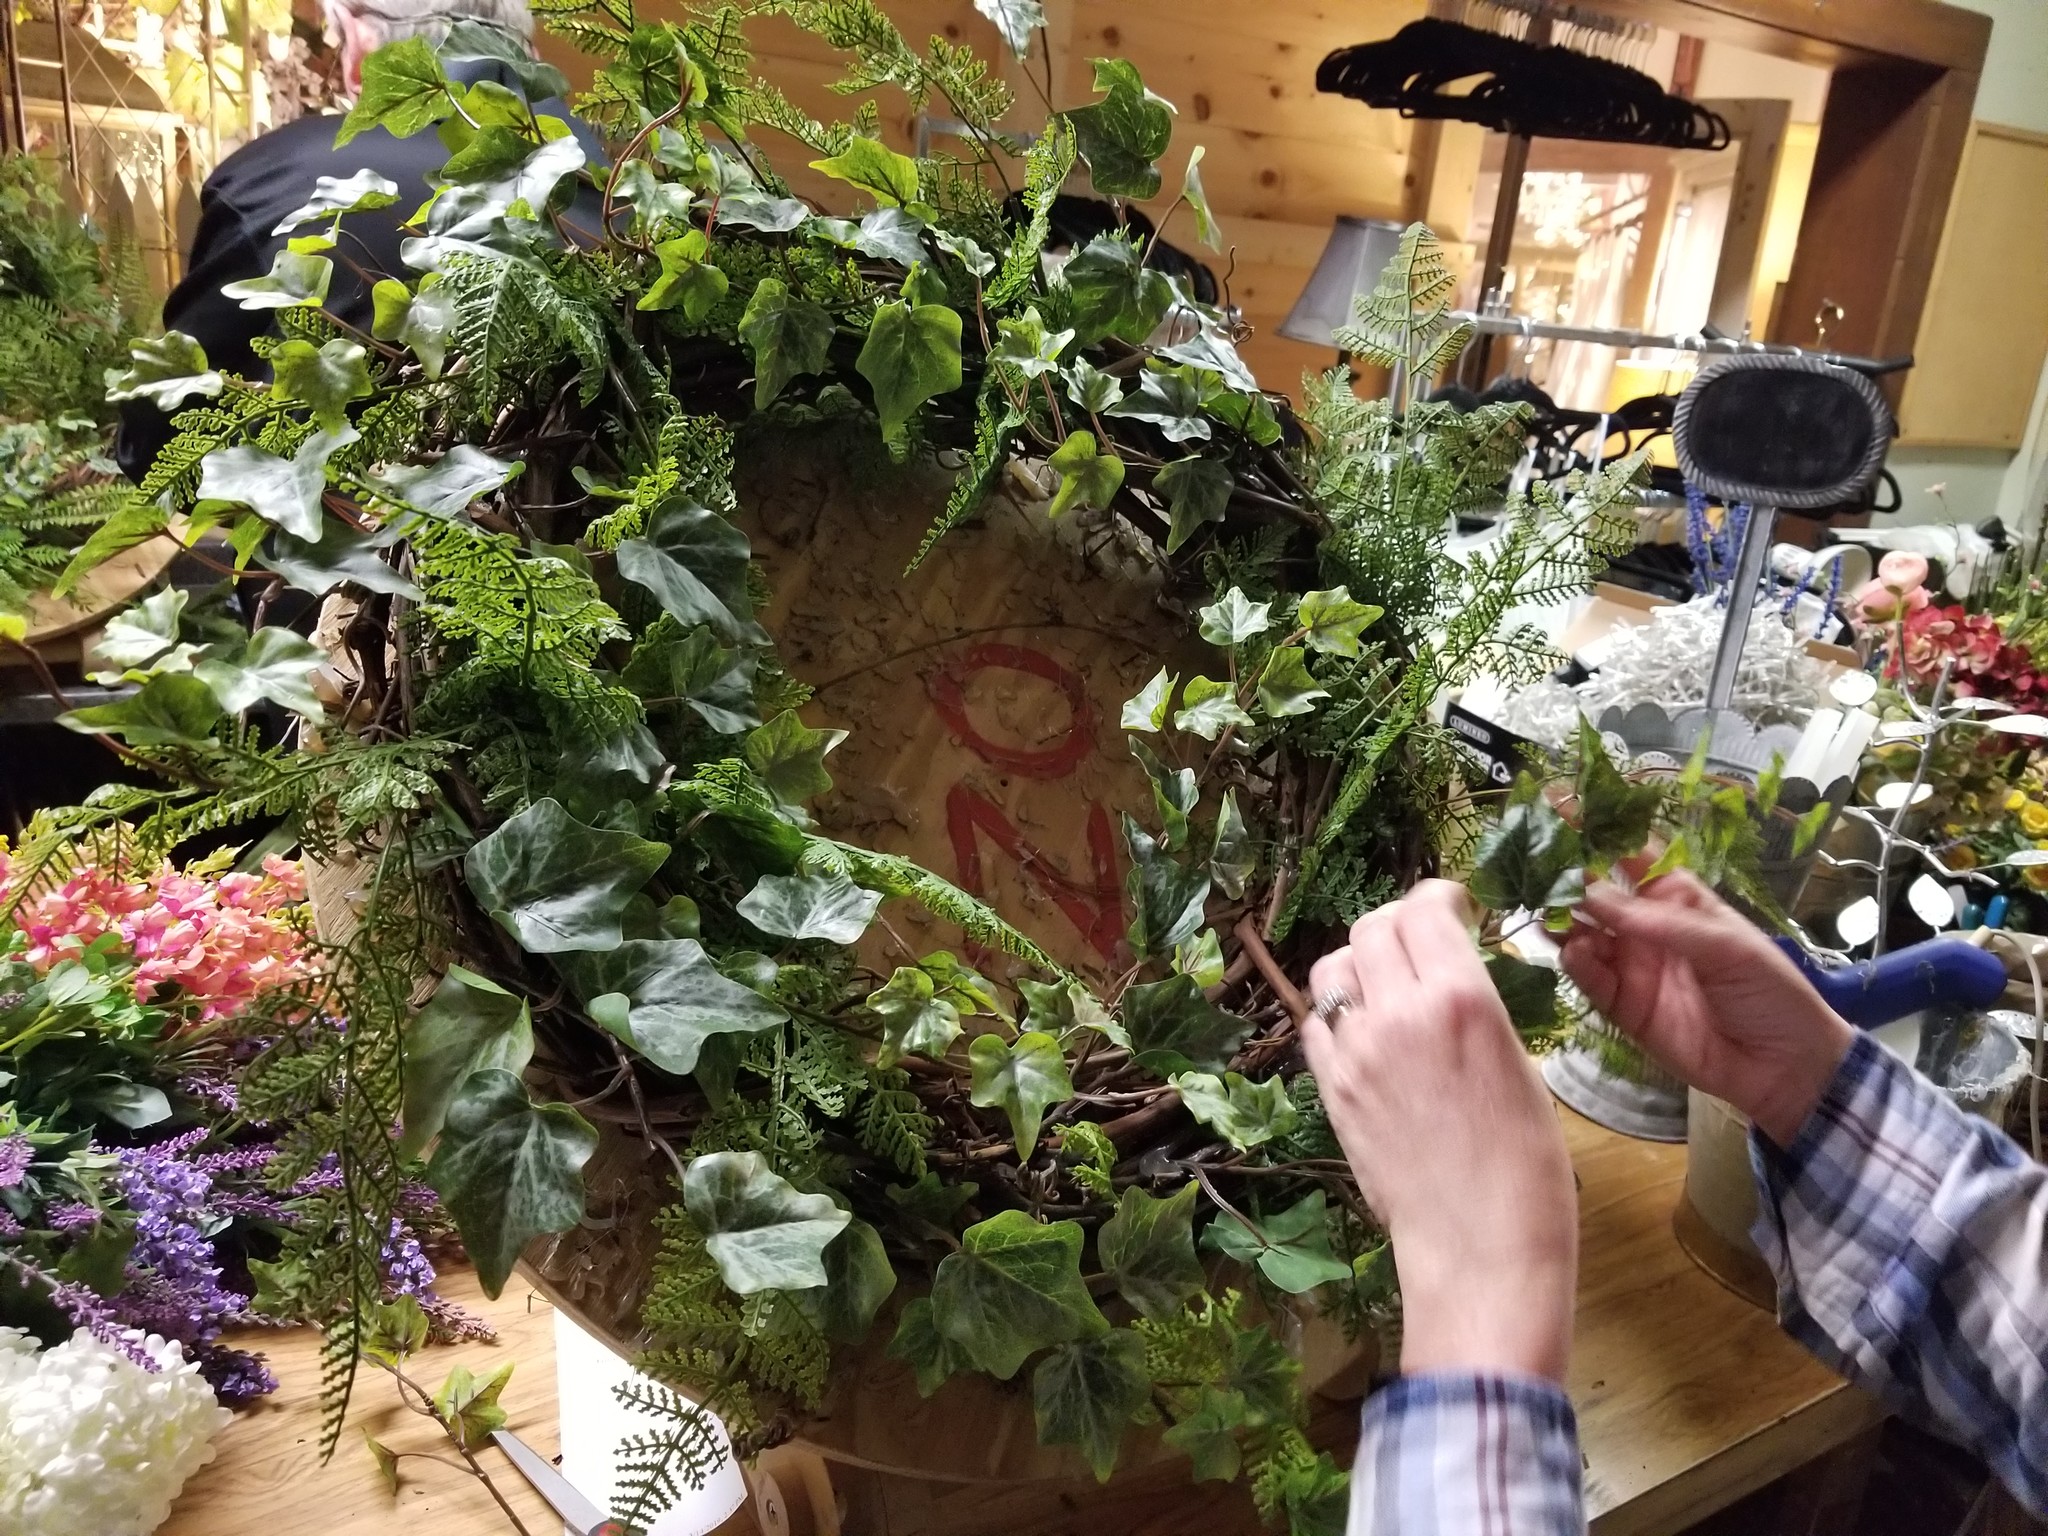
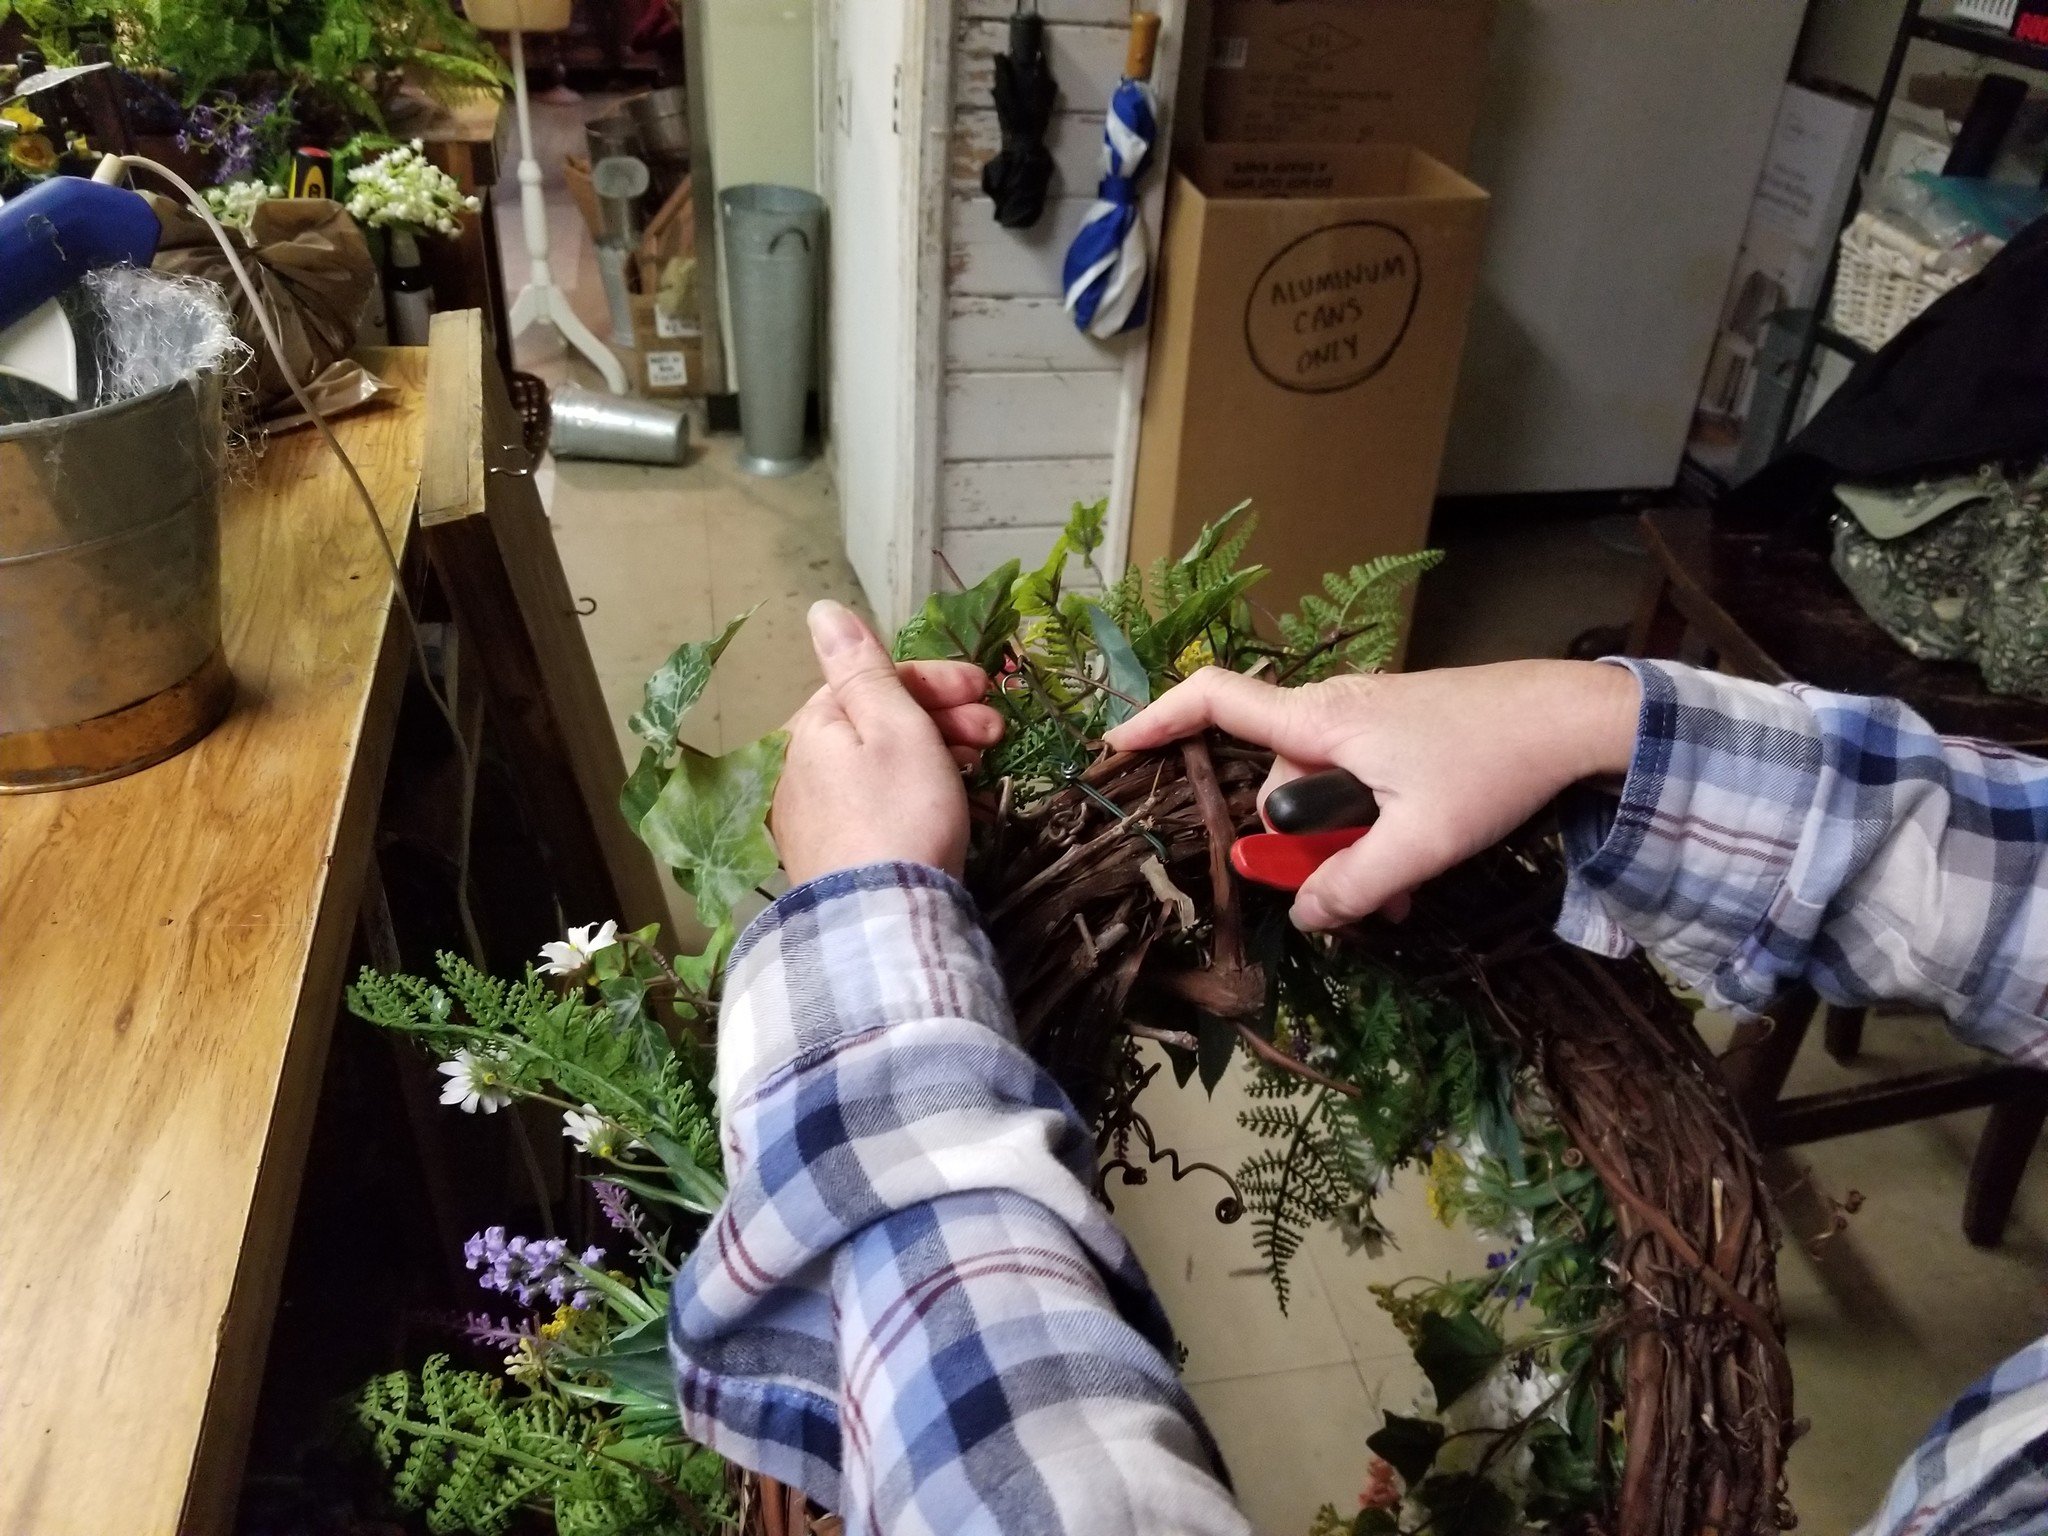
In our example, Jenna is starting with an 18" hand-wrapped grapevine wreath, and will be using green ivy and lace ferns as greenery.
Important note: Jenna is taking her time with the hot glue gun, giving each piece of greenery a nice coating before attaching it to the wreath. She sticks the stem of each fern down into the wreath base, making sure the hot glue has a surface to adhere to.
THIS PART IS KEY - make sure each of the ferns are laid going in the same direction. This "spiral" look will make the wreath look more natural, and that's the goal. Make sure to place greenery on the inside, middle and outside of the wreath, in order to completely cover the base. Also, when placing the greenery, it's okay to let each piece stick out from the wreath - this gives the wreath a natural look. If you make the greenery too compact on the base, it won't look as realistic.

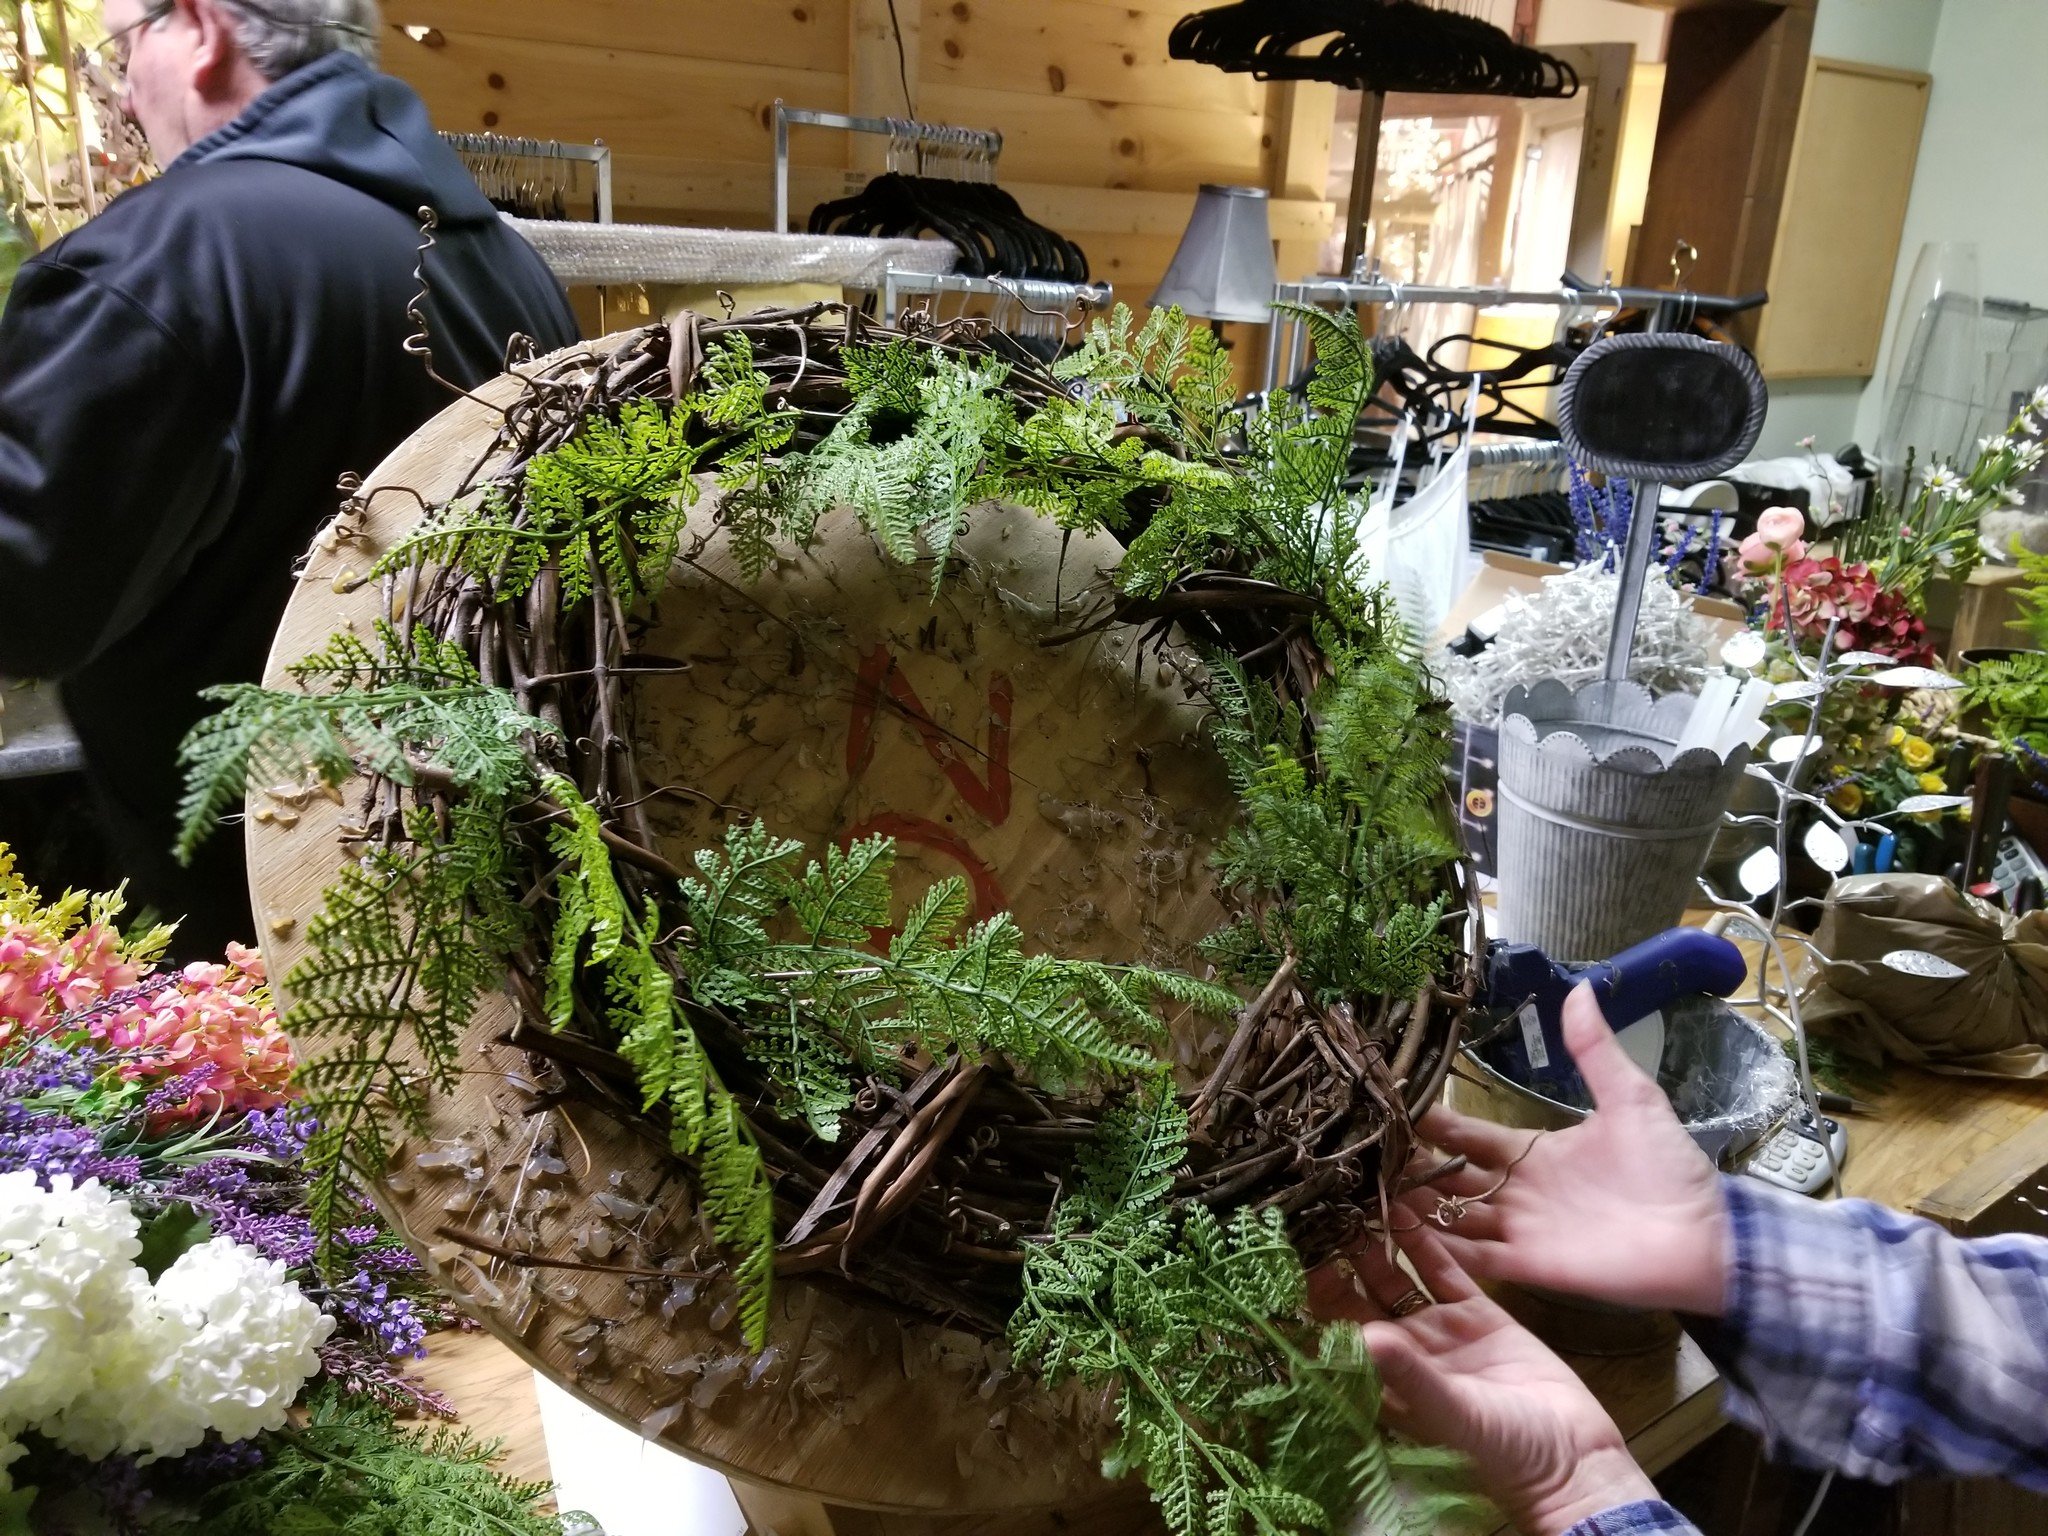
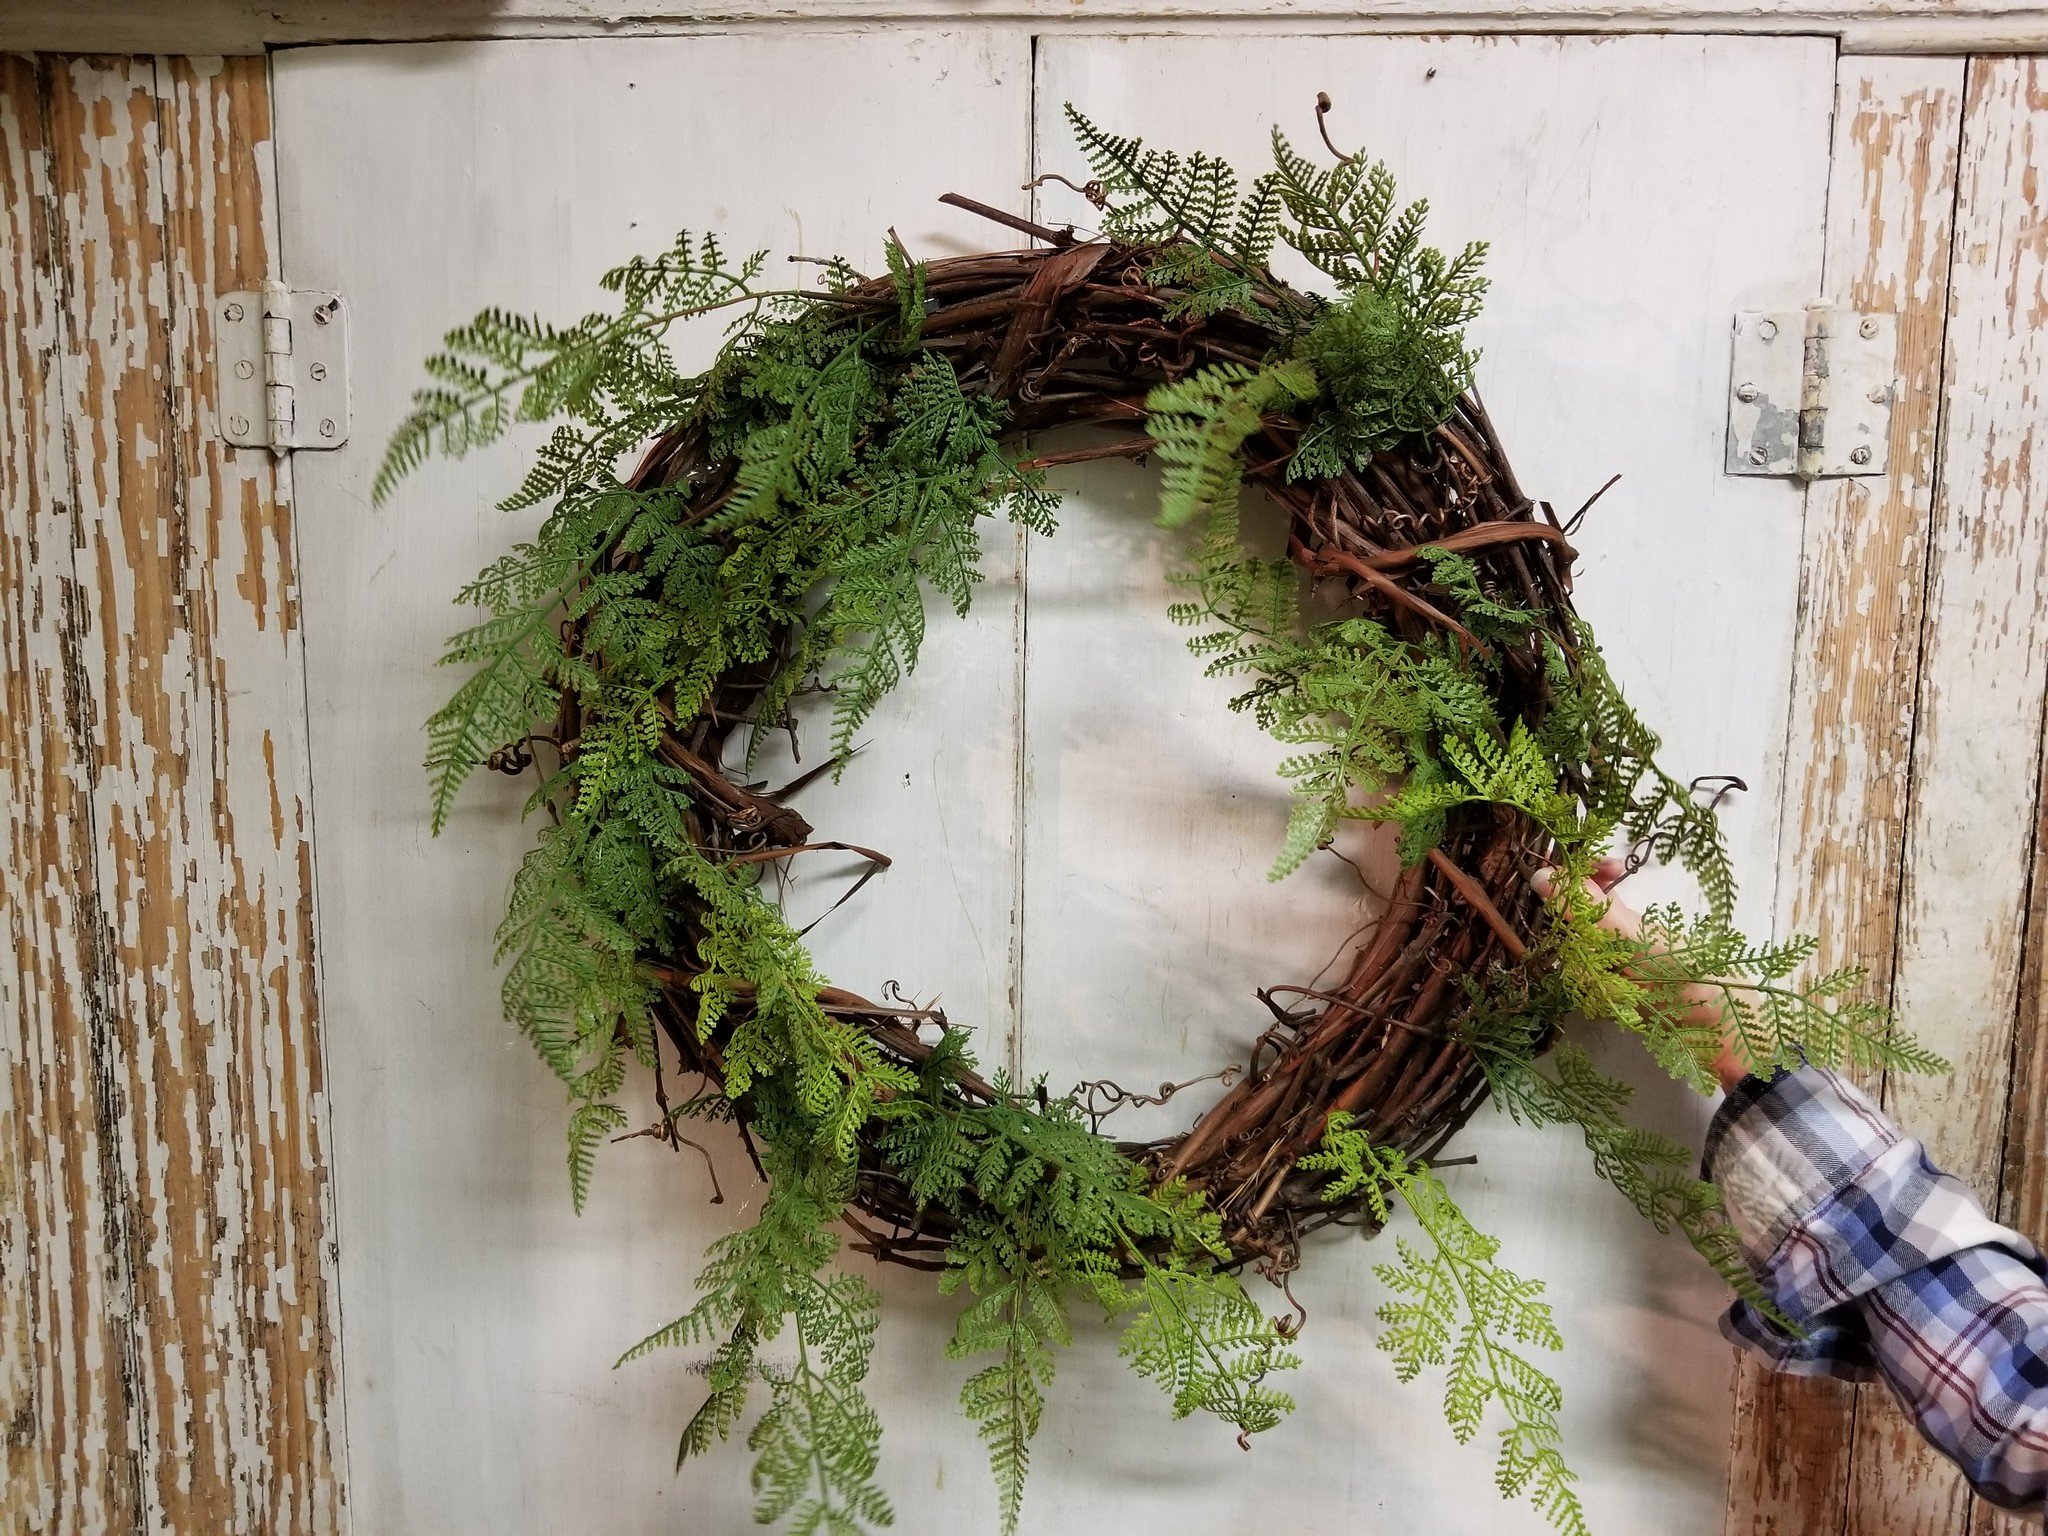
Now that Jenna has the first layer of ferns on the base, she will add another layer of greenery. For the second layer, she'll use ivy to compliment her first layer of ferns.
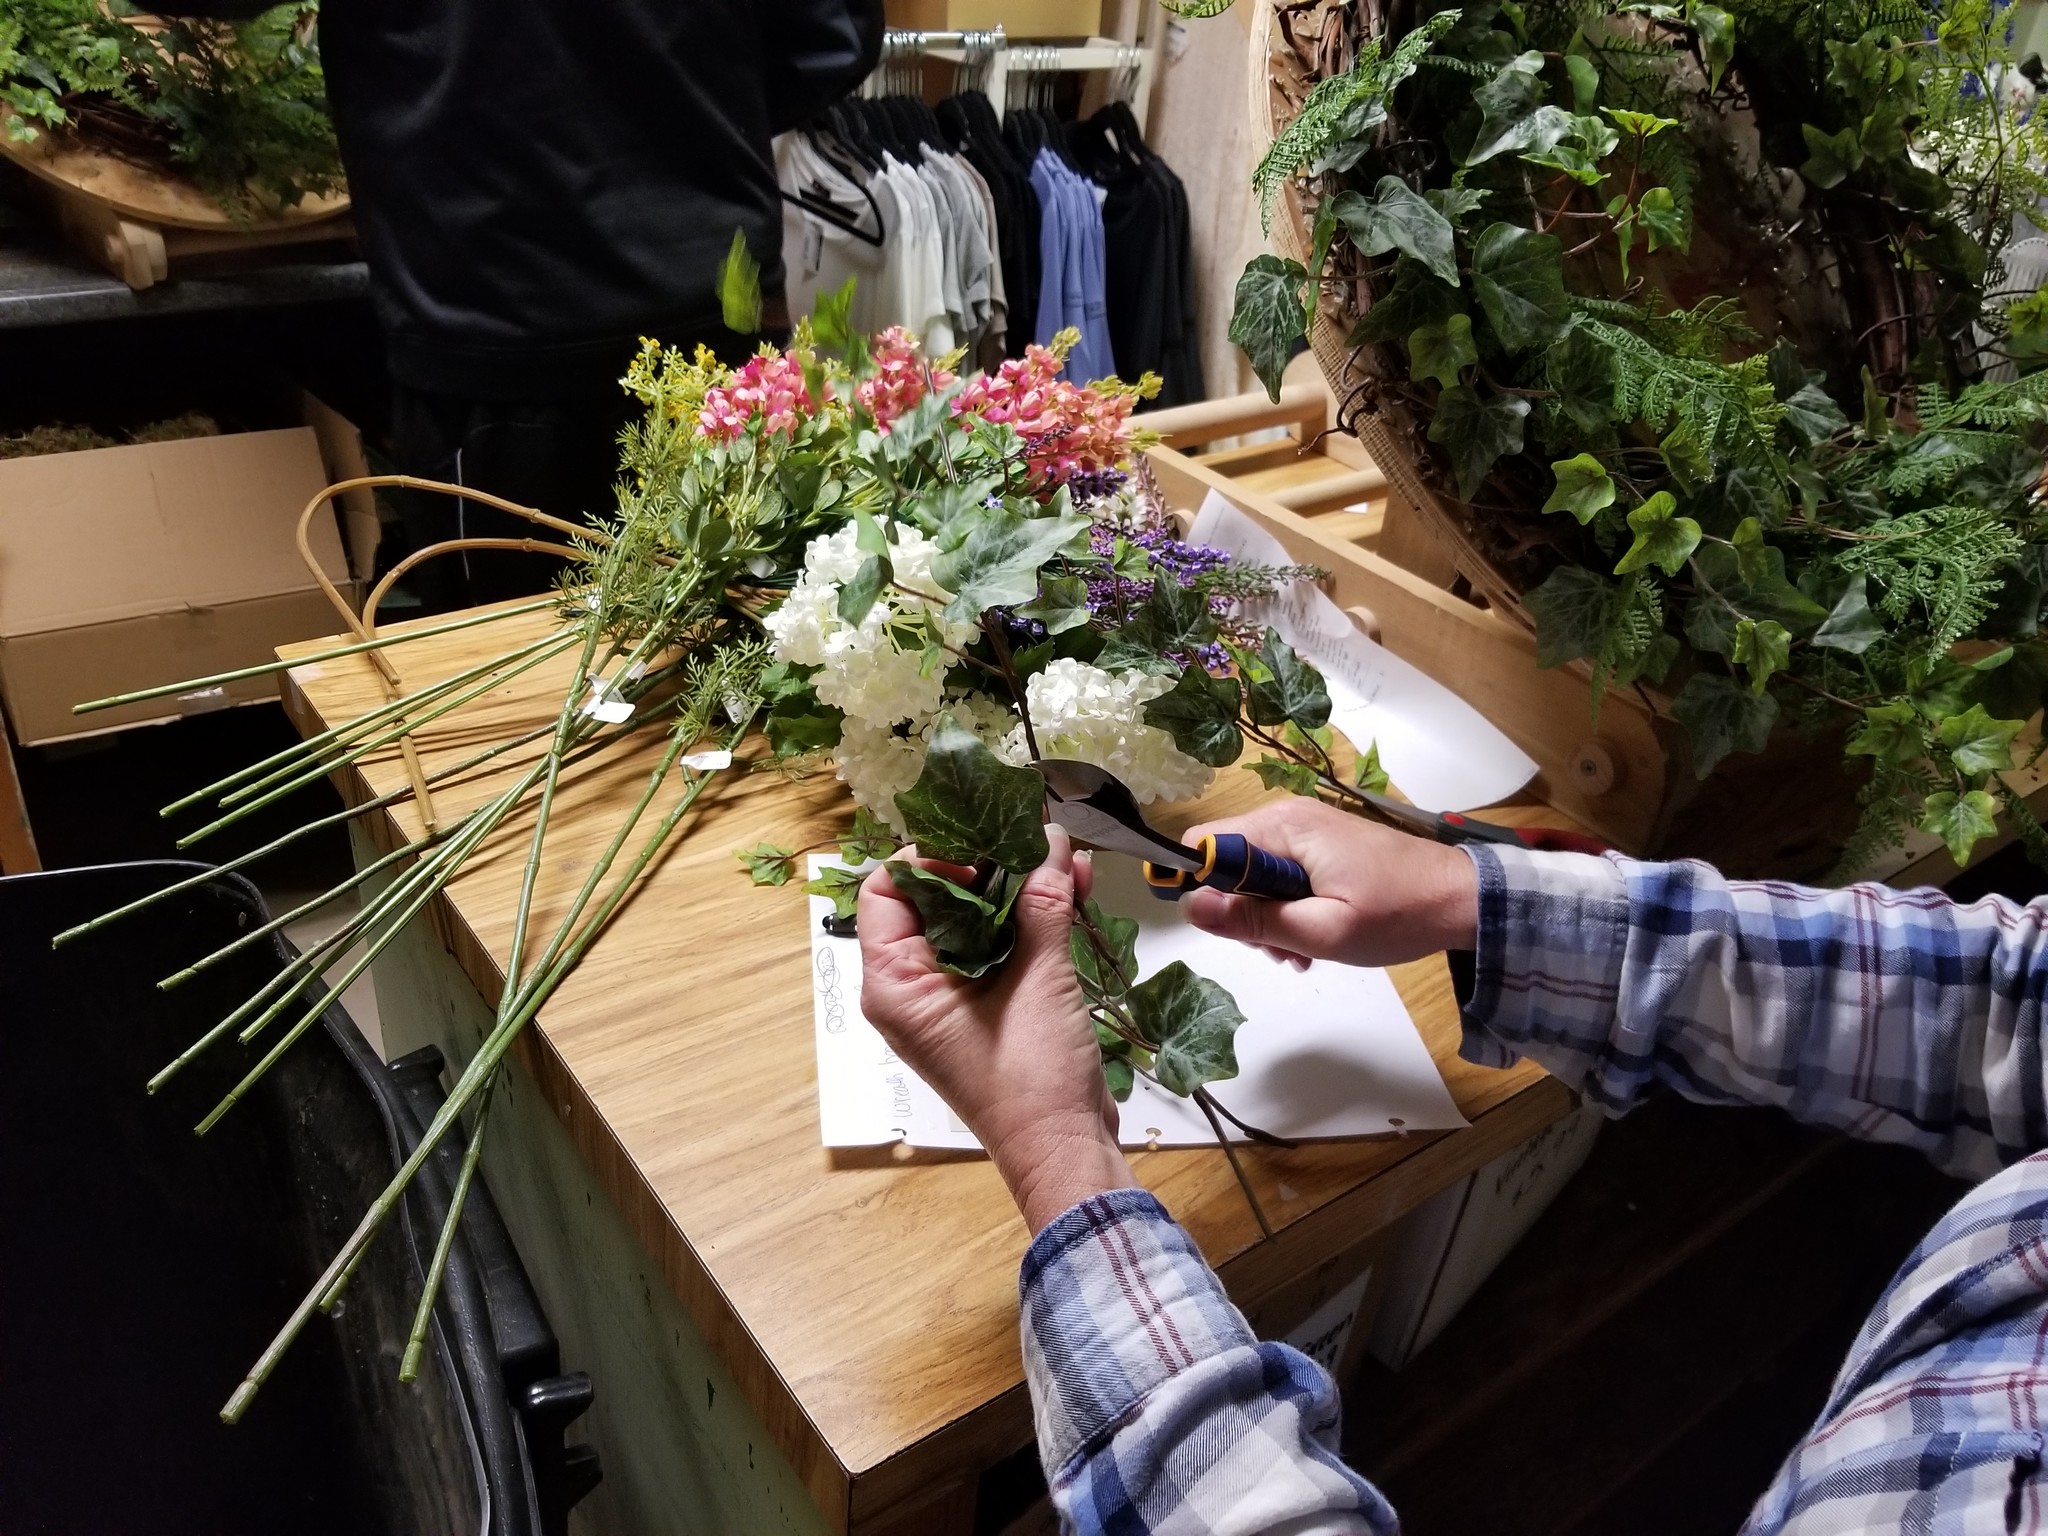
Here's a quick tip - some of the artificial flowers and greenery you'll use to make a wreath will have stems that are too long. This is where you're wire clippers will come in handy. Just snip off a bit of the stem. For sprays of ivy, you should clip off each limb, so the ivy will be easier to work with. One spray of ivy should make about four twigs you can use for the wreath.

Just keep layering until the wreath looks mostly covered with greenery. REMEMBER - all of the greenery needs to be going in the same direction, spiraling around the wreath. Then it's time for step 2!
2. Pick a theme for your wreath
You might have already picked a theme going into this project. Even if that's the case, here's a cool tip to make sure the flowers on your wreath match well. Take a handful of the flowers you're planning on using, and see if they look good together. If they look good together in your hand, they'll look good together on your wreath.
Today, Jenna will be making a beautiful wreath for spring.
"Since it's spring, we have a lot of great florals to work with right now," Jenna said. "This one I'm making is really springy and nice for Easter, because of all the pretty pastel colors."
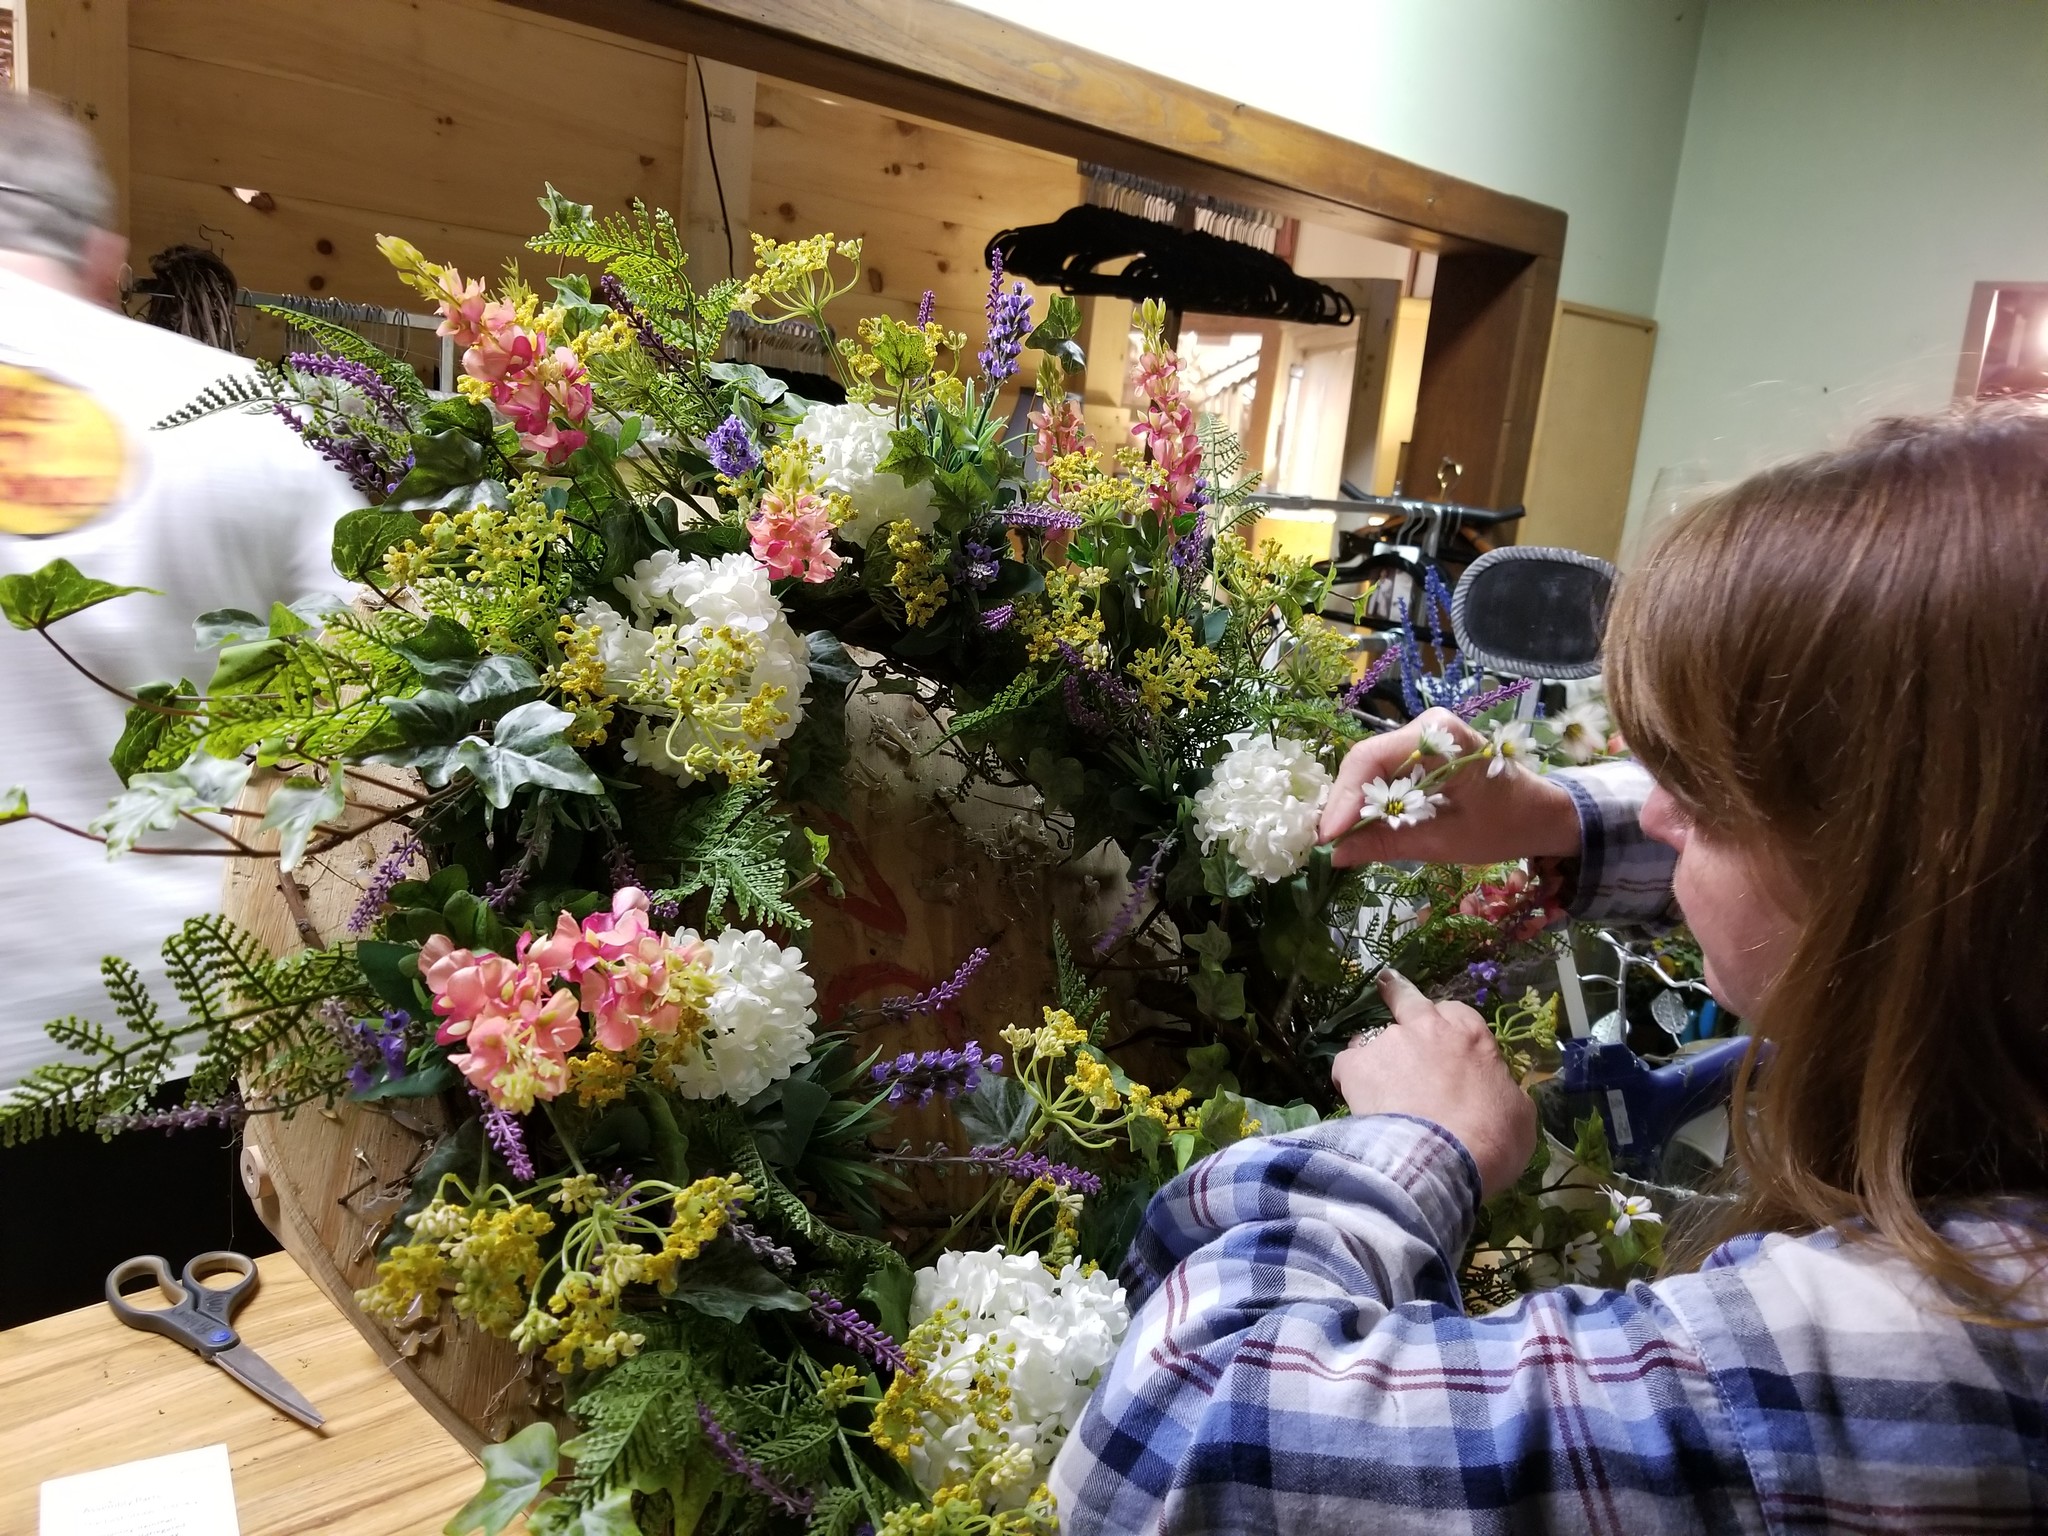
3. Fill in the wreath with flowers and accessories
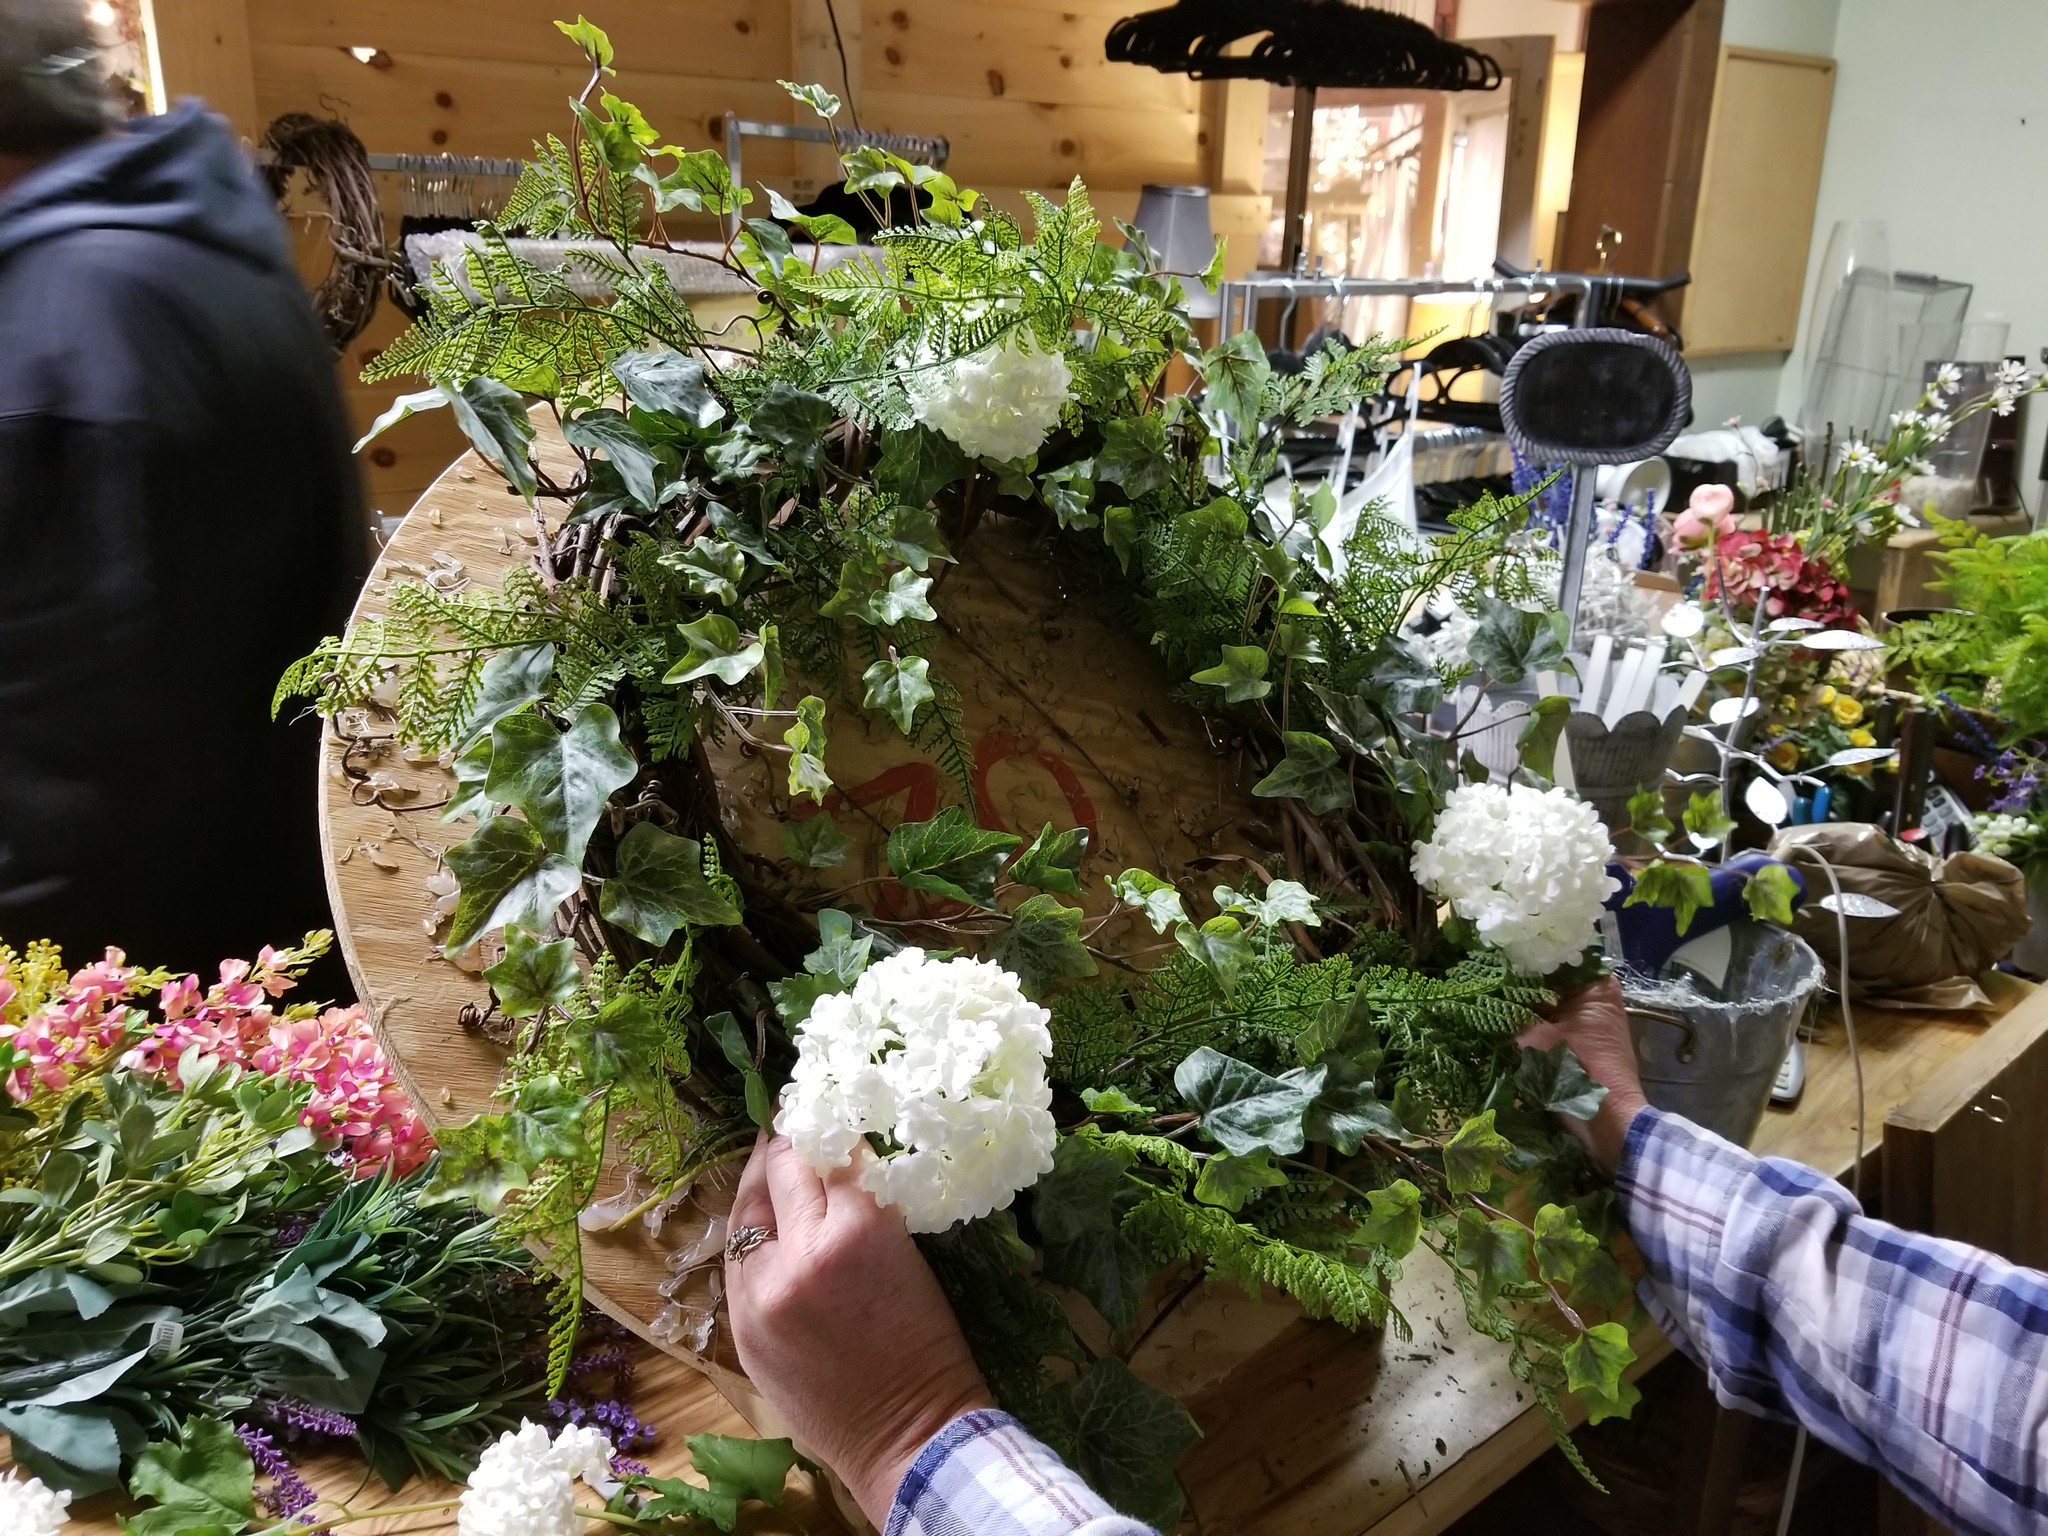
This is the fun part! After you've picked out your flowers, it's time to start attaching them to the wreath.We recommend starting with your biggest flower first, and working your way down to your smallest flower.
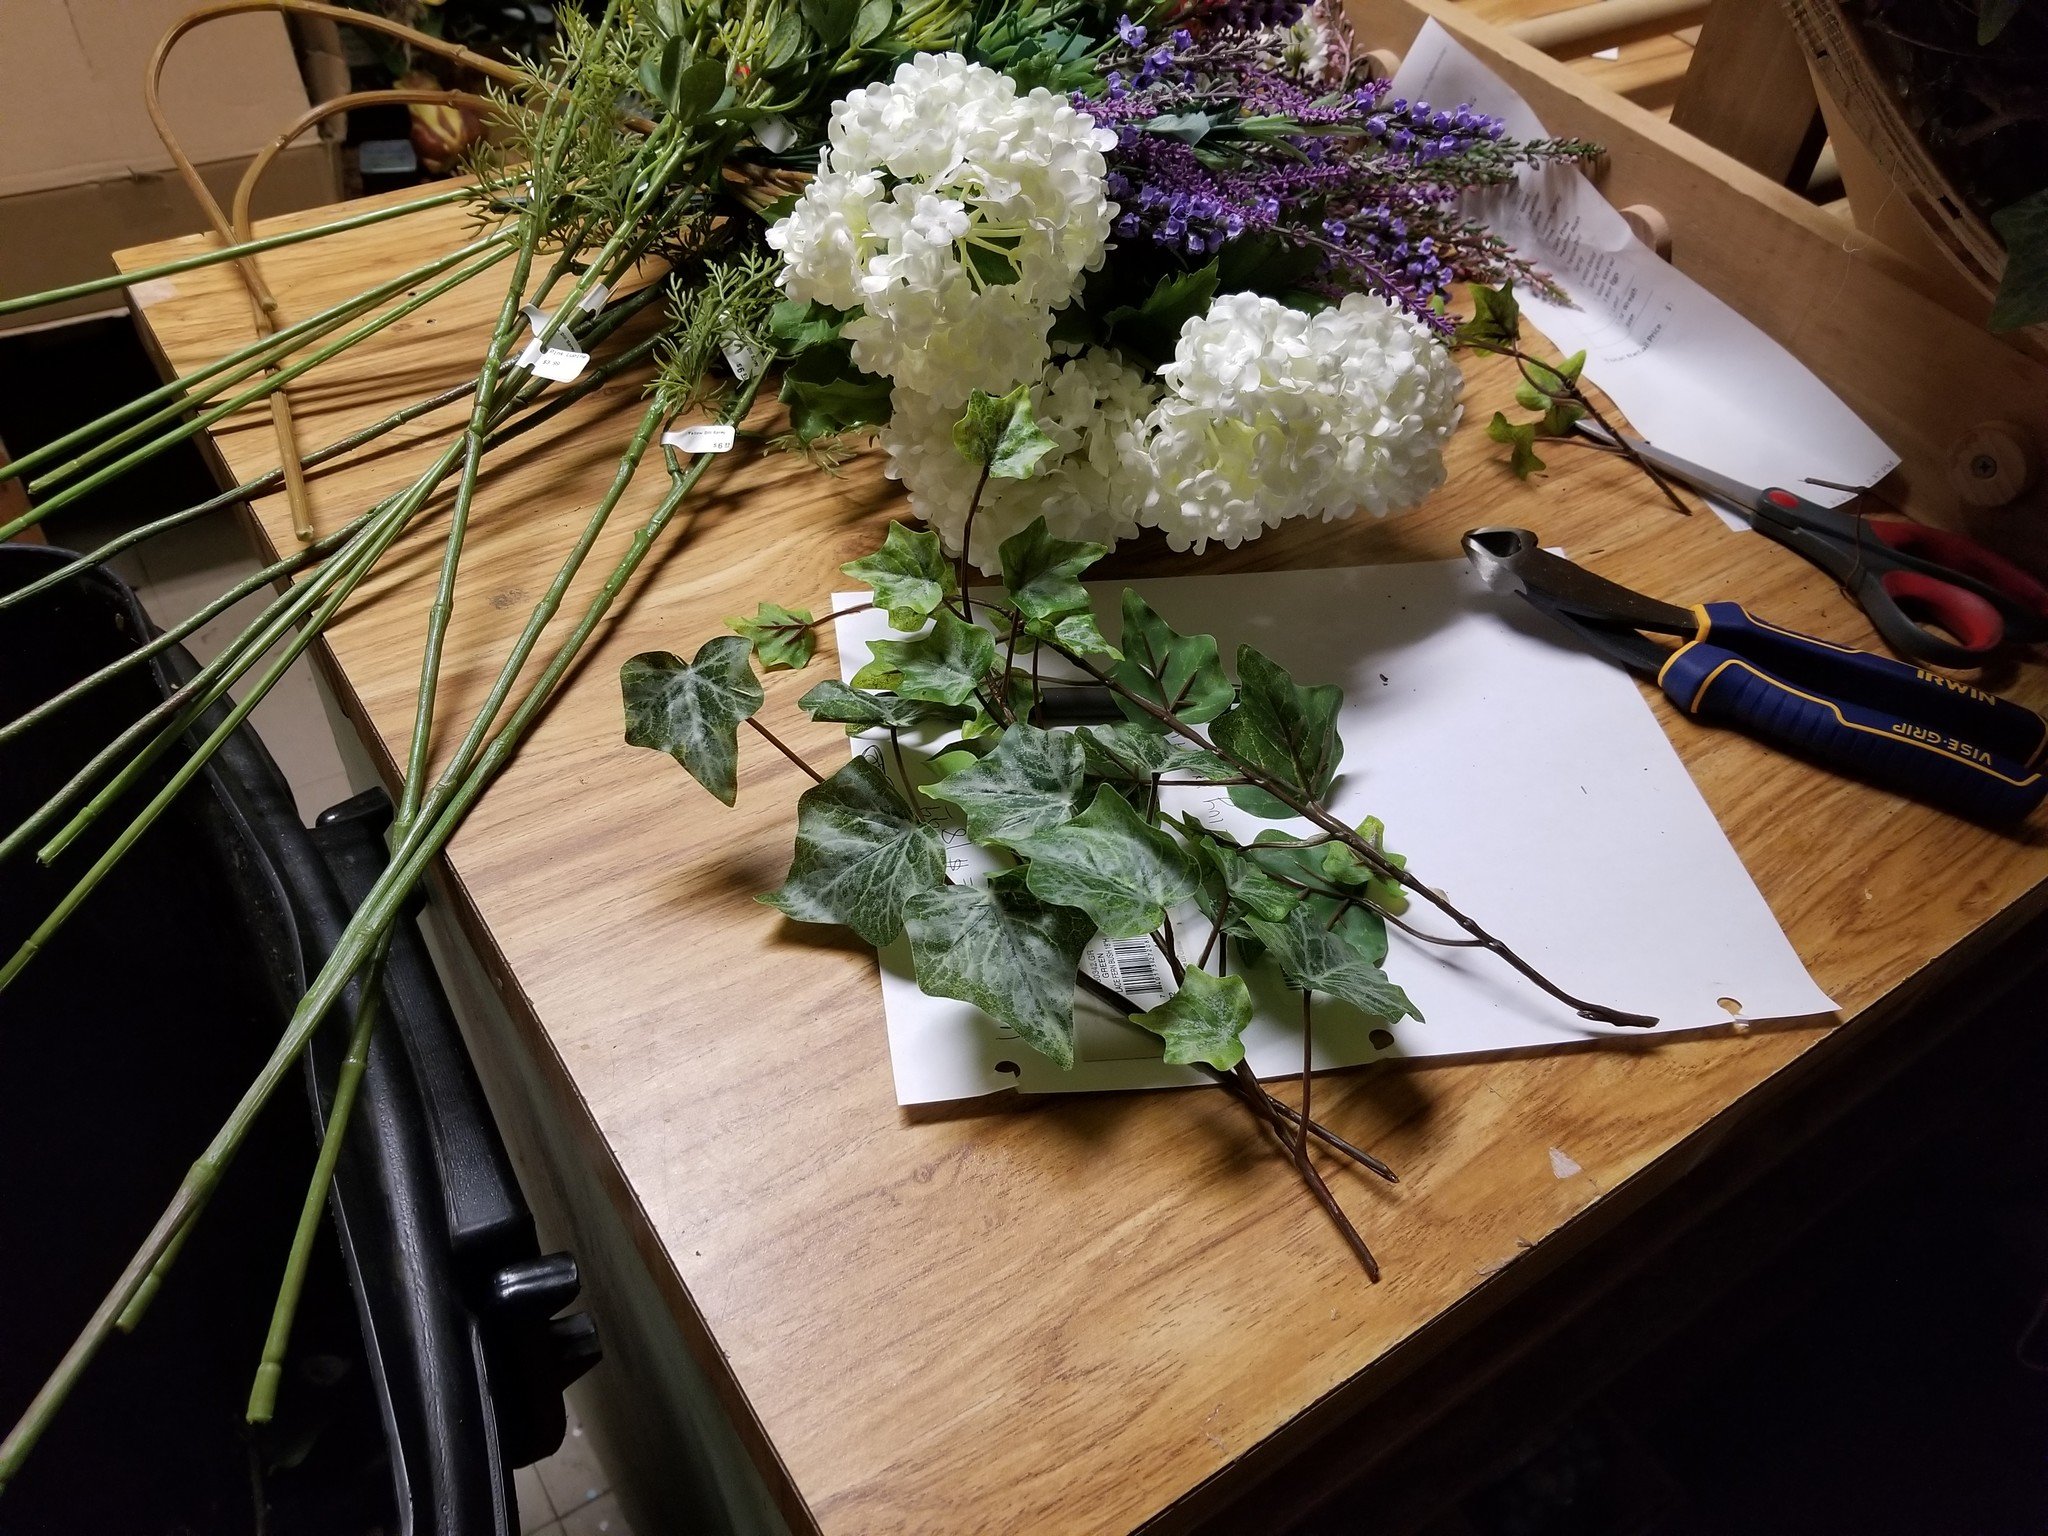
Jenna has selected these beautiful snowball flowers to work with first. She'll begin attaching the largest ones to the wreath in the shape of a triangle, and then use smaller snowballs to fill in the spaces between. That way, she's sure to have covered the entire wreath.
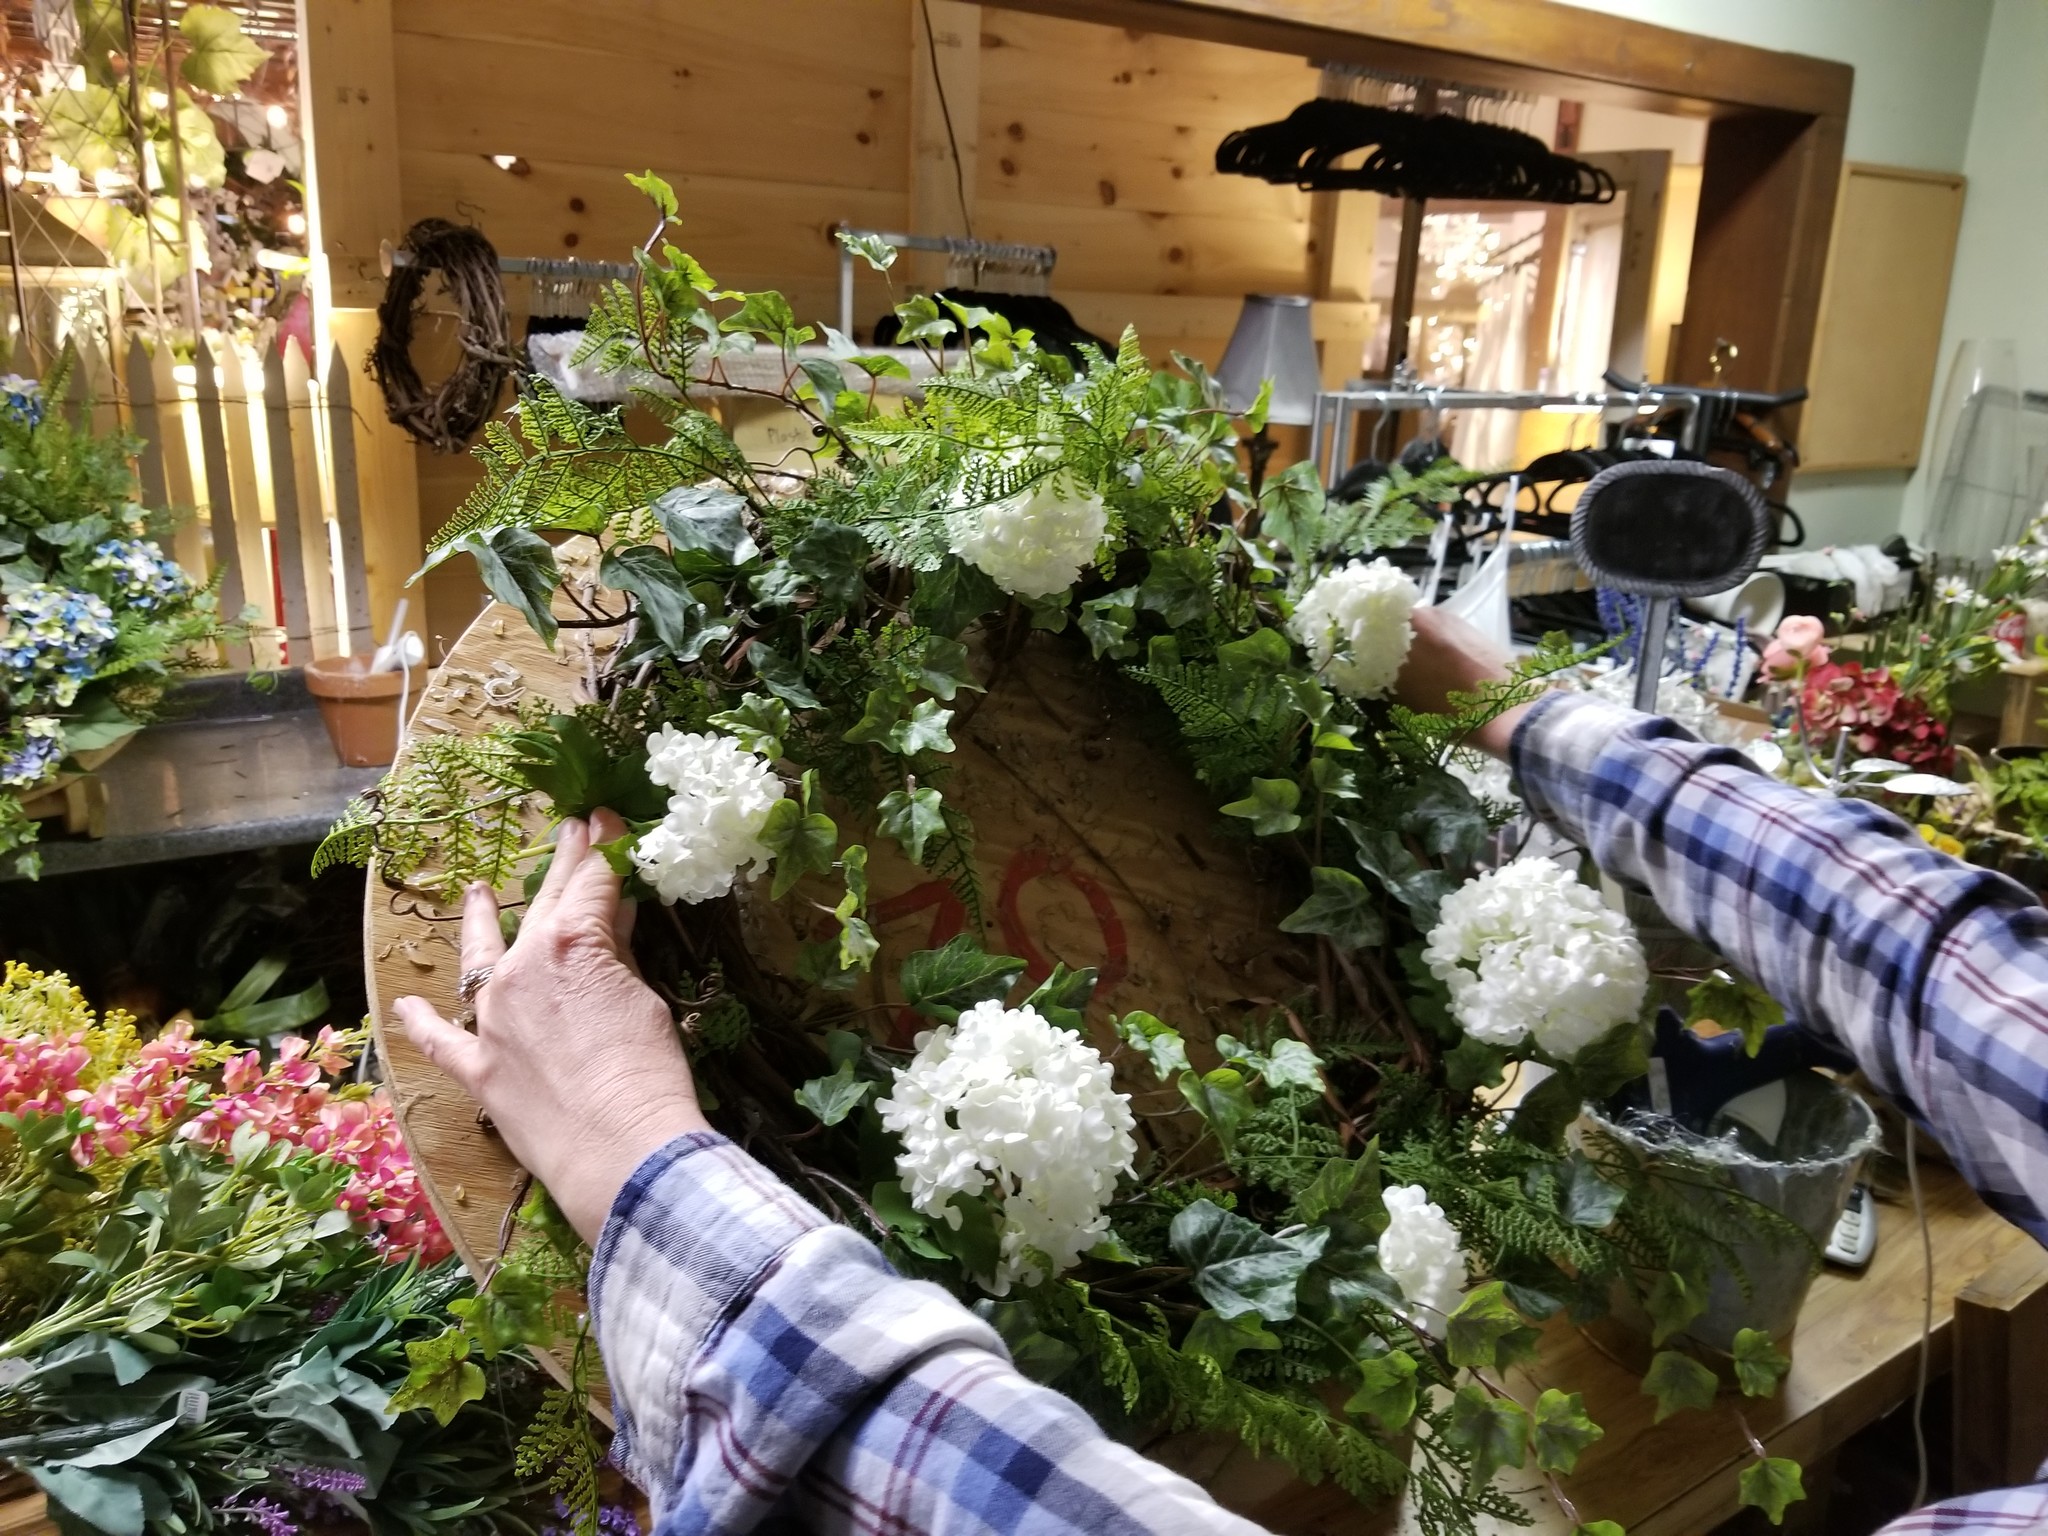
After her snowballs are all down, she'll move on to her second biggest flower, the pink lupine. At this point, it really becomes a matter of rinse and repeat. Keep adding the flowers from biggest to smallest, and make sure to keep doing to following:
- Trim the stems if needed
- Make sure the flowers are all going the same direction, like the greenery
- Make sure the hot glue is adhering to the wreath
- Fill in empty spaces with new flowers
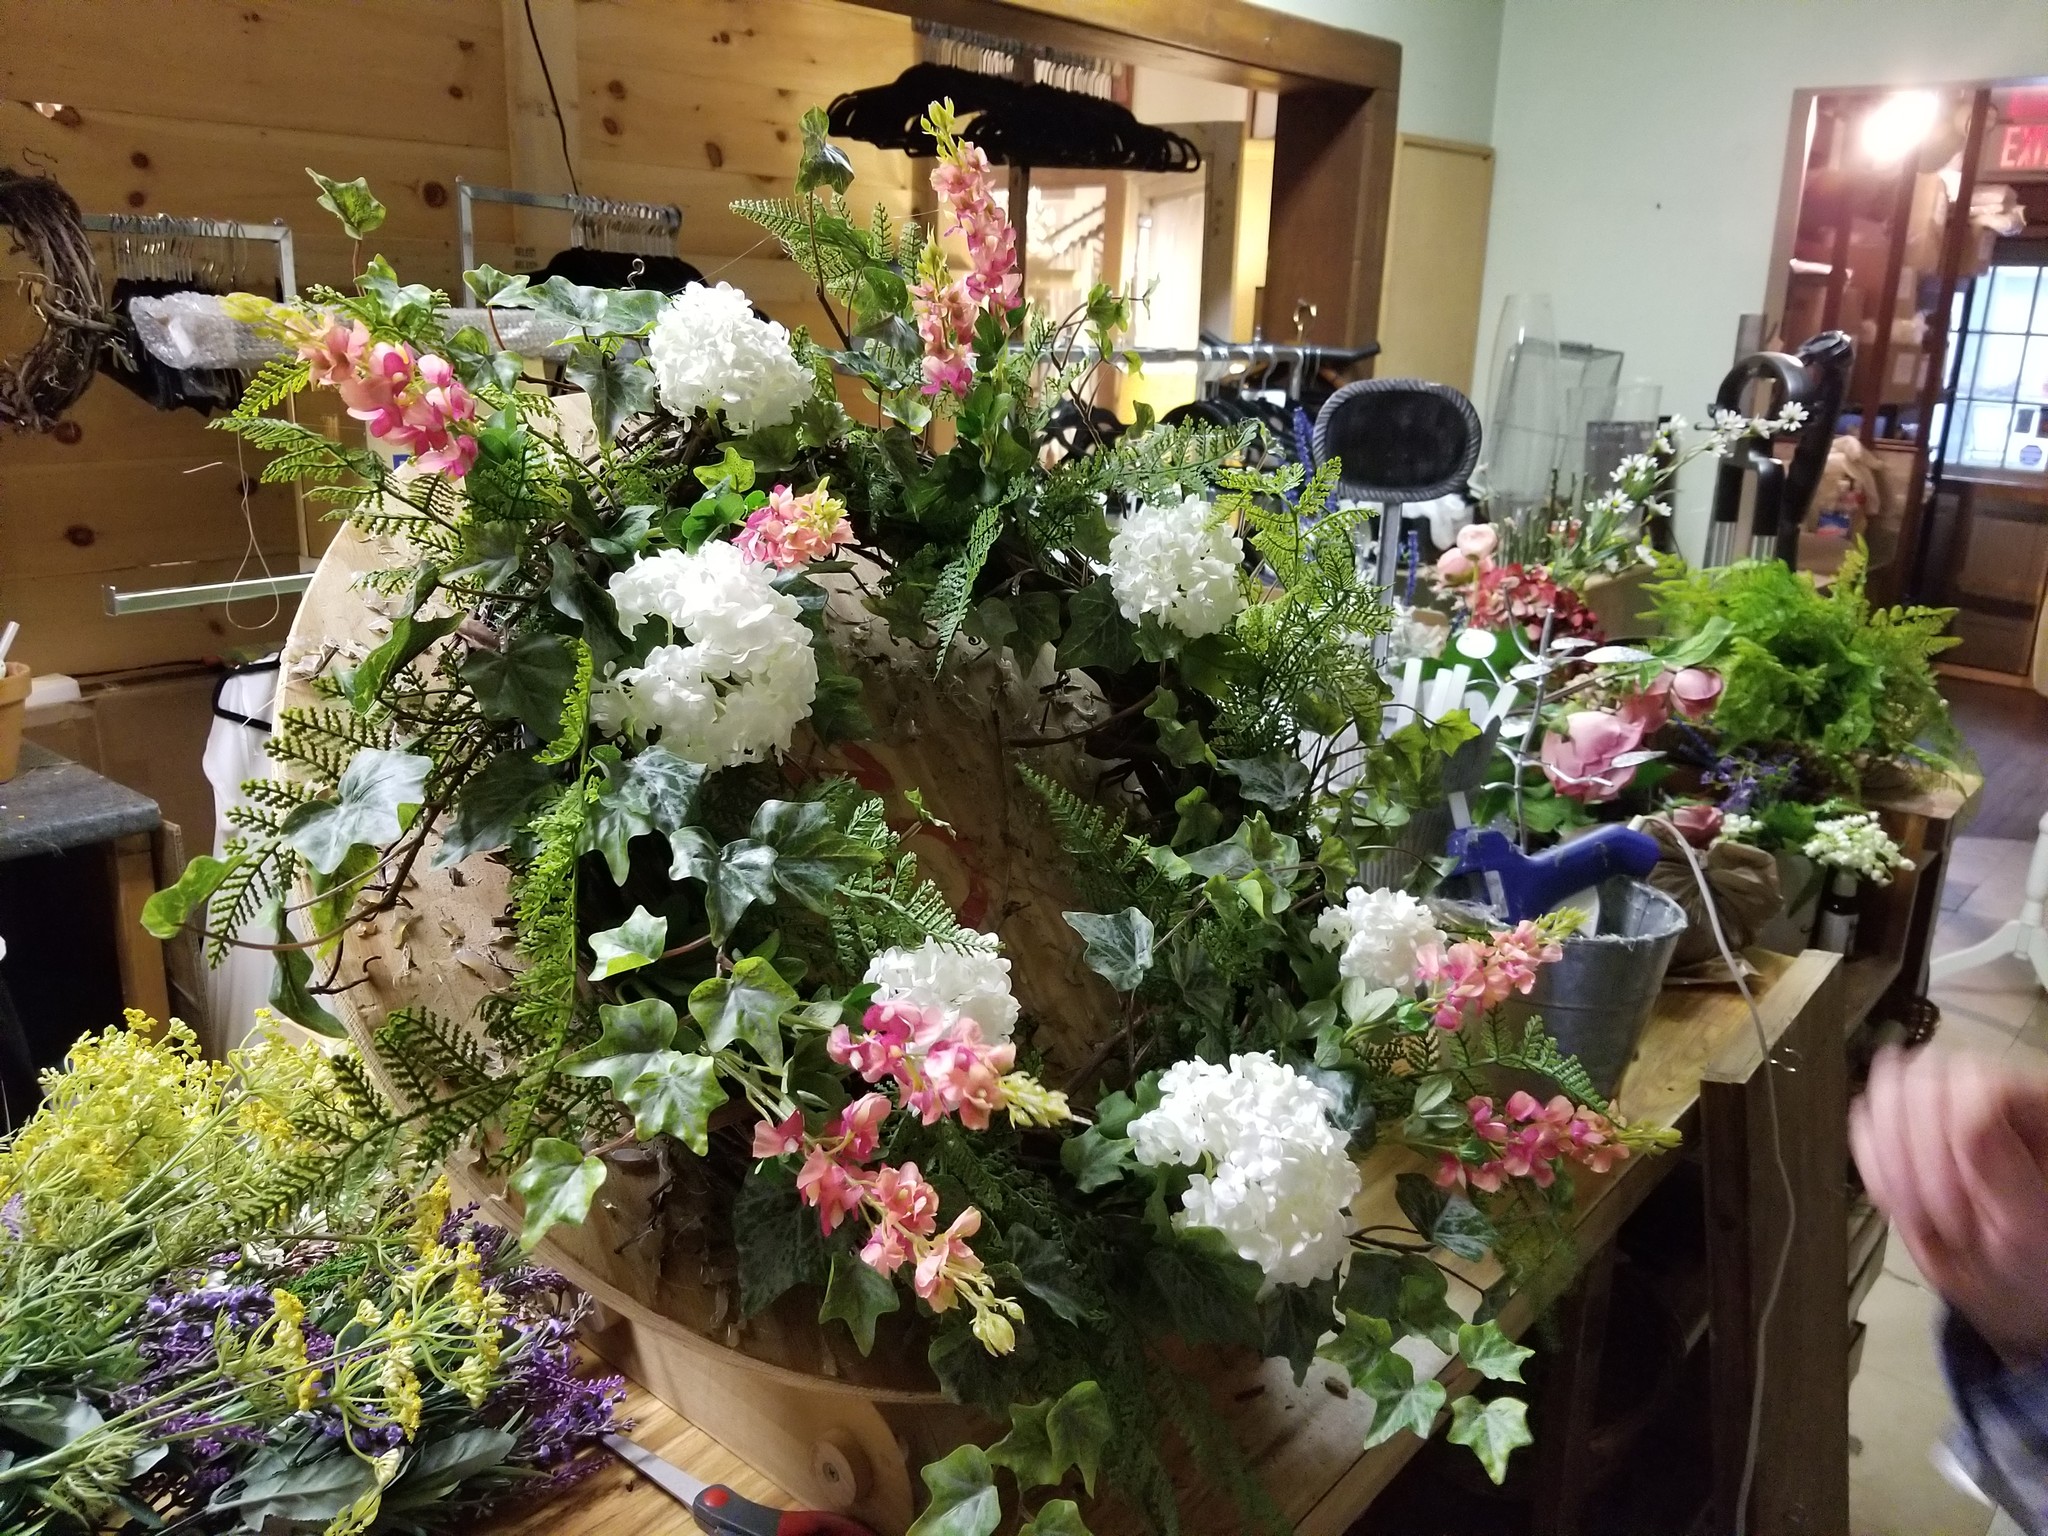
"Using the flowers is almost like painting. You want to use the colors of each flower, like putting paint on a canvas," Jenna said. "If you see a dark spot, you can highlight it with a bright color like yellow or white. It really makes the other colors pop as well."
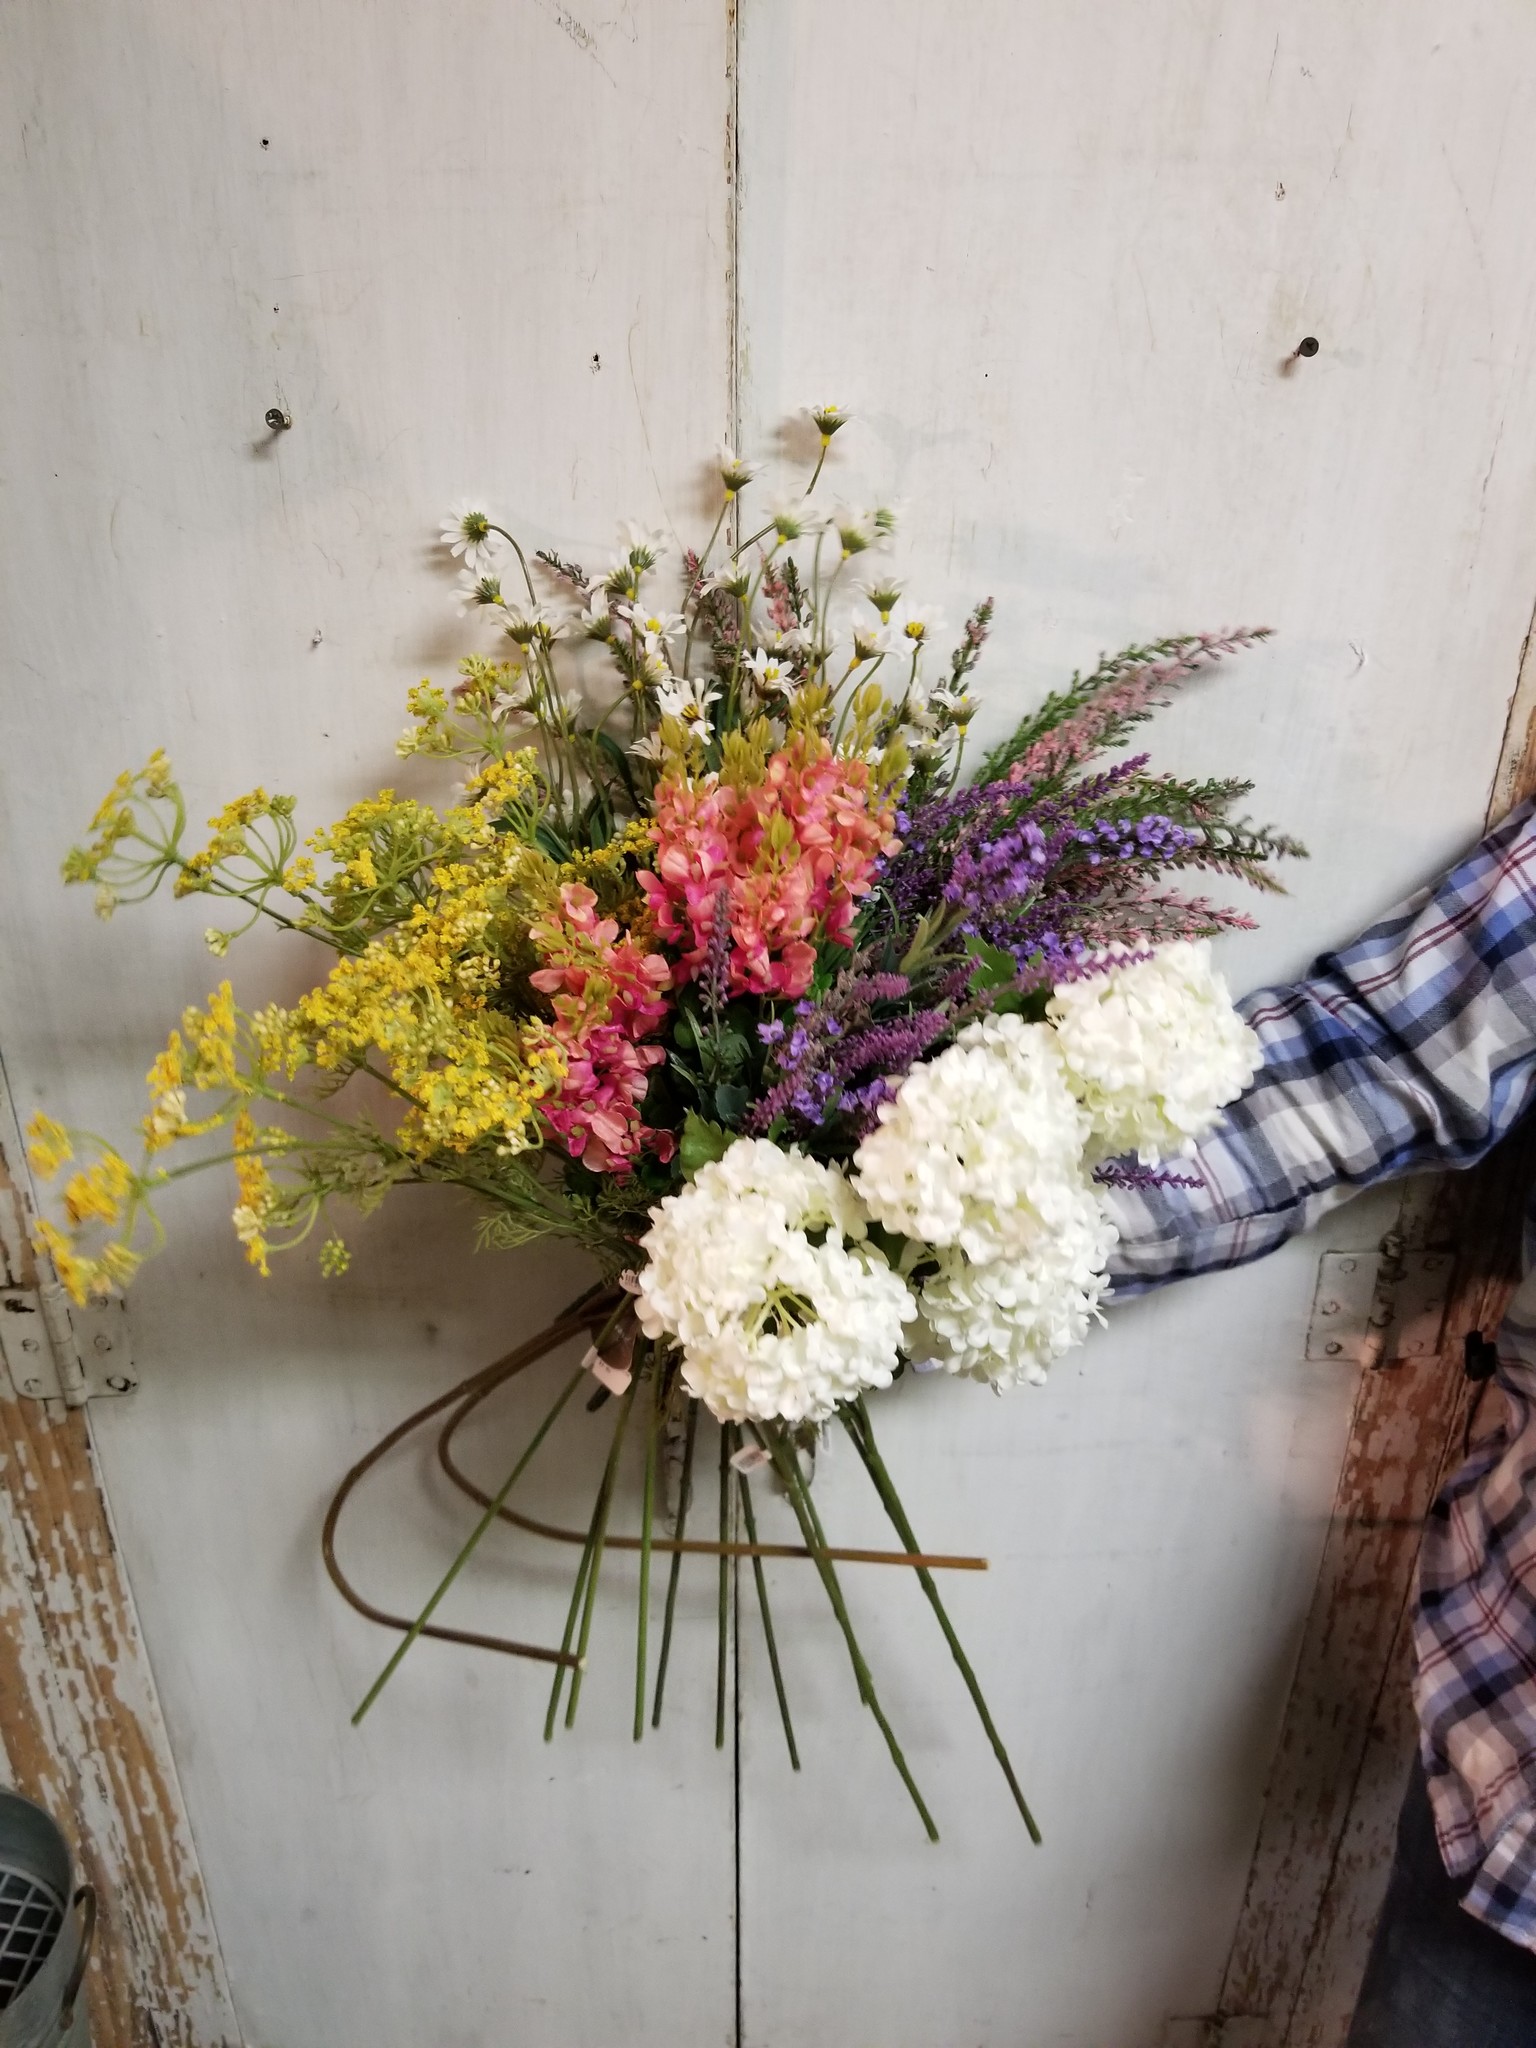
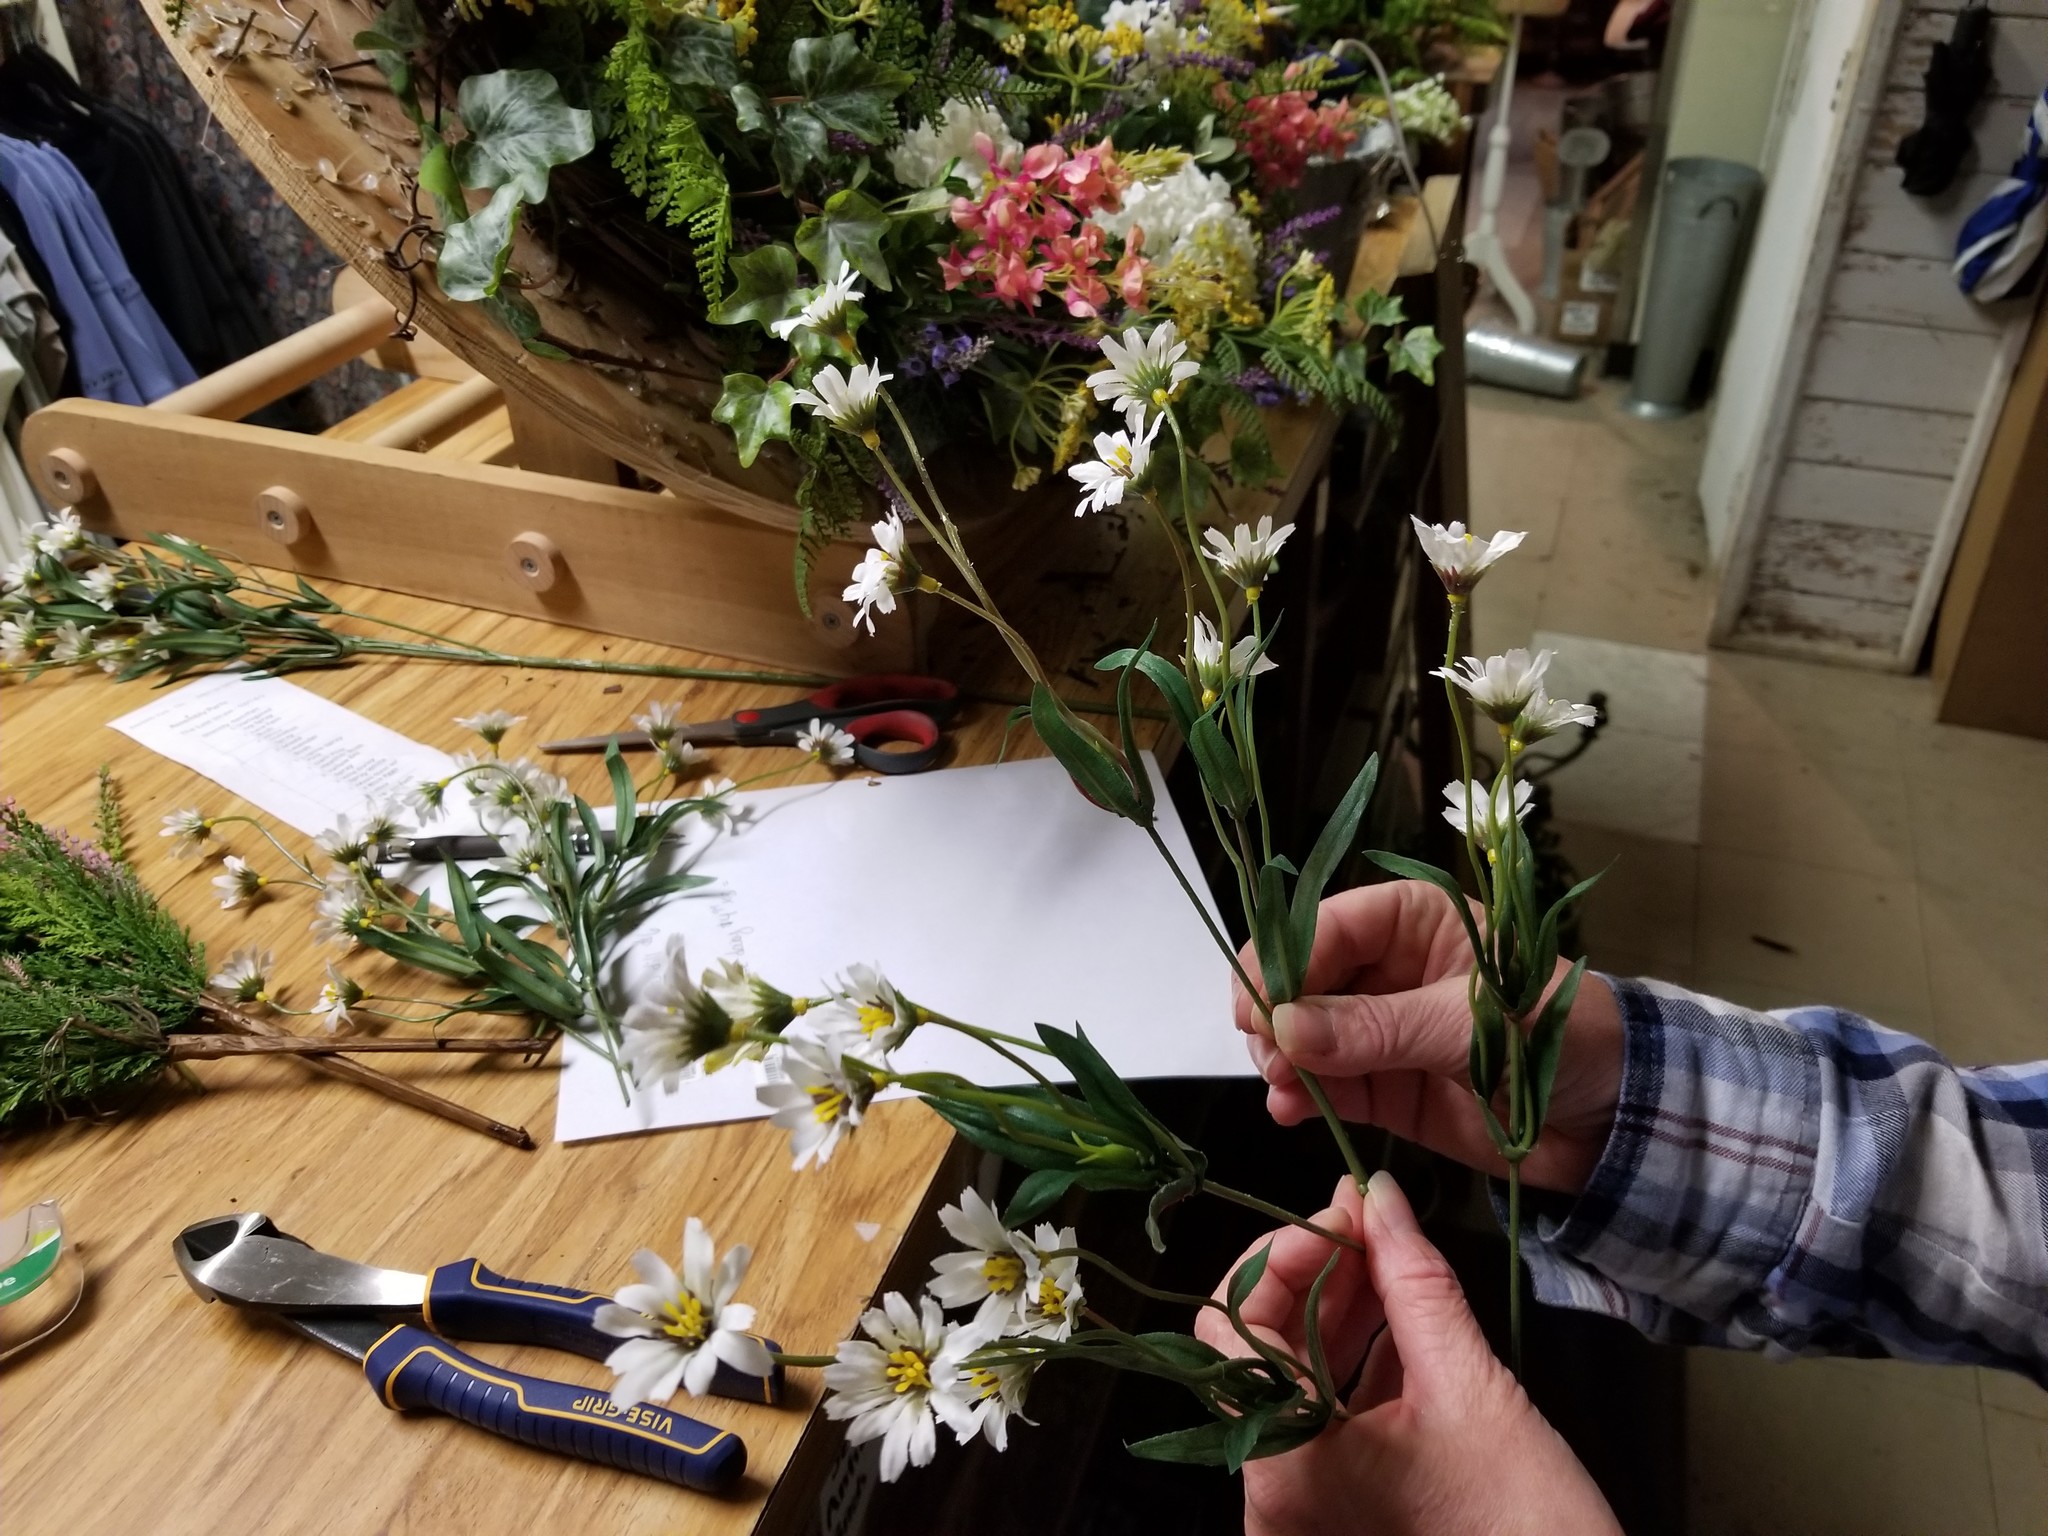
After the pink lupine, Jenna will add mixed lavender for a splash of purple, yellow dill, and wild white daisies to brighten things up even more.

That is a beautiful wreath, but we're not done quite yet...
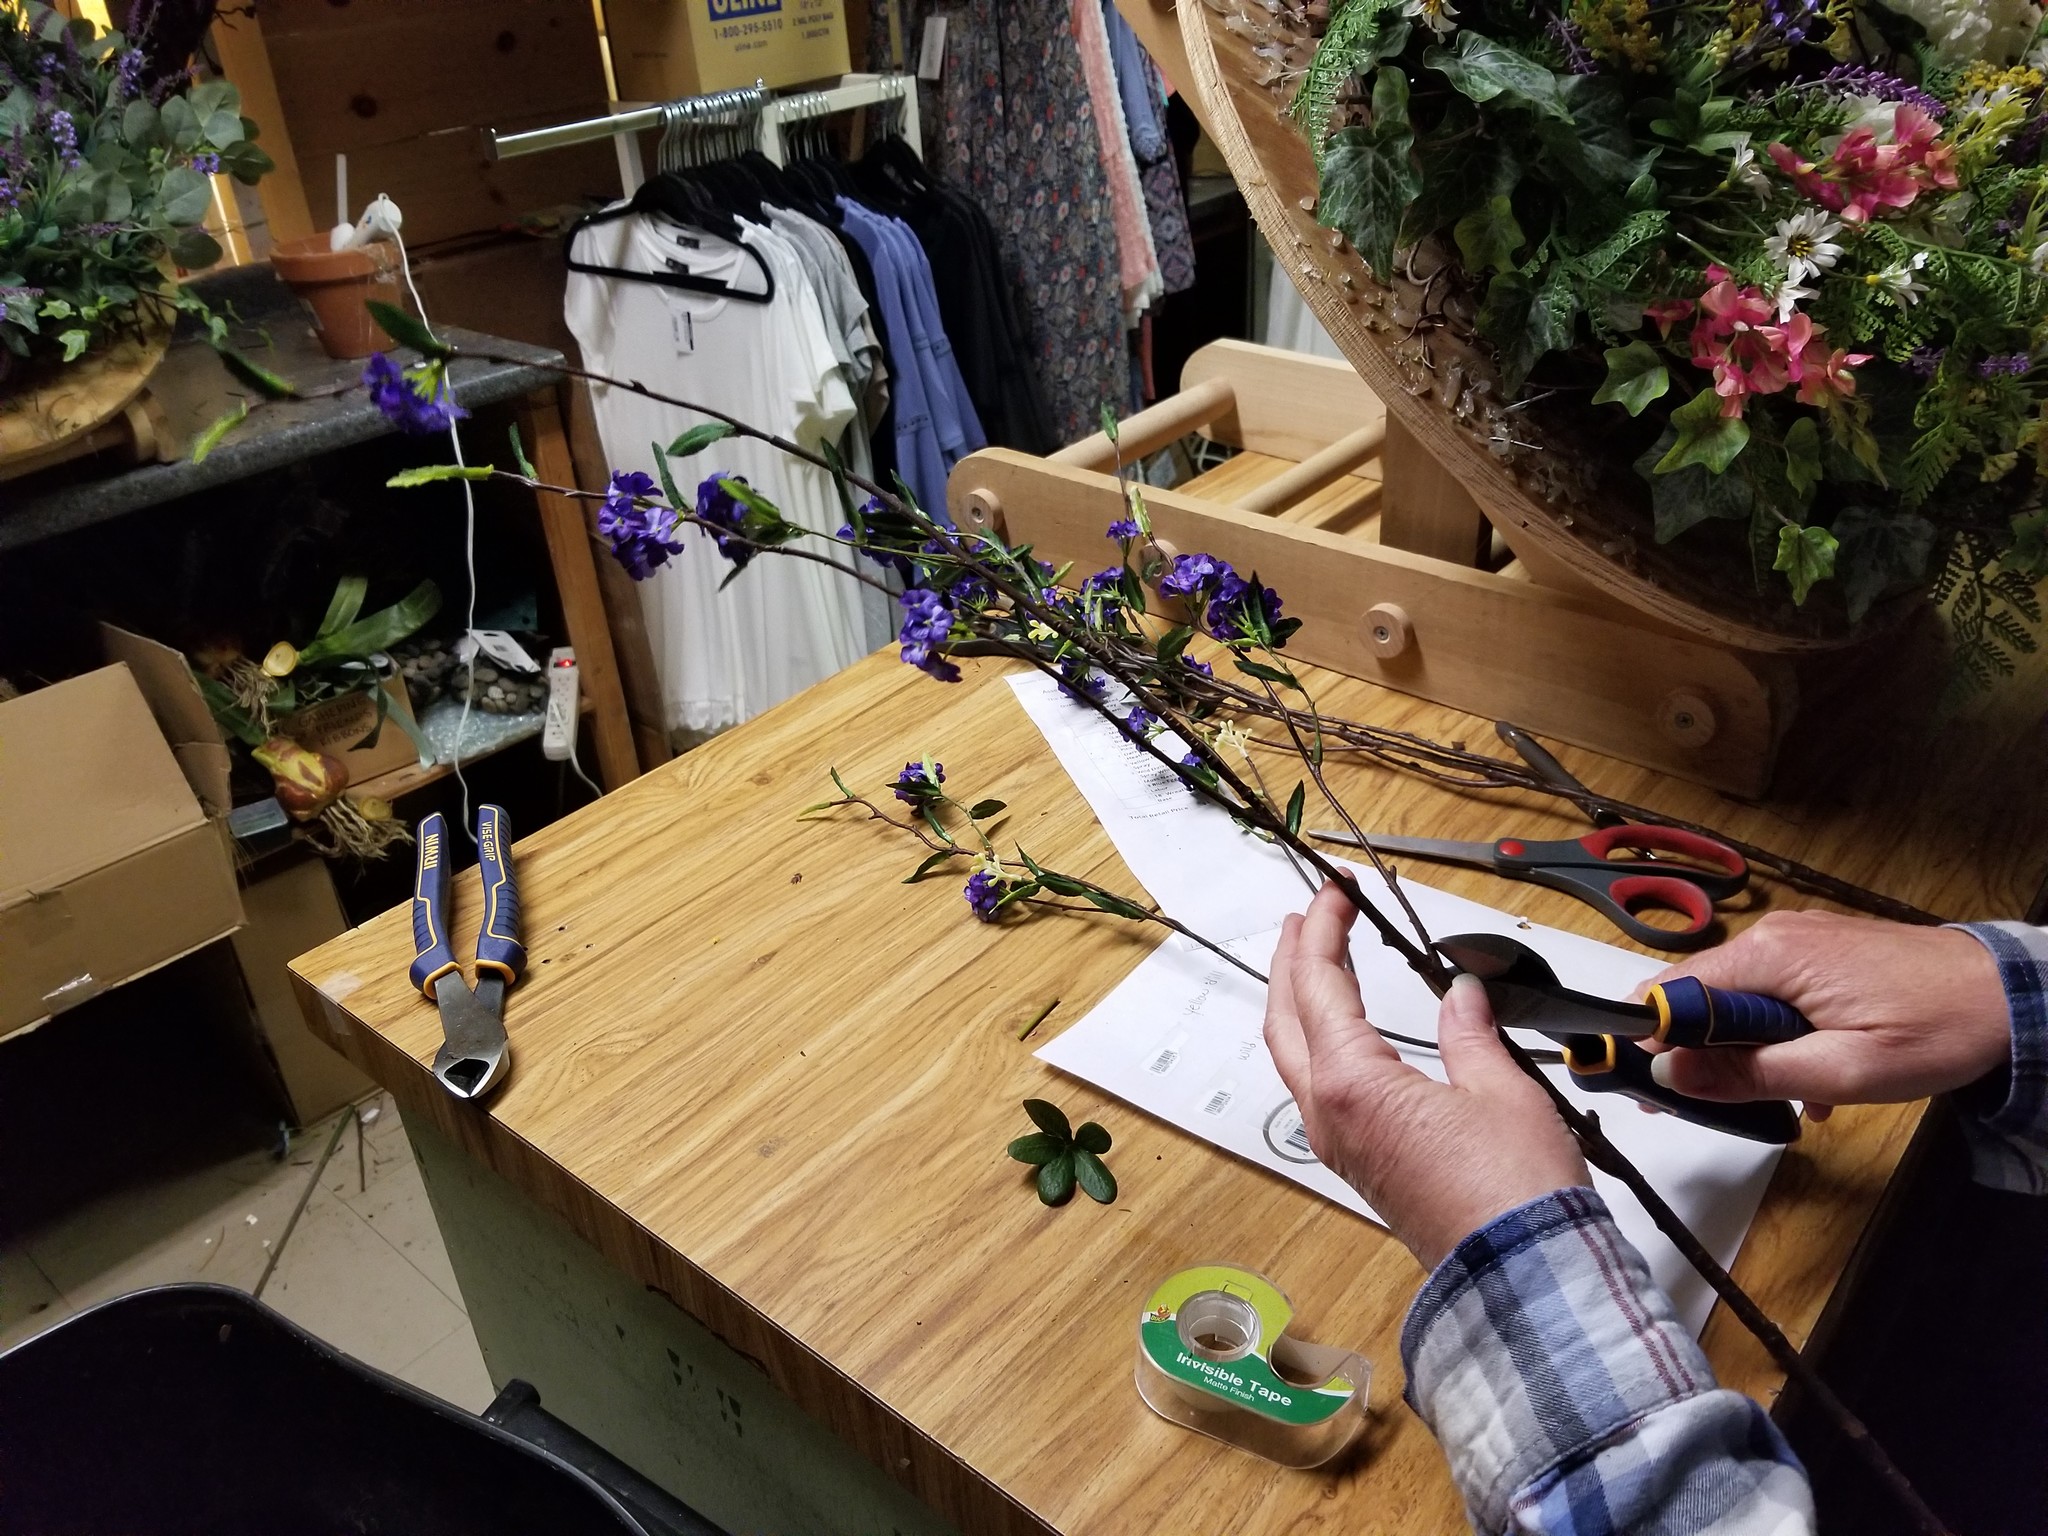
4. Add tendrils for depth
According to Roger Robertson, the owner of The Last Straw, this is what really drives our wreaths home. He should know - because he's been making wreaths at The Last Straw since 1988.
"Here's the thing that separates our wreaths from others is how we use tendrils," Roger said. "It makes the wreath look three-dimensional. A lot of wreaths look flat, because they pack it down too much, but ours have a lot of depth. It really makes it look natural."
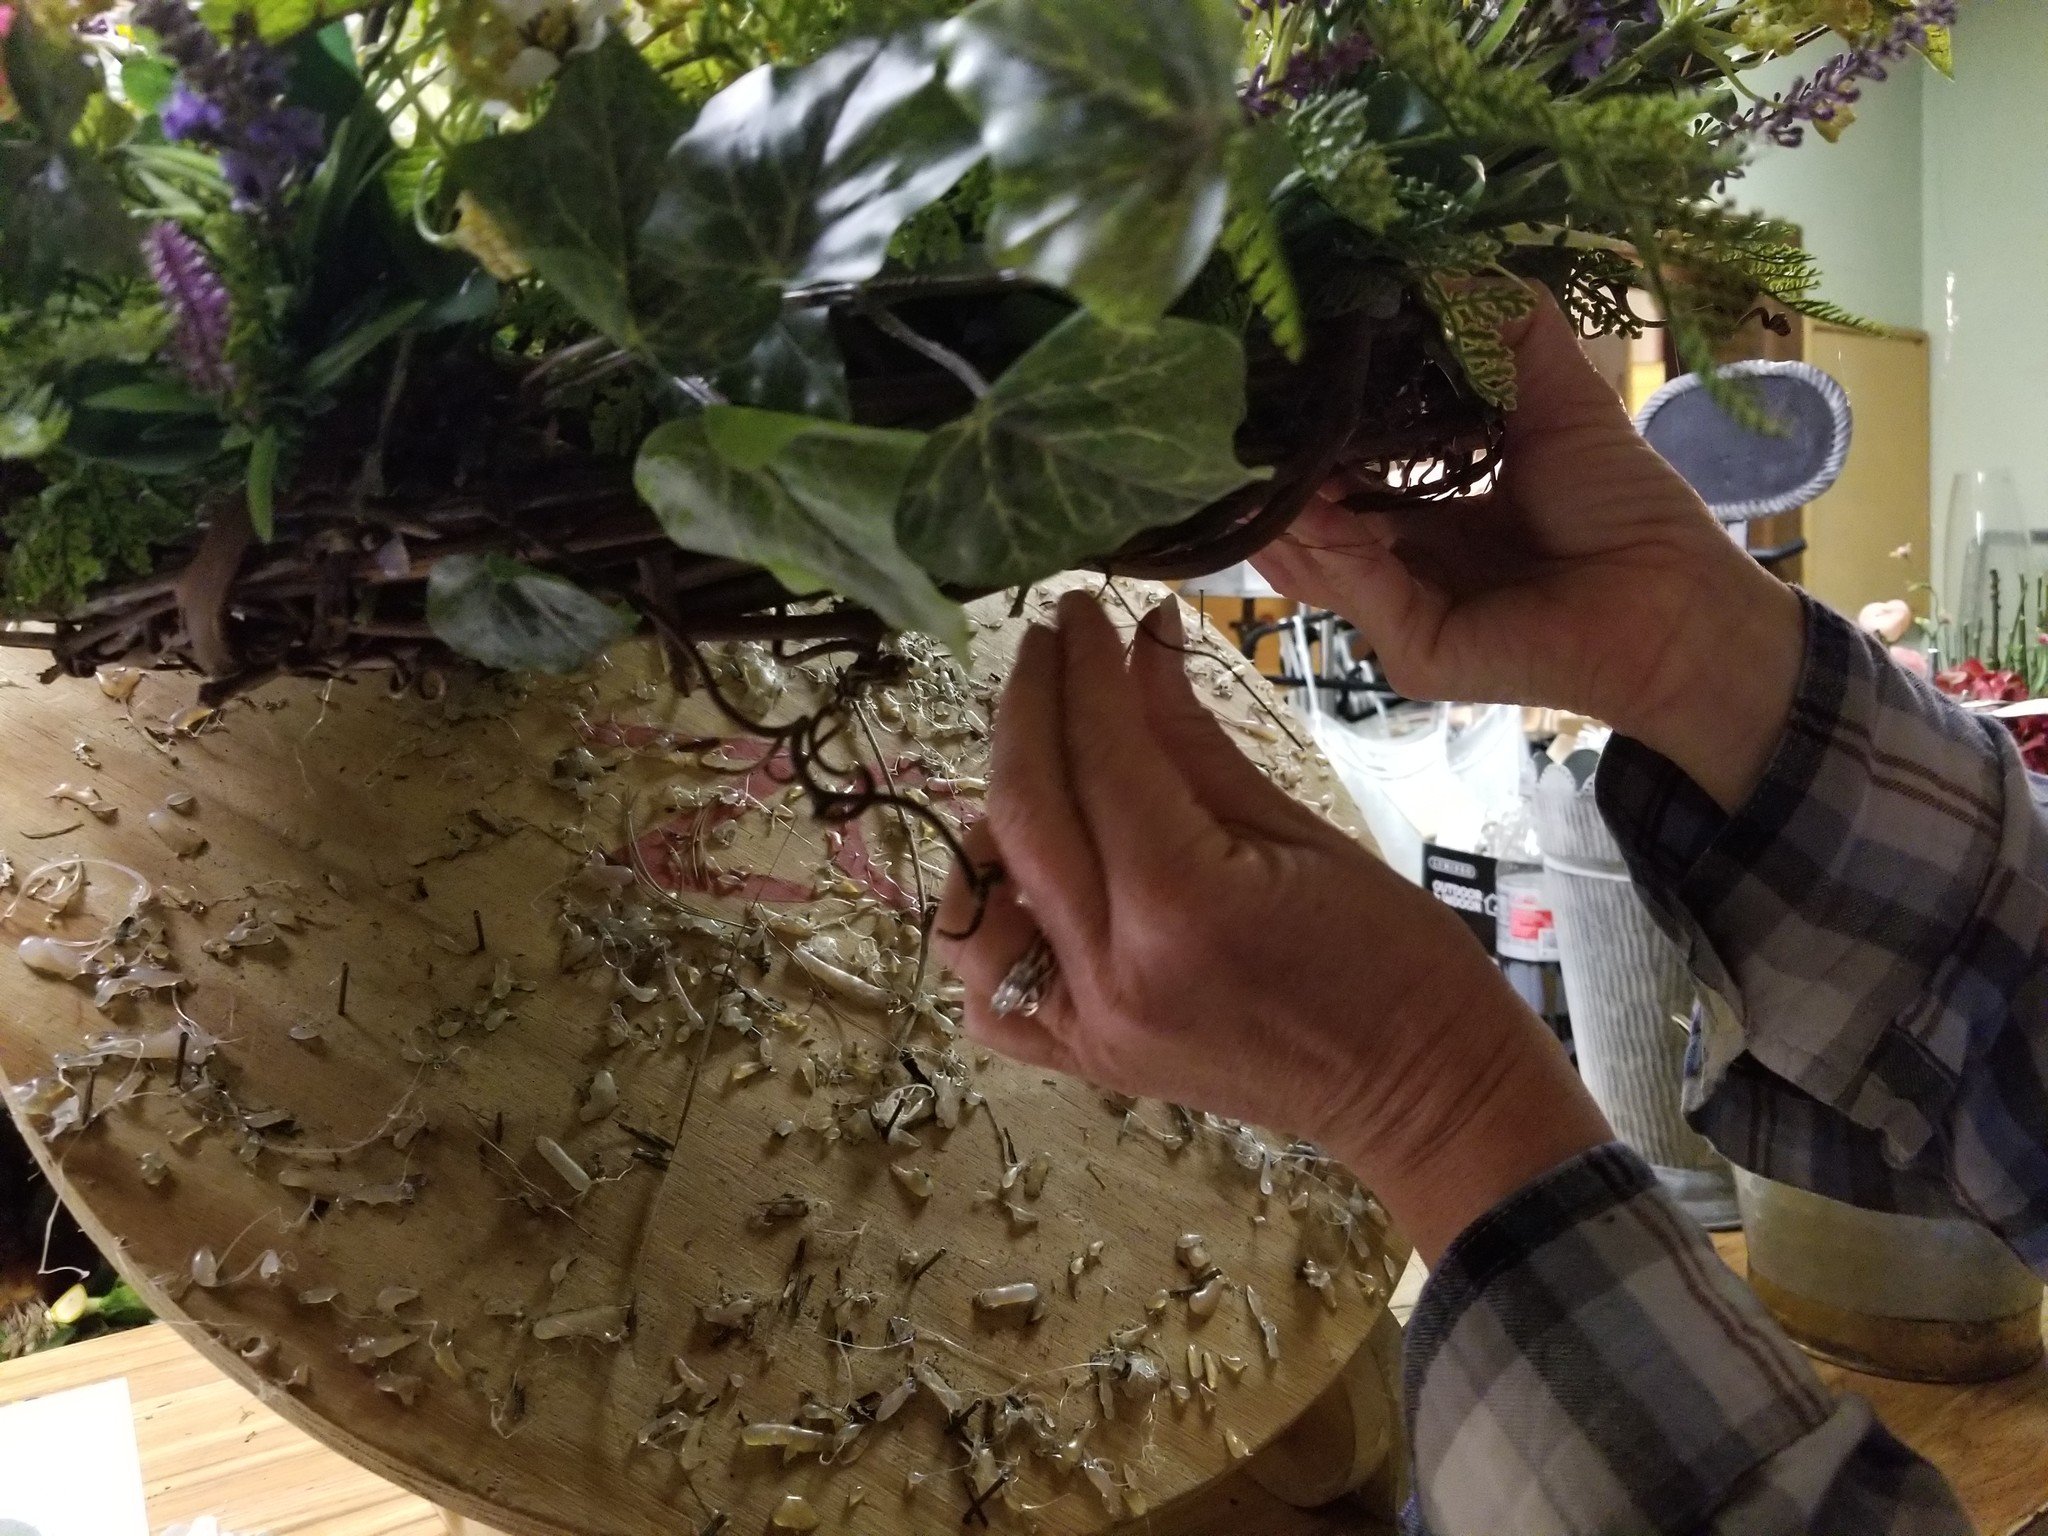
The tendrils are meant to be long, and stick out from the wreath. This is what will give the wreath depth, so don't cut them down too much.
For her tendrils, Jenna is adding spirea branch for another pop of purple.
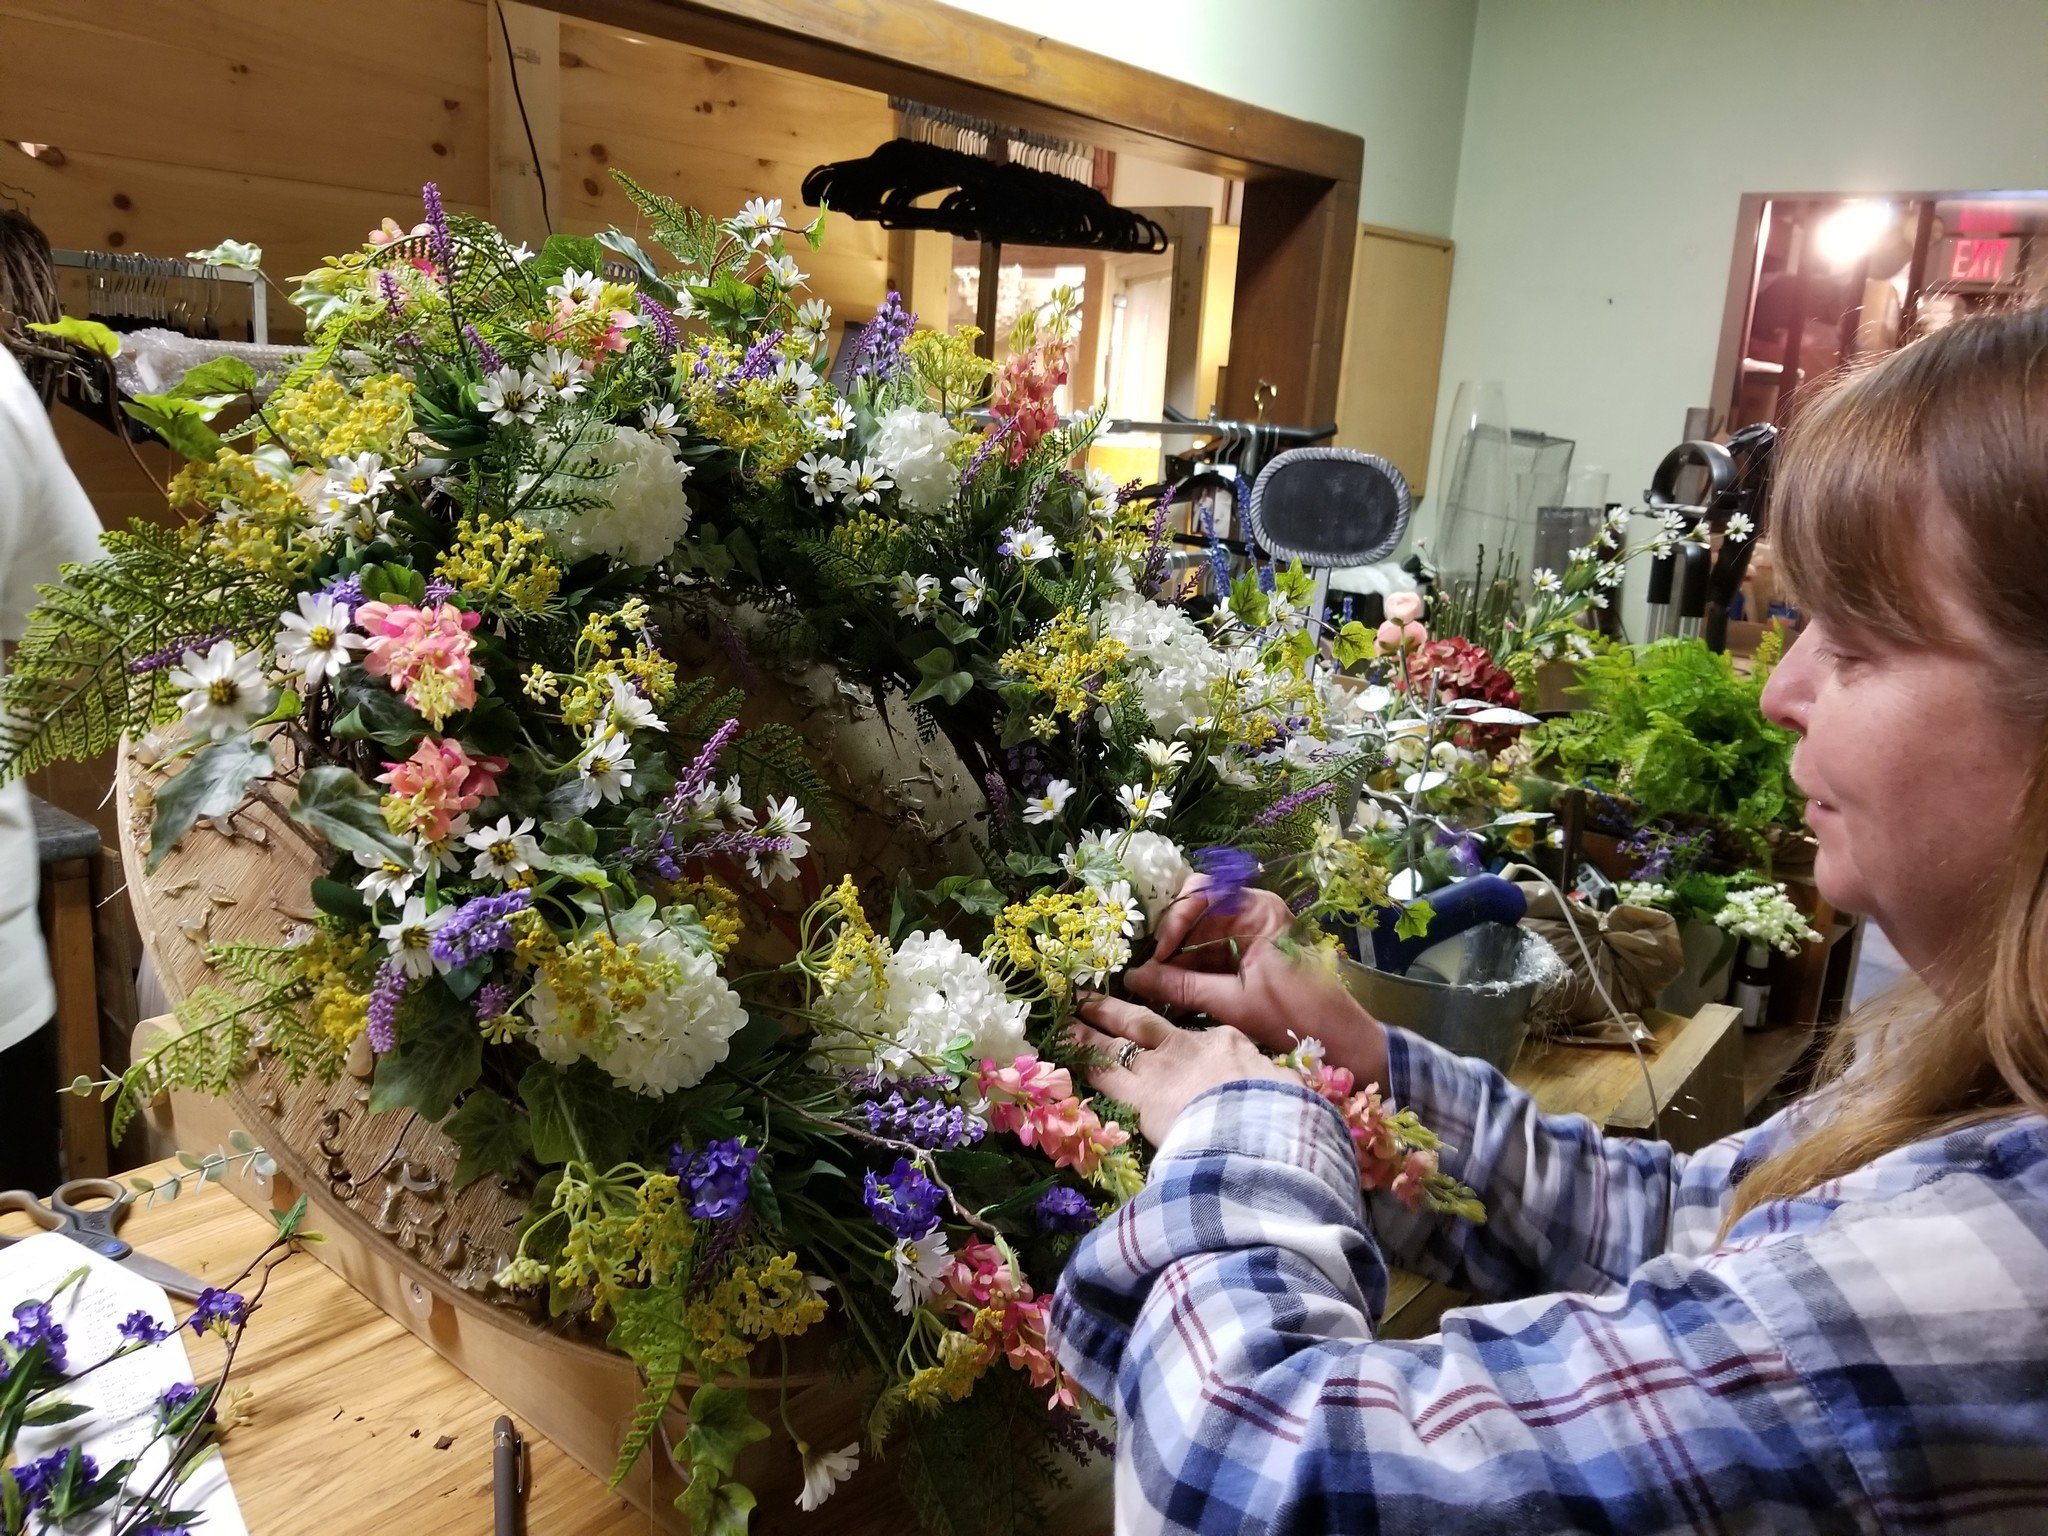
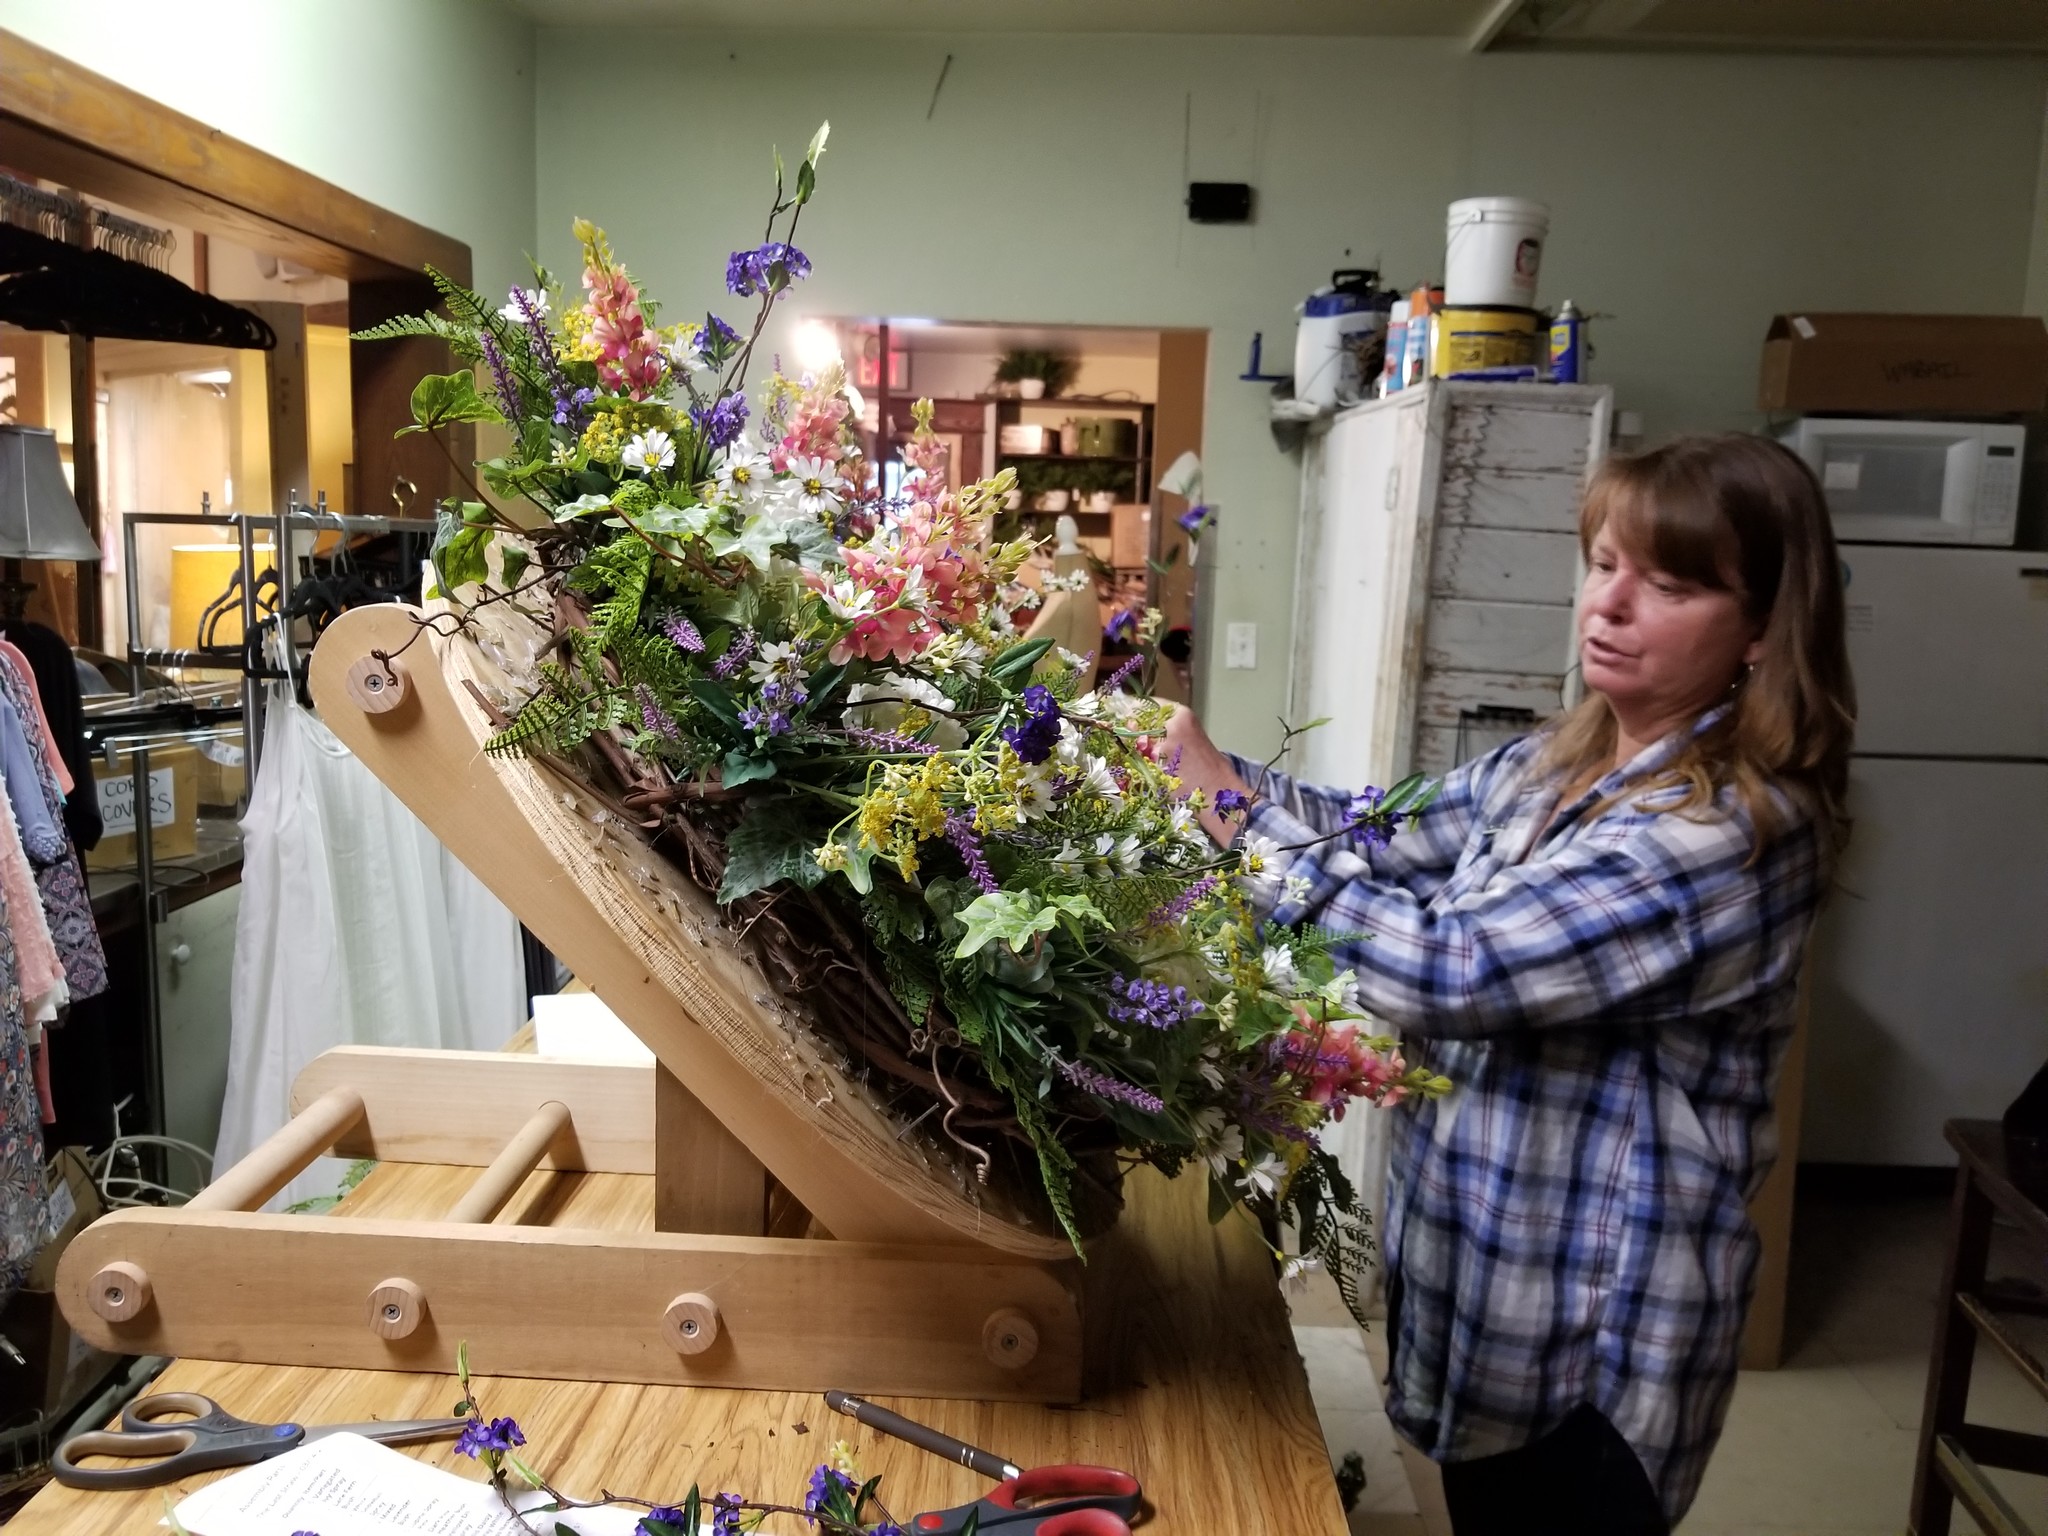
As You can see from this side view, the spirea branch that Jenna added to the wreath really stick out, making the whole package look natural and realistic.
5. Finishing touches and we're done!
We're almost done! First, we'll show you how to add a wire so you can hang the wreath - then we'll give you a special bonus...
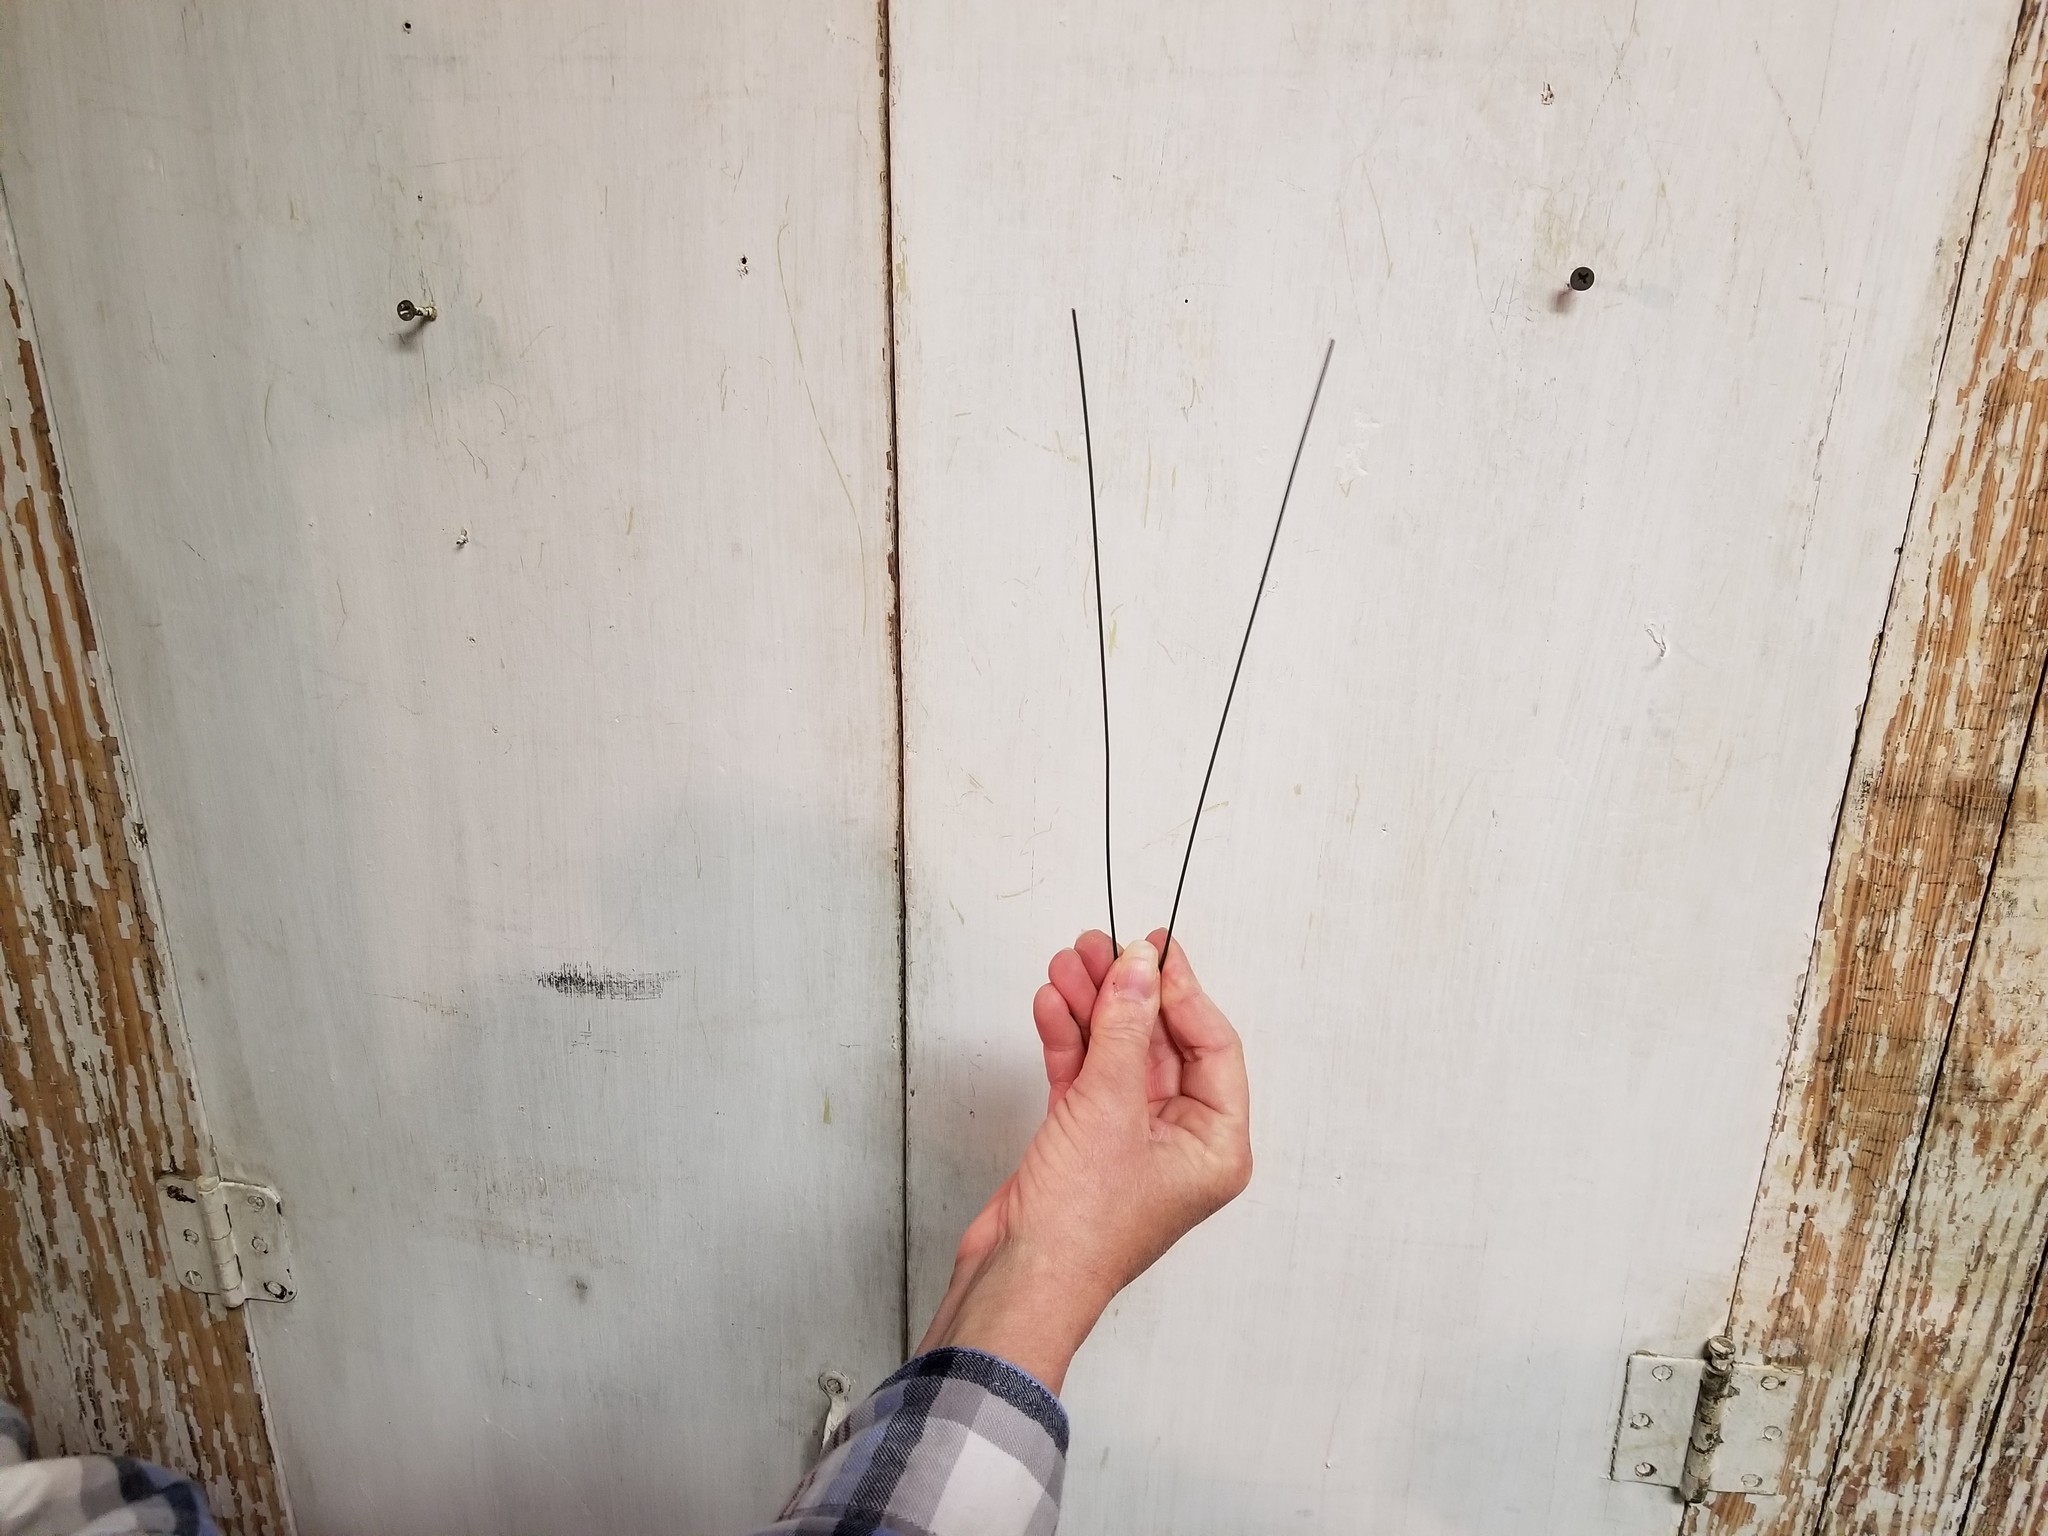
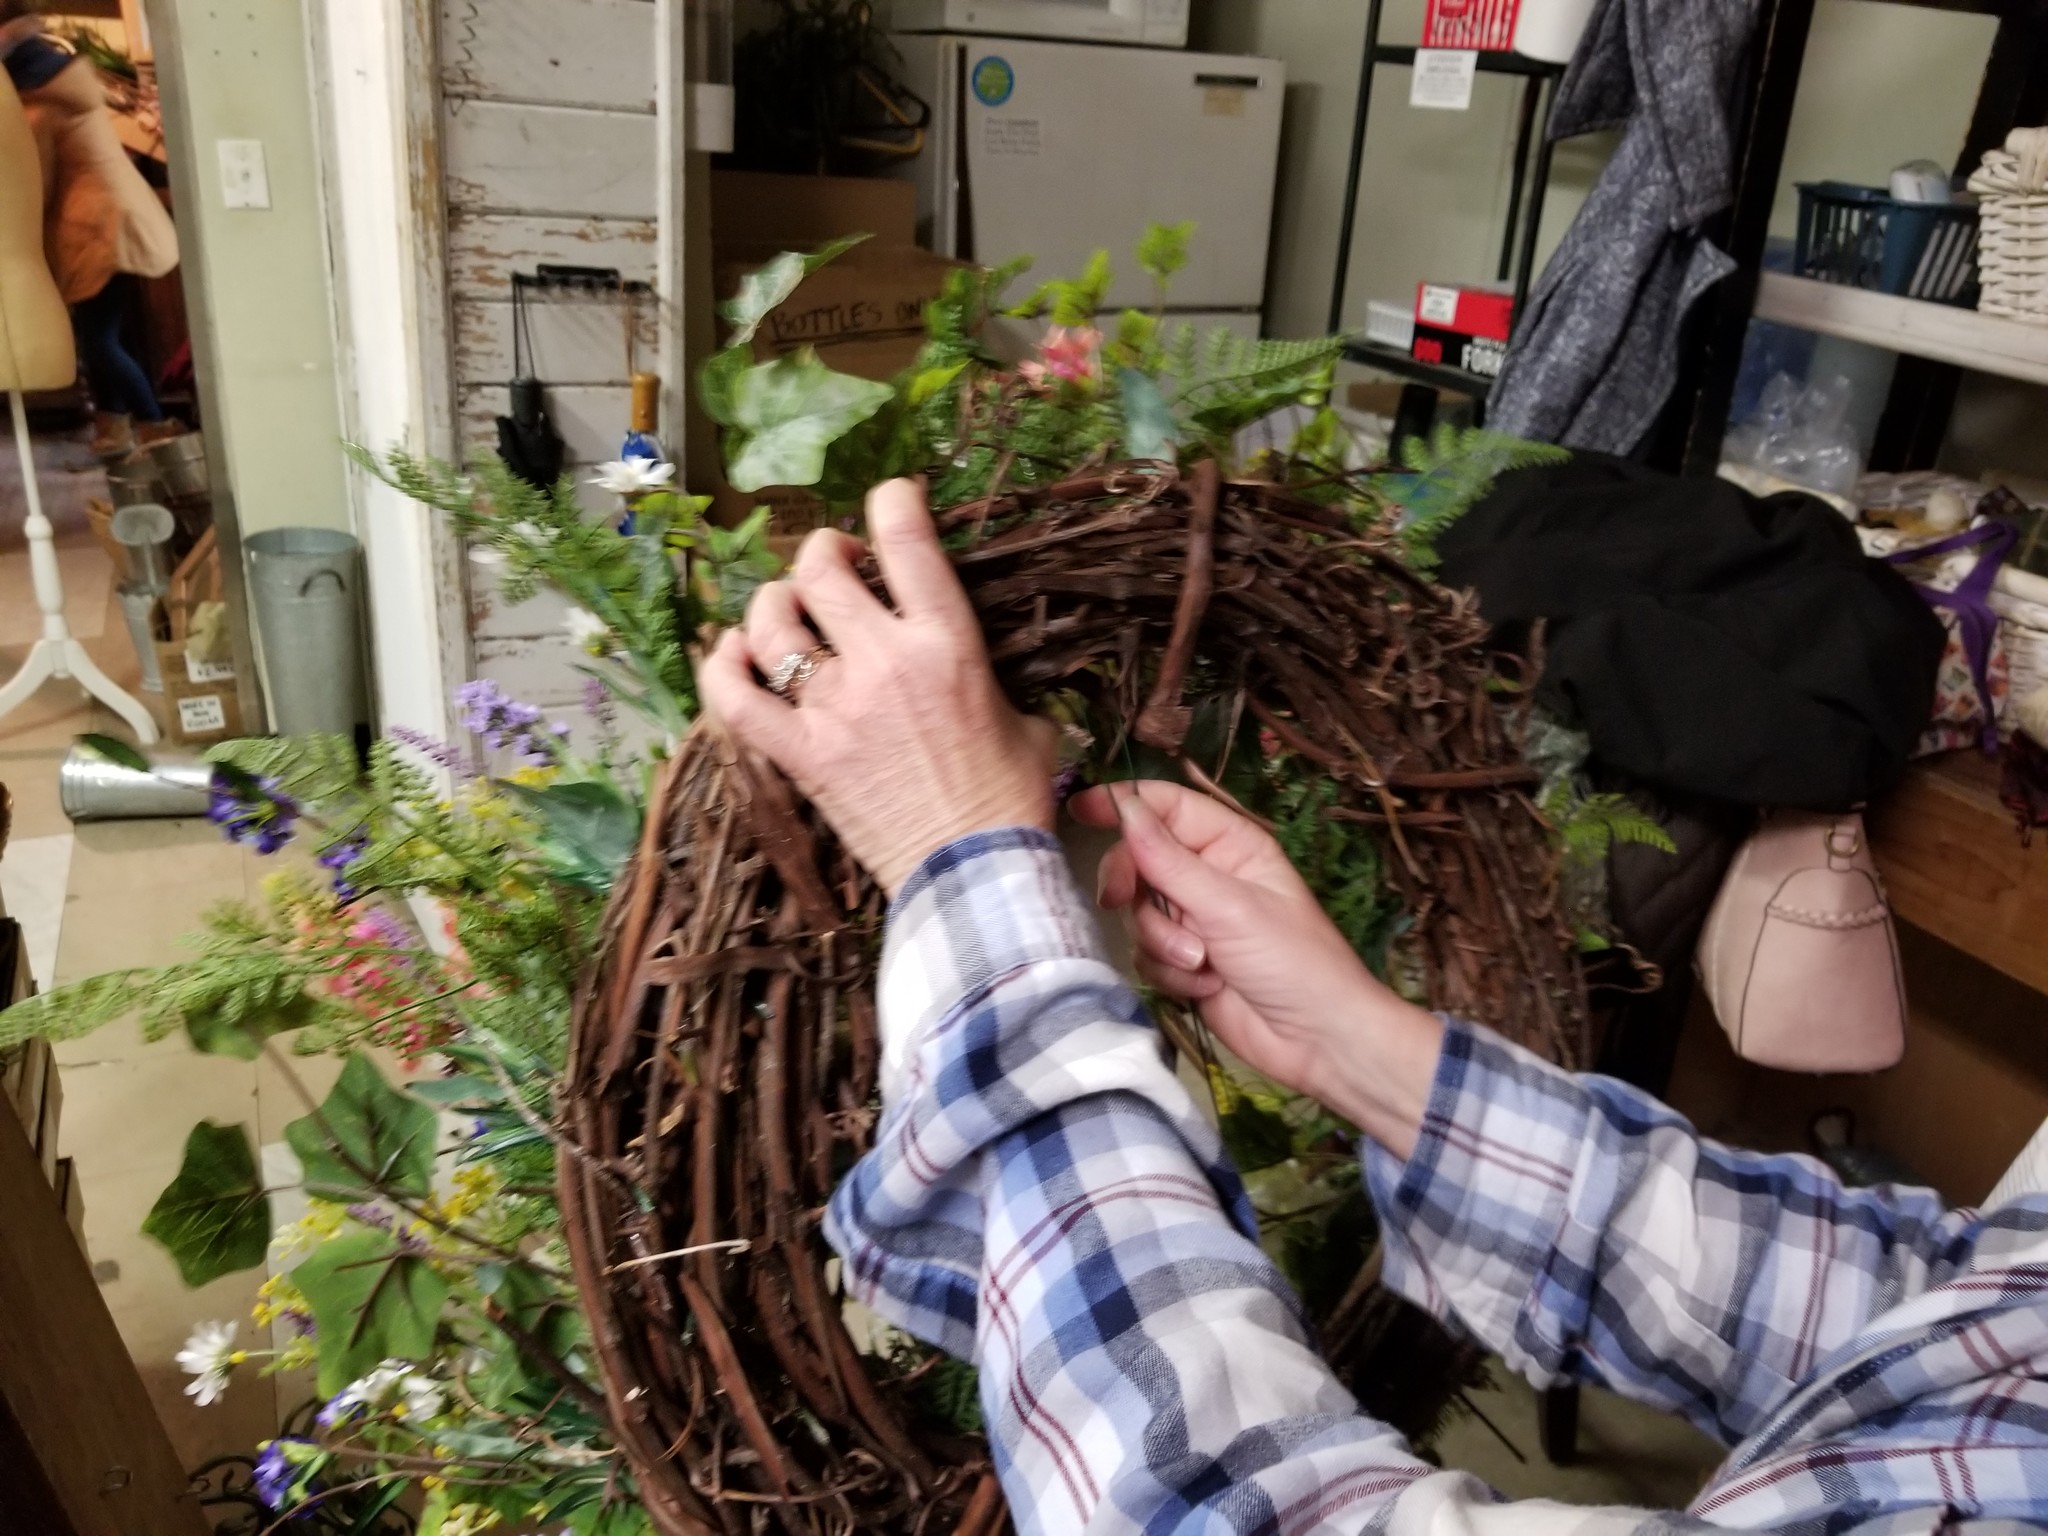
To make a hook to hang the wreath, start with a wire, and bend it in half, forming a V.
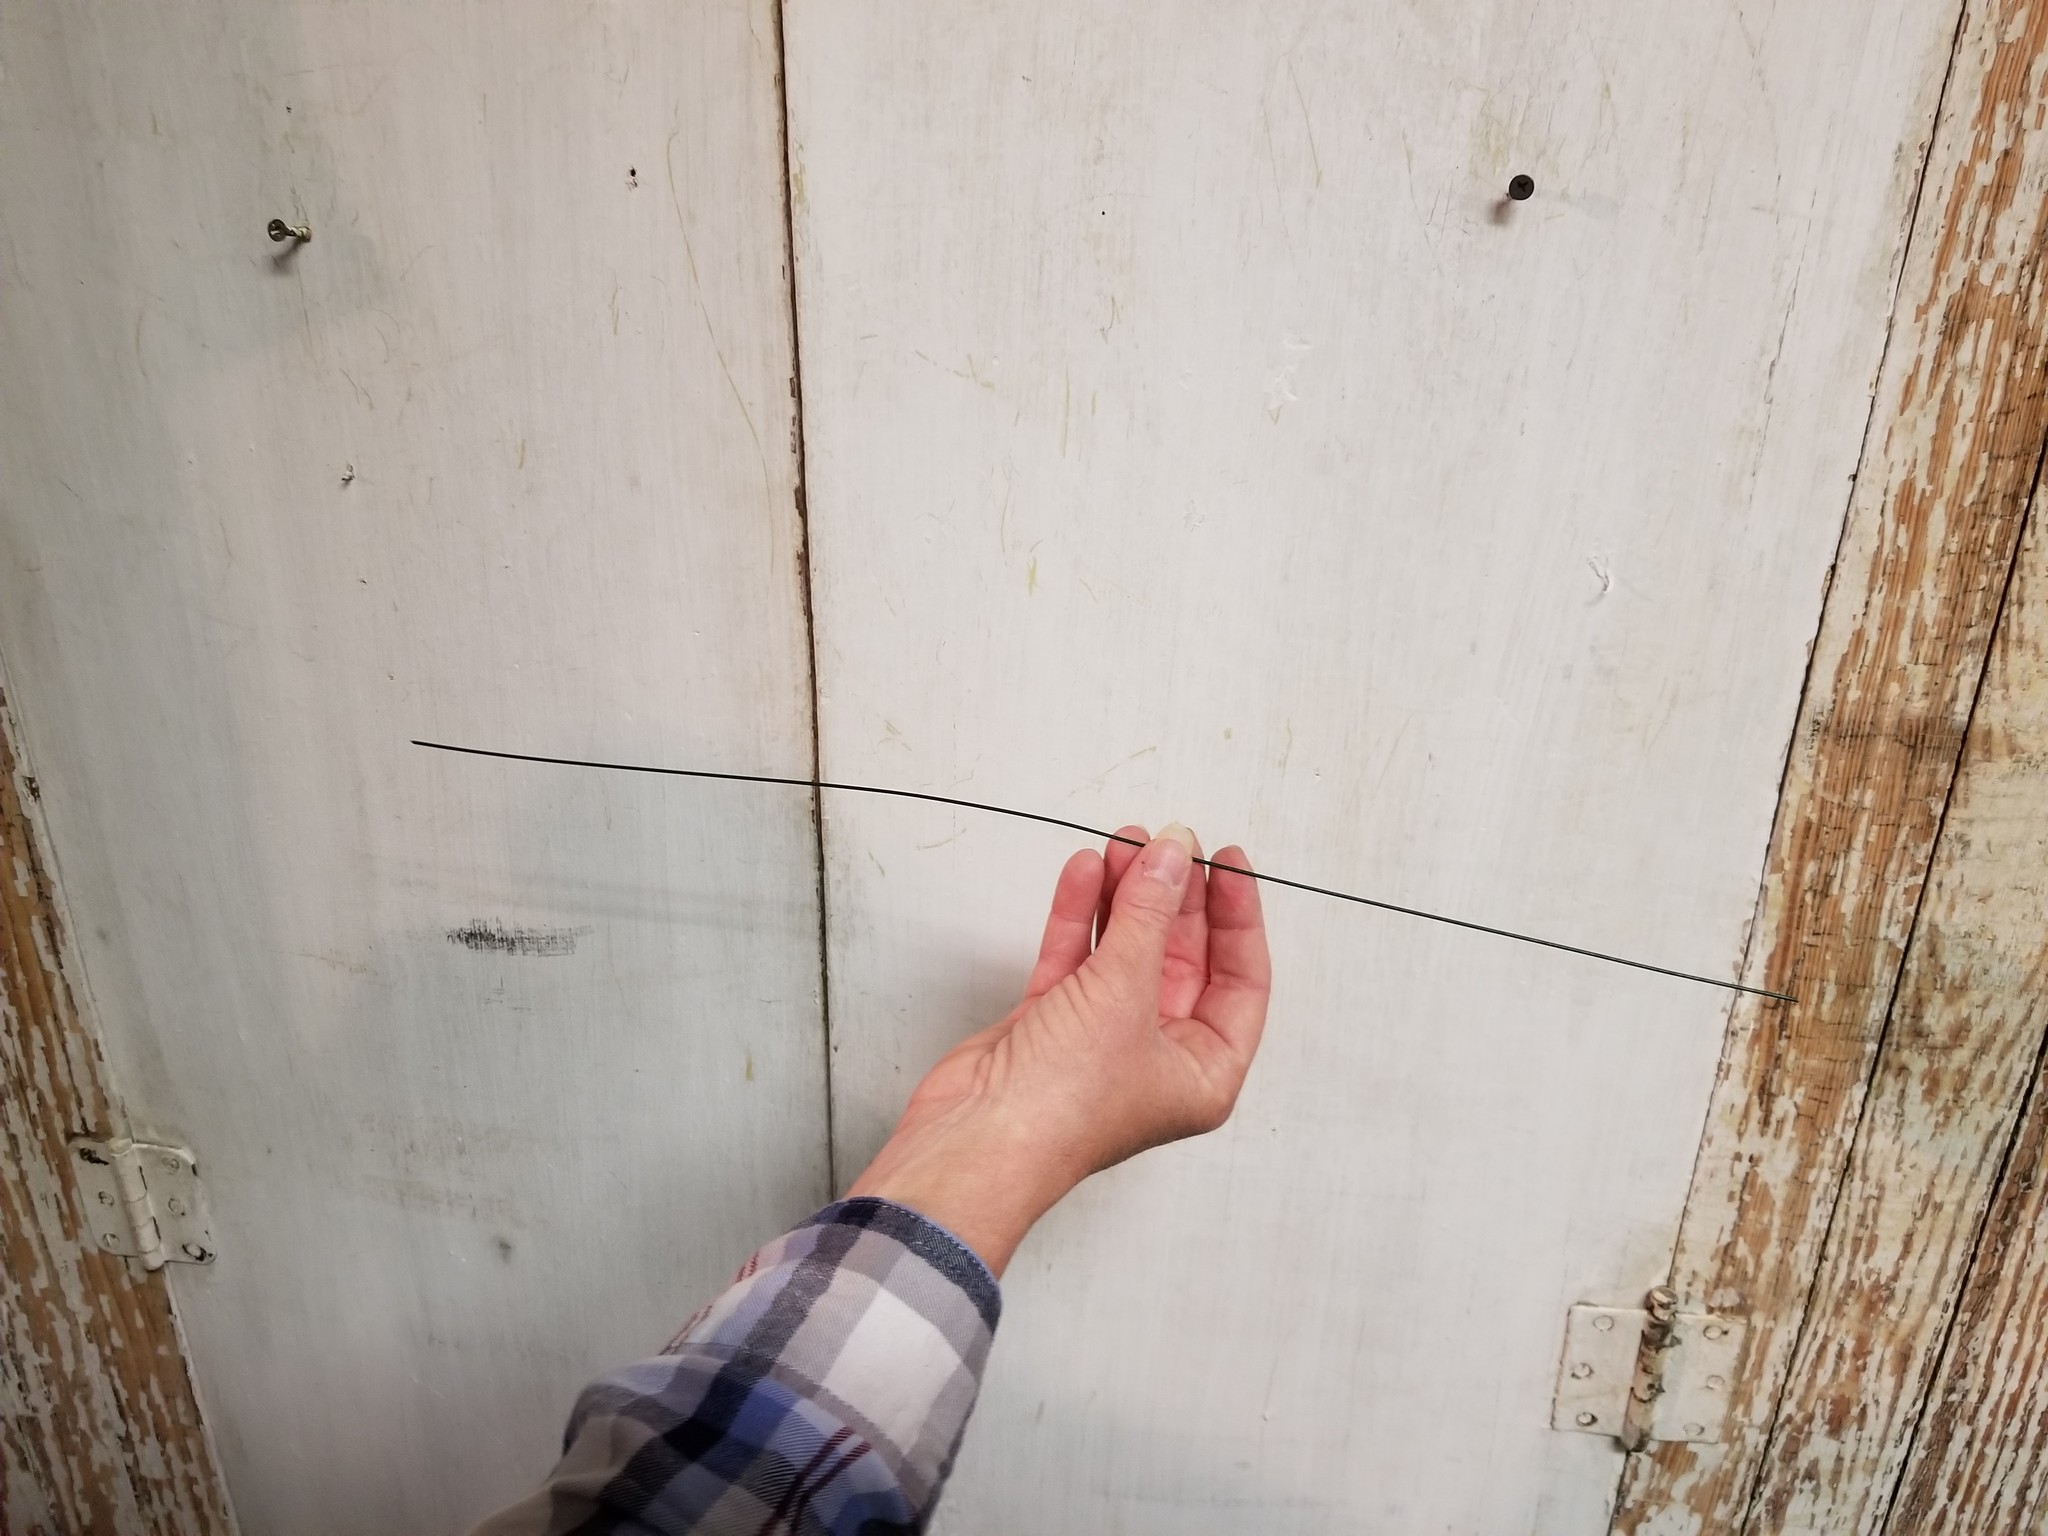
Now, drive the wire through the backside of the wreath, with the bent side down. Wrap the wire around, and twist the two ends together, leaving room for the wire to catch as a hook. You officially have a hook to hang you wreath. If any piece of wire is sticking out, fold it back in so it won't scratch your door.
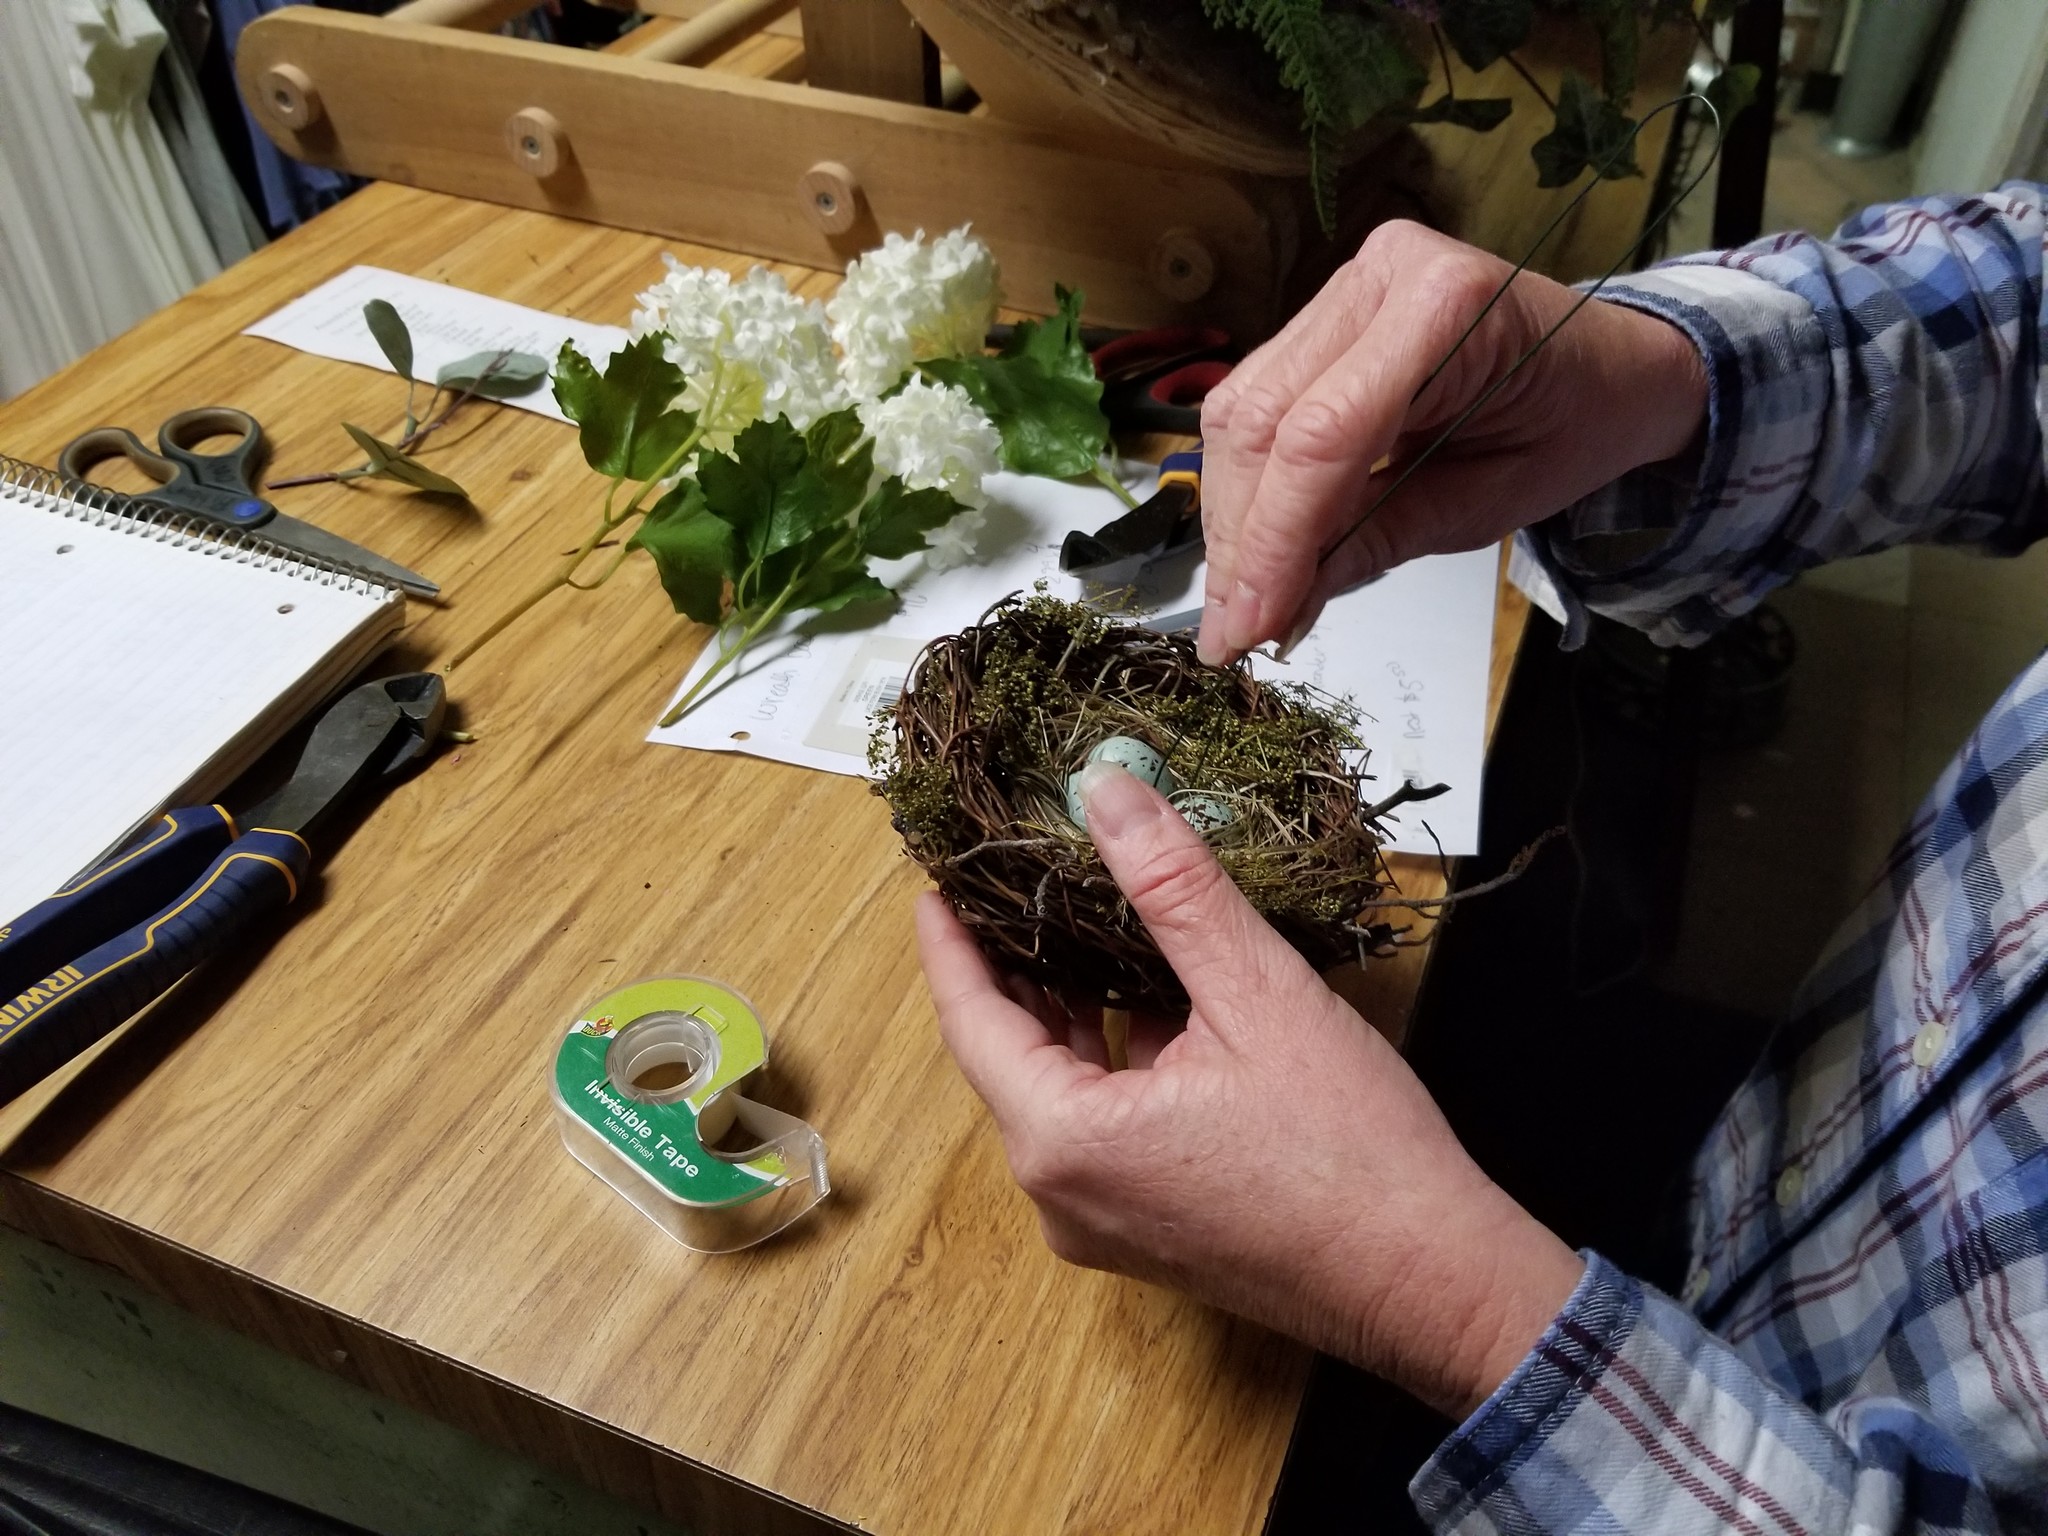
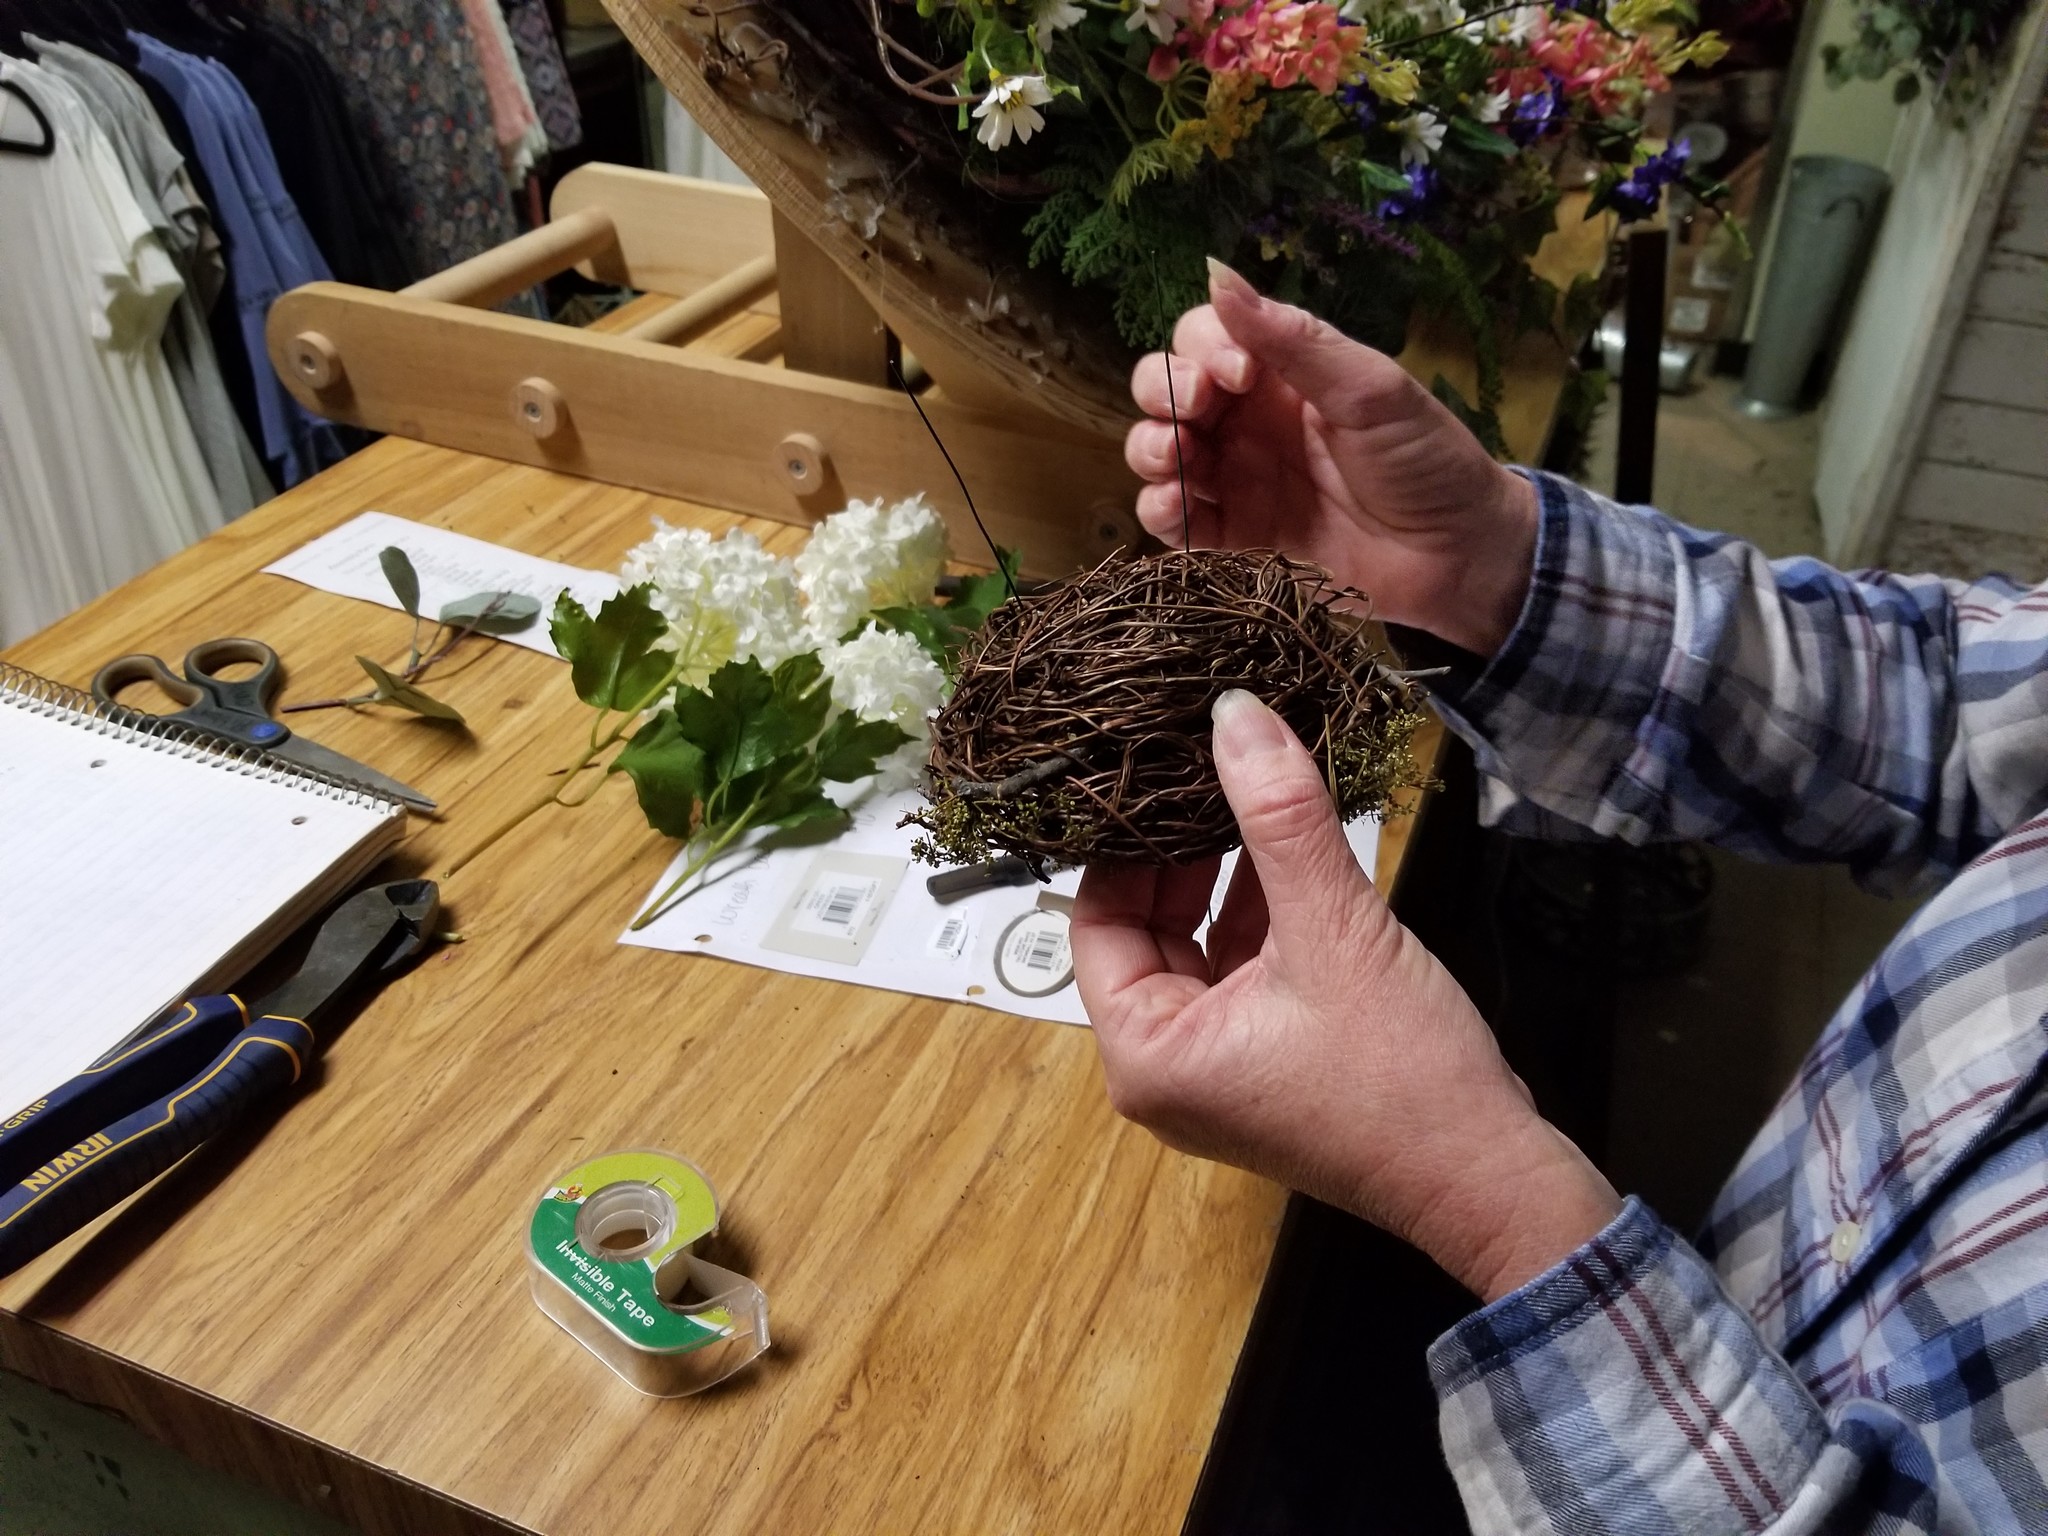
Now for your special bonus - we're going to show you how to add a birds nest to the wreath!
You'll need a piece of wire - fold that in half, making a V shape. Now, drive the wire trough the front of the birds nest ornament (look at our pictures for a visual aid). Attach the nest at the bottom of the wreath, wherever you think it will look best. Grab both ends of the bent wire from behind the wreath, and twist the ends together. Fold that part back in to the wreath (so it doesn't scratch your door) and voila! You have a bird's nest in your wreath!
Here's a step-by-step guide:
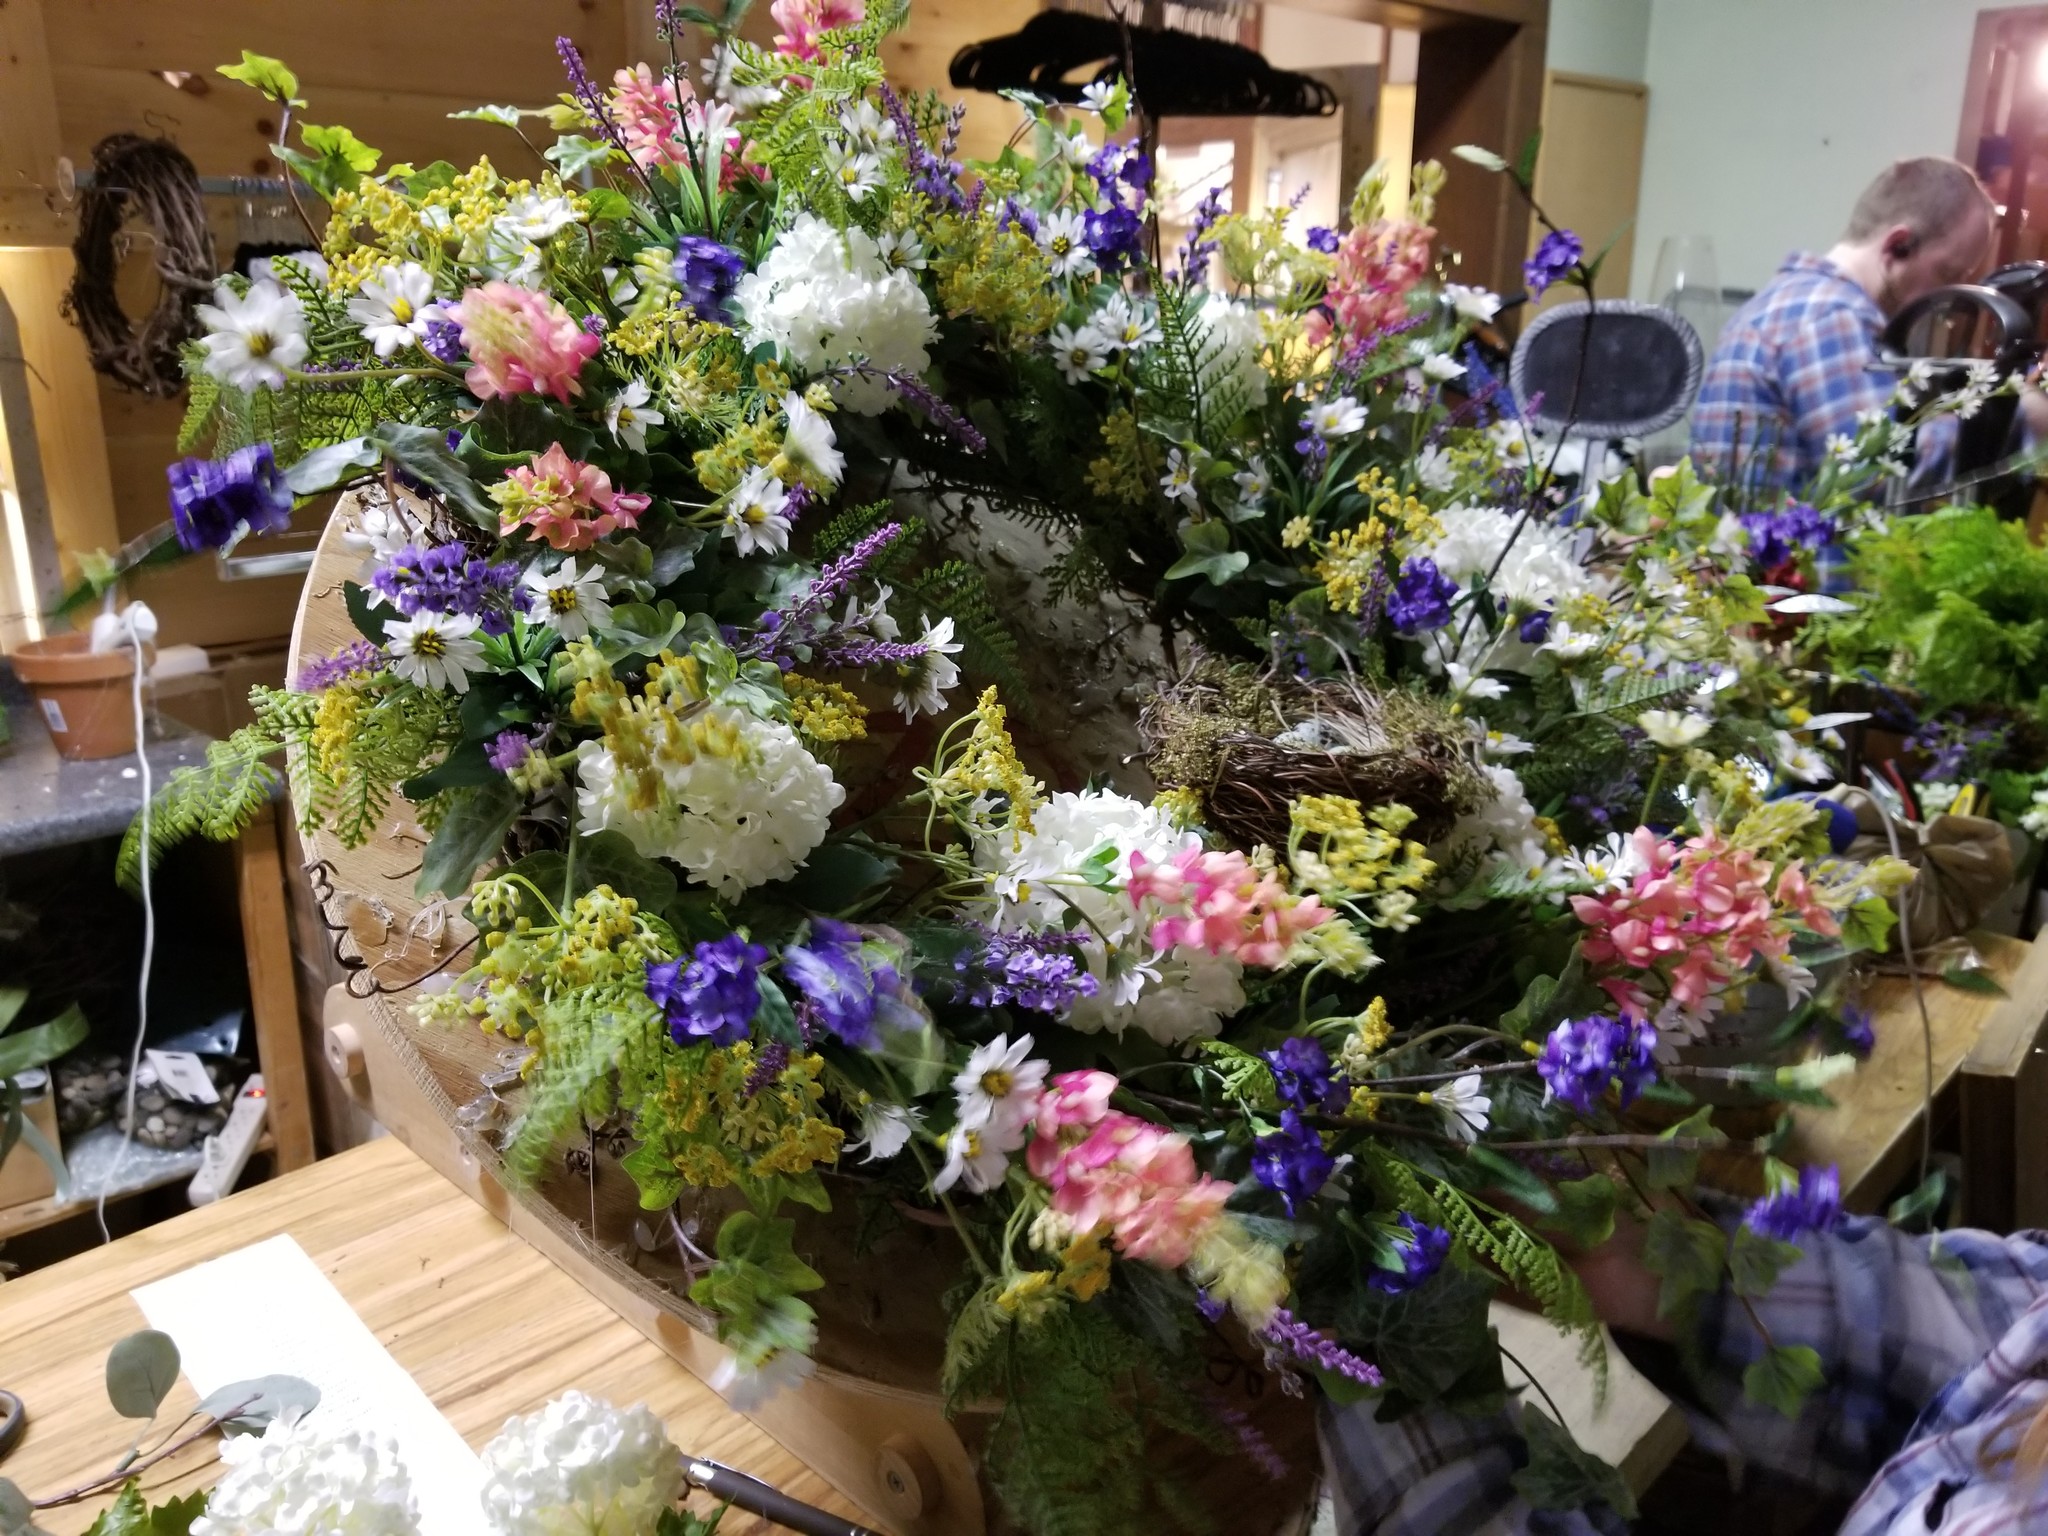

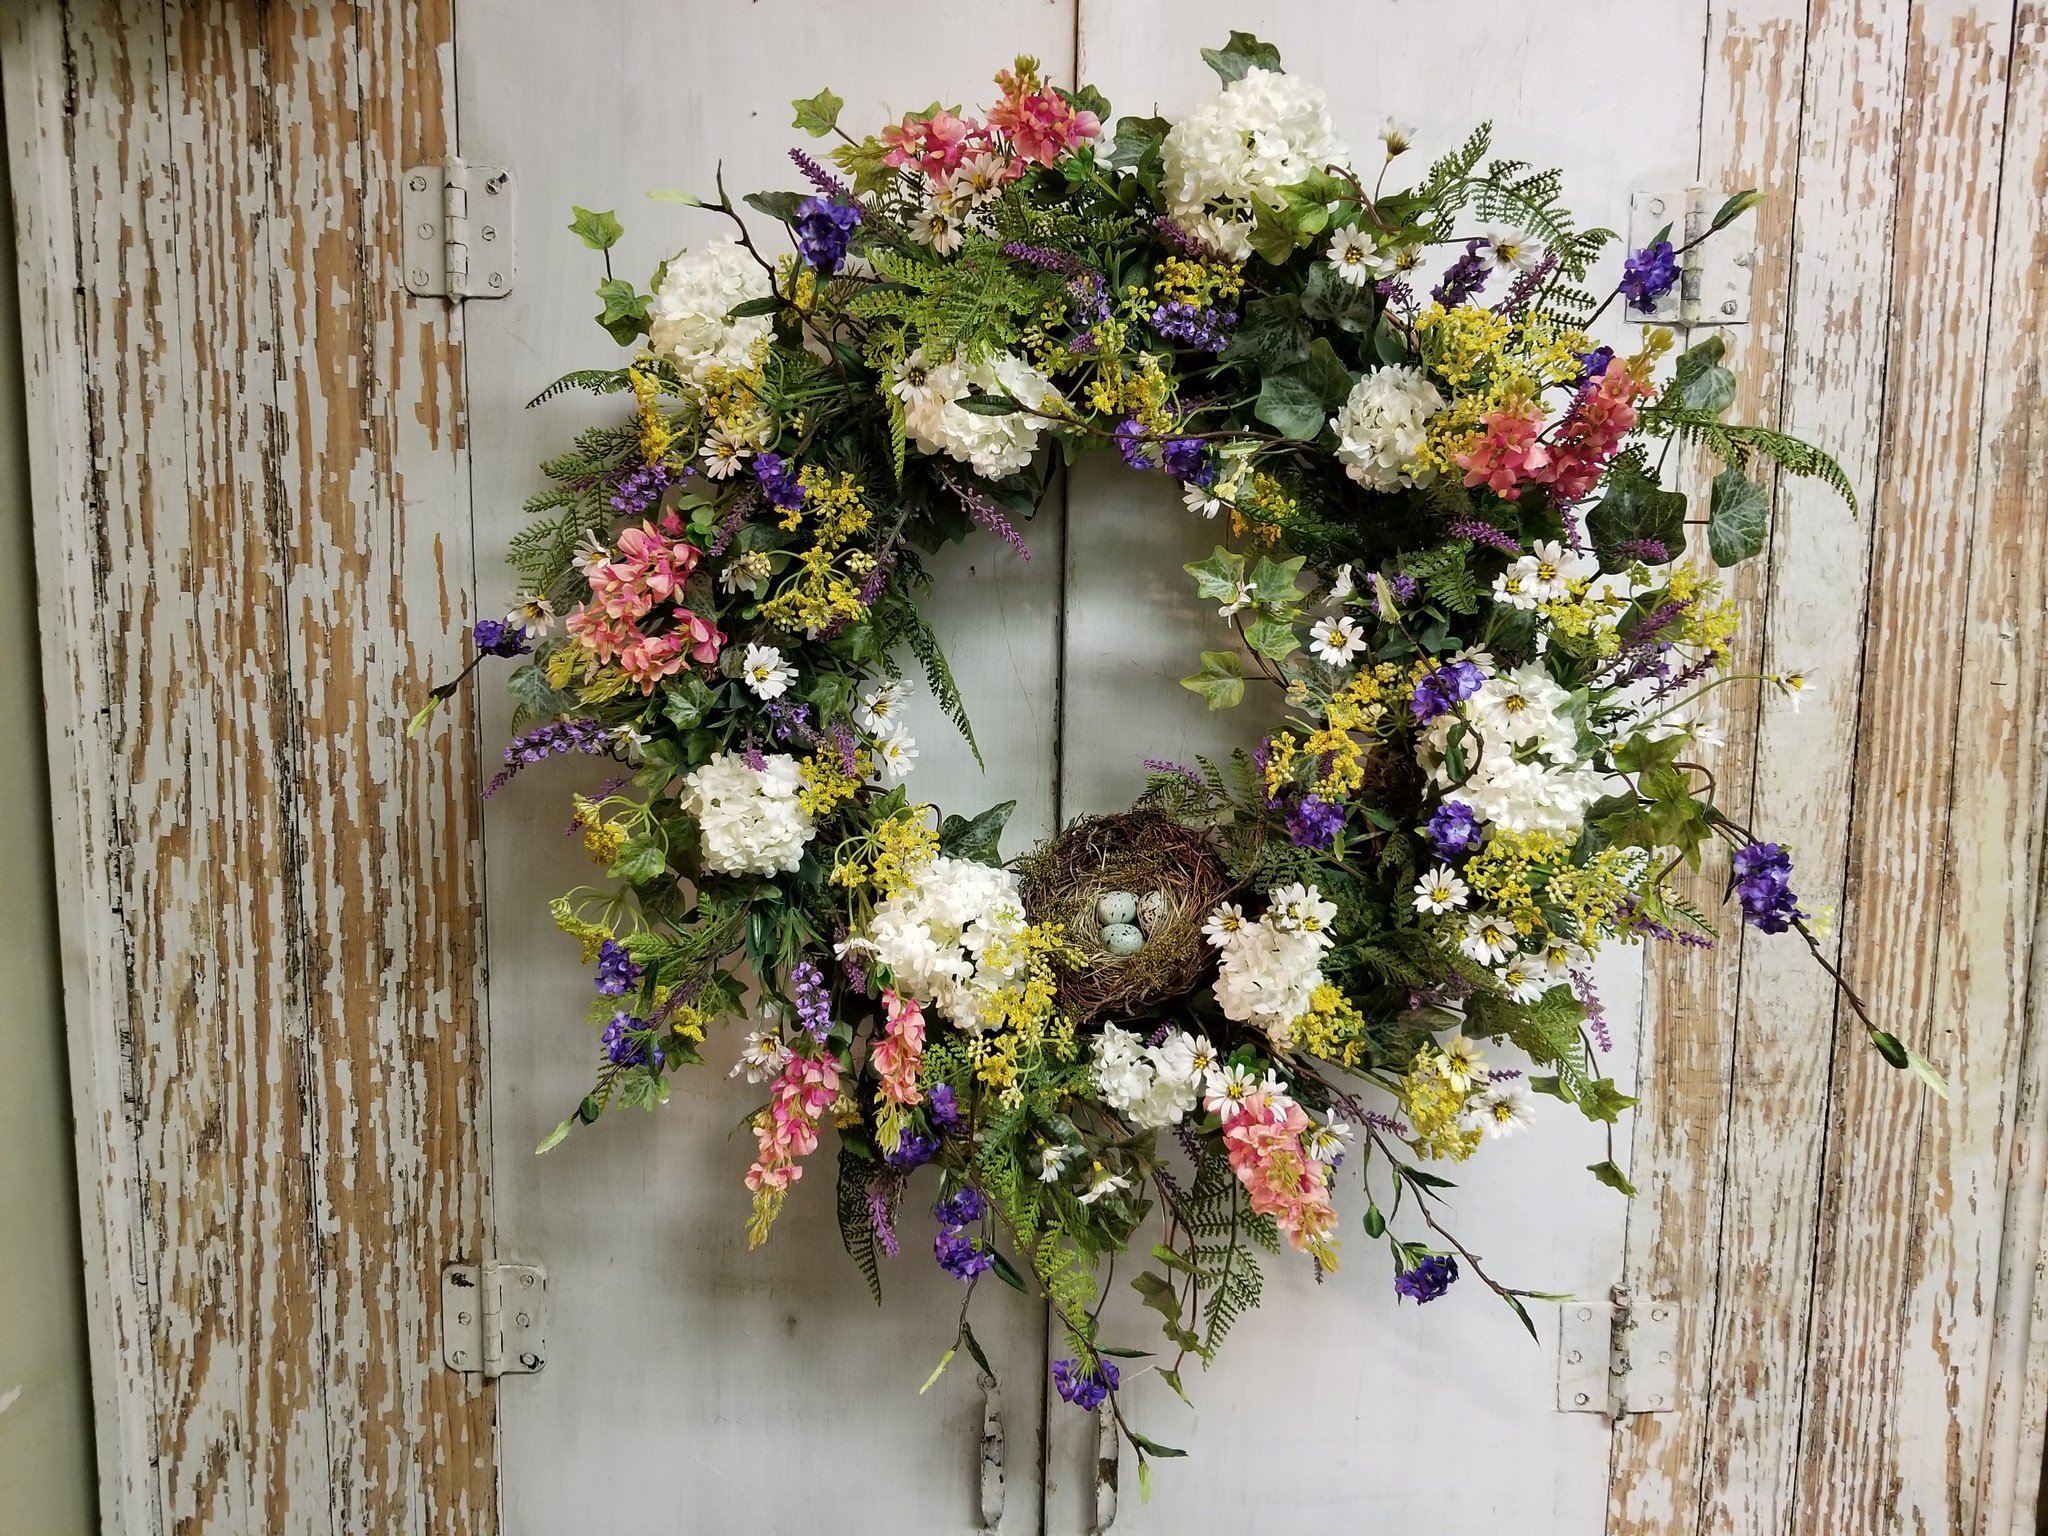
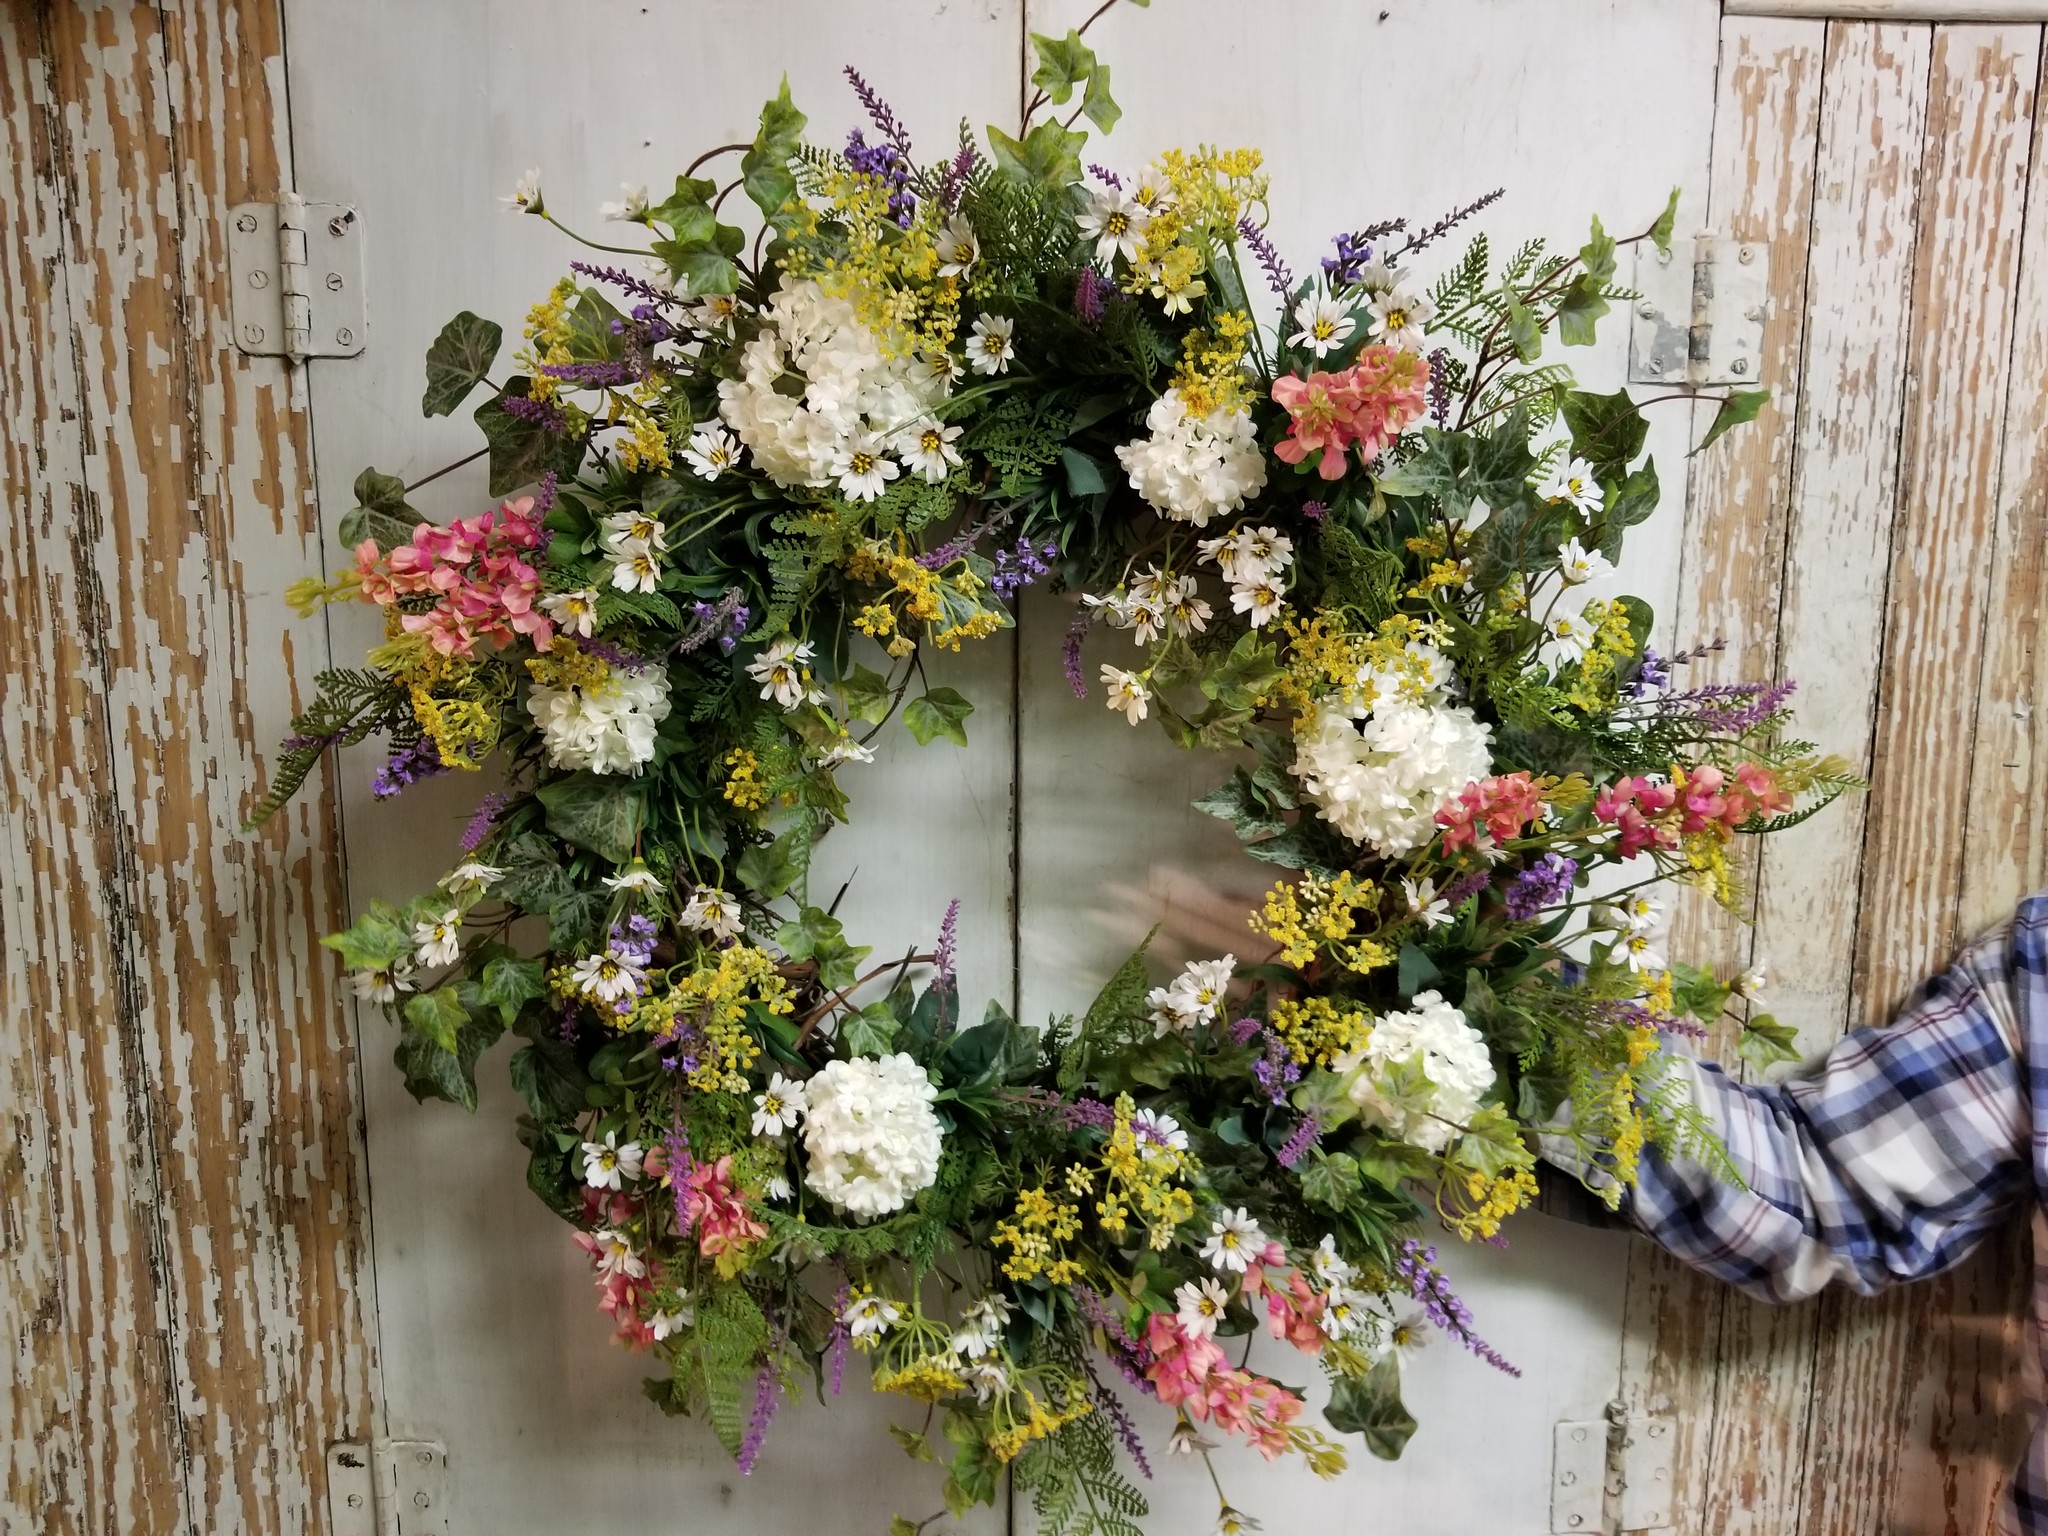
Congratulations! You're spring wreath is done, and we can admire the finished result.
Buy this wreath now
If you feel like this is might be a little tough to recreate, you can buy this wreath that Jenna just made from our store by clicking here.
Wreath Recipe:
Otherwise, here's the recipe for what you'll need to recreate the Spirae and Snowball Nest Wreath that Jenna designed. You can buy any of the ingredients listed below by clicking on them.
- 1 Wreath Base
- 1 Lace Fern Bush
- 4 Green Ivy
- 3 Snowball Spray
- 5 Pink Lupine
- 2 Mixed Lavender
- 3 Yellow Dill
- 4 Wild White Daisies
- 2 Spirea Branch
- 1 Blue Speckled Nest
Where can I find the hand wrapped grapevine
This wreath is beautiful. I hope to save this for future reference. (Like April) This was a serendipitous find. So glad to see this. Thank you. Charity
lovely silk flowers - do you think I could create a smaller wreath with dried baby's breath?